Visual Studio 2017 - Introducing the New Installation Experience
As many of you have already are aware that Microsoft has released a Release Candidate version of the latest incarnation of Visual Studio during the Connect() event held at New York City in November. Visual Studio is one of the most widely used IDE in the world and the latest avatar comes with lot of new features and performance improvements under the hood. The most notable among these is the all new installation experience which considerably reduces the installation time as well as eradicates a lot of pain points that an user faced during the installation of the earlier versions of the software.
Preparing Installation
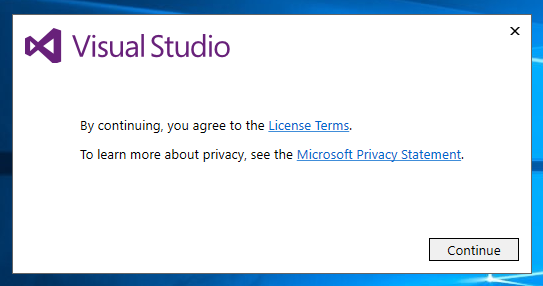
Visual Studio 2017 RC is free for all and can be downloaded from the Visual Studio site here and also read about the minimum system requirements is available at https://www.visualstudio.com/en-us/productinfo/vs2017-system-requirements-vs before you start the installation. You will get a nice little installer utility from the download link and when you run vs_enterprise.exe, it will show the new launch screen which will tell you to accept the license before proceeding to the installation.

Selecting Components
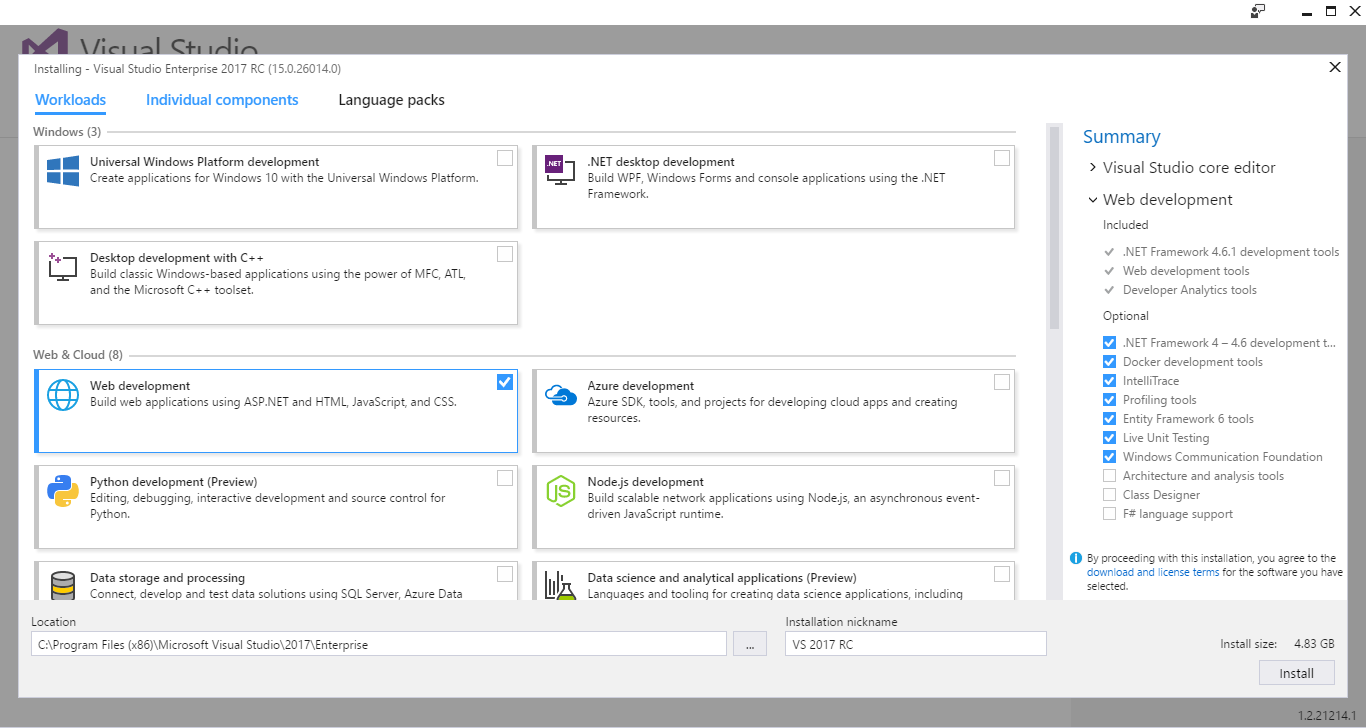
Visual Studio is used by a wide variety of users for developing different types of application and majority of them doesn't need to install every garbage that comes along with the installation package. So deciding what to choose for your need was confusing and particularly about the dependencies that need to selected for a hassle free experience.
In Visual Studio 2017, the concept of Workloads are introduced to solve this problem and now there are separate workloads for .NET desktop development, web development, UWP development etc. So if you are a web developer and selecting the Web Development workload will ensure that Visual Studio will install all the necessary tooling and dependencies that are needed for developing web applications.
When you select a payload, you will get to know about the components and dependencies that are going to be installed by referring the Summary section in the right side of the window.
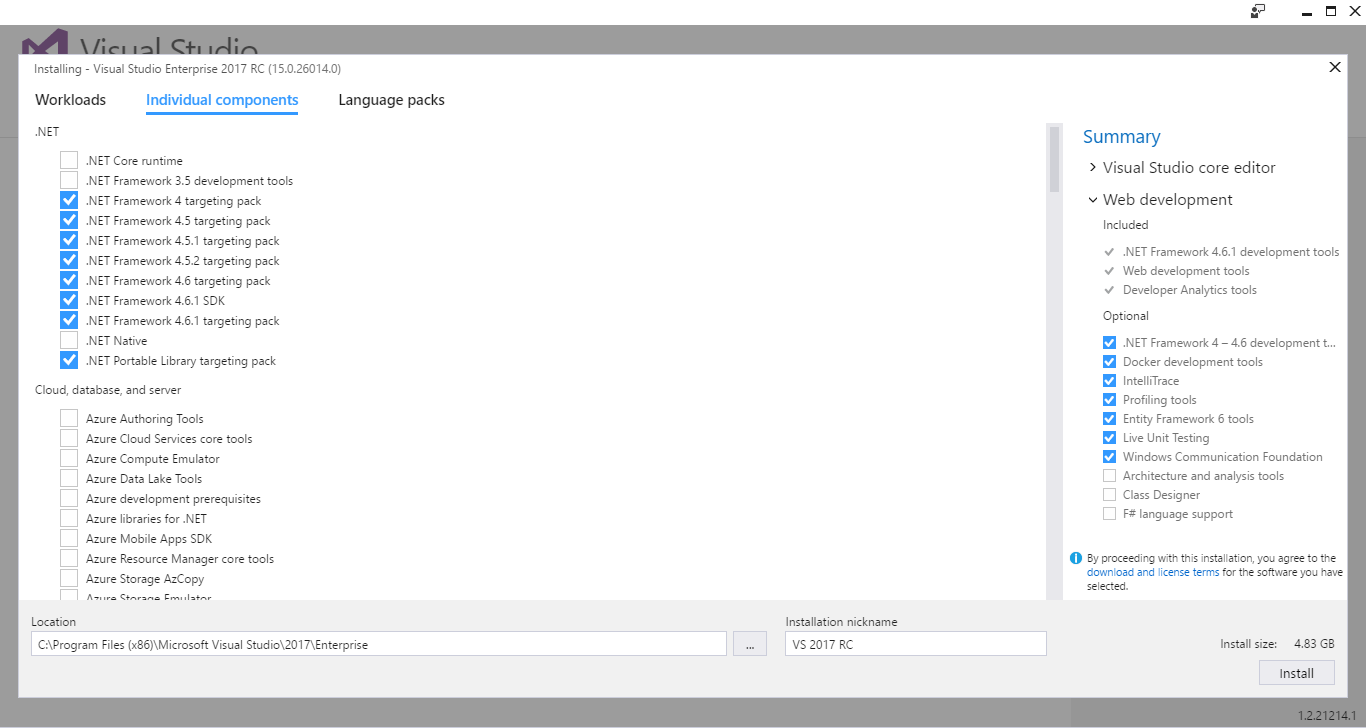
For those prefer the earlier installation approach, then they can do that from the Individual Components section. Here the user will be able to pick and choose what are the items that needs to installed. If you are new to installing Visual Studio, then I will prefer the Workloads option otherwise if you know what you are doing then you can continue with it by choosing items from Individual Components.
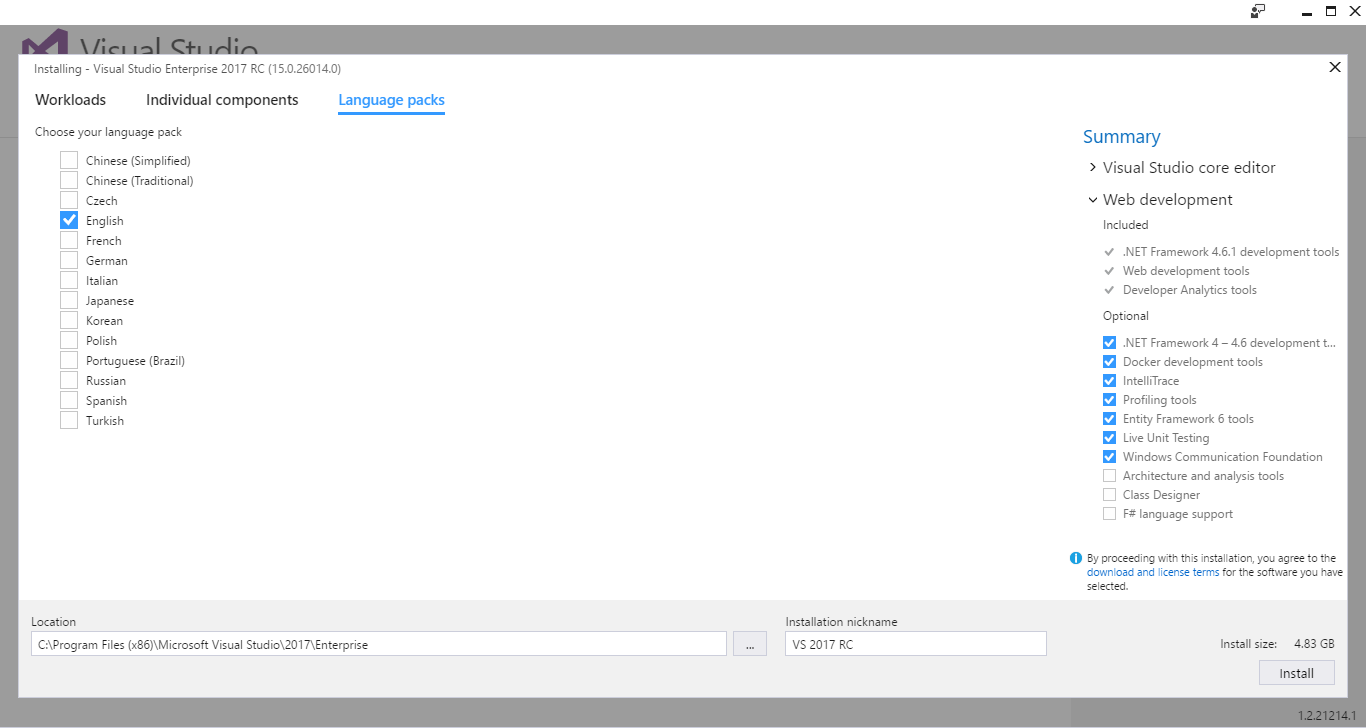
Under Language Packs, you will have the options for selecting a language of your choice. By default the system will chose the language set in the operating system.
Towards the bottom, you will have the option to specify the location for installing Visual Studio along with an option to specify a nickname for your installation. If you are not aware, We can install different flavors of Visual Studio side-by-side on the same machine these days. So when you do that, you will notice that you have duplicate entries for Visual Studio in the Start menu. To avoid this we can specify a nick name during the installation like "Enterprise" and in the start menu it will show as "Visual Studio 2017(Enterprise)".
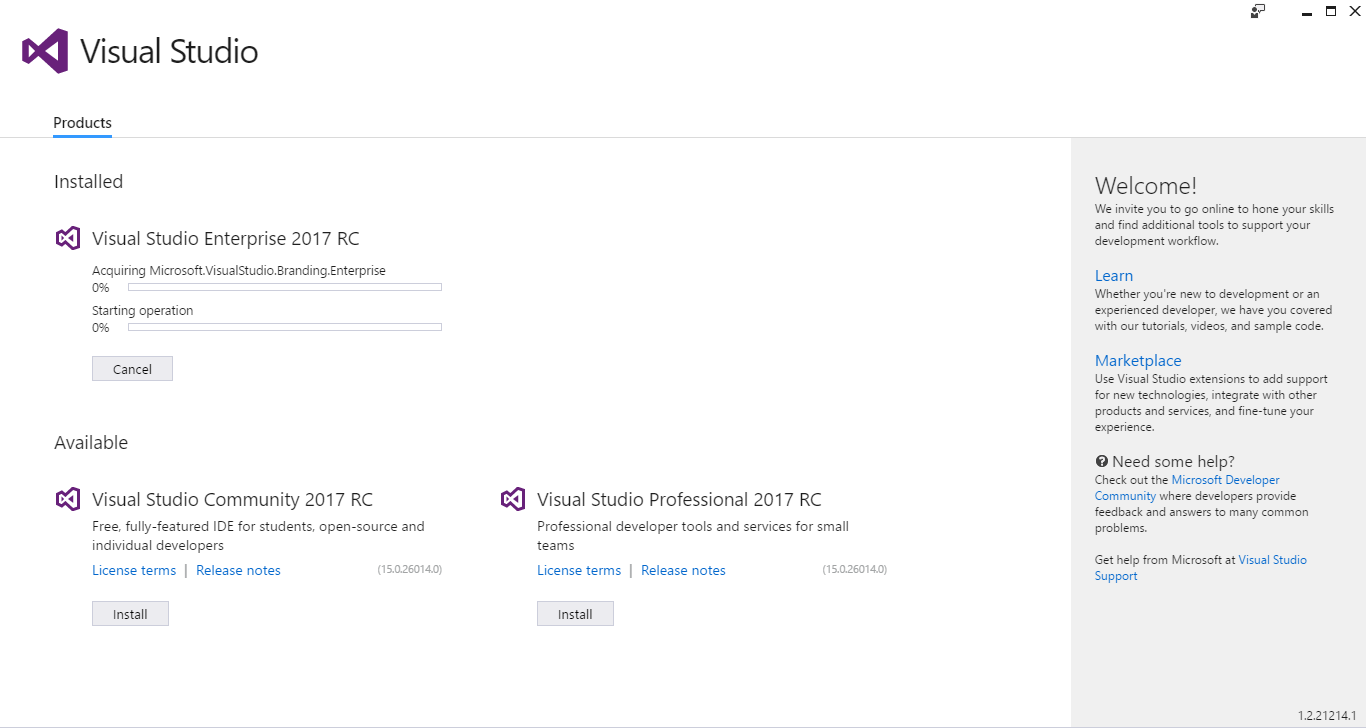
Click on the Install button to start the installation and you will be presented with a new installation progress screen as shown below. The screen also has got option to provide feedback about your experience/issues by clicking on the icon in the title bar.
Installing Visual Studio 2017
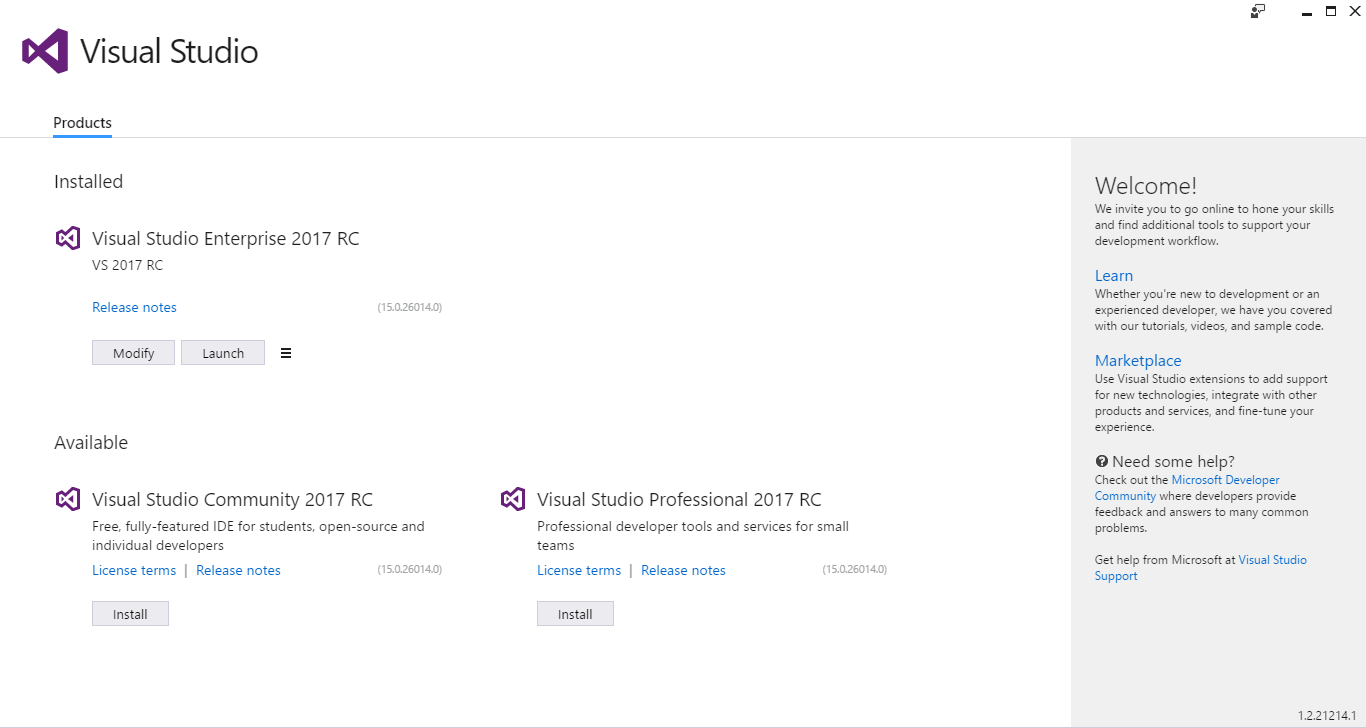
Once the setup is finished our newly added flavor will be listed under the Installed section with option for modifying the installation as well as for launching the IDE. By clicking on the hamburger icon next to the Launch button, you will get options for repairing and uninstalling.
For me the installation was super quick and hassle free when compared with the experiences I had with the previous versions of it and hopes that you will also find it easy and helpful.
No Comments
Connecting Azure Blob Storage account using Managed Identity
Posted 12/9/2022Securing Azure KeyVault connections using Managed Identity
Posted 11/26/2022Manage application settings with Azure KeyVault
Posted 11/9/2022Adding Serilog to Azure Functions created using .NET 5
Posted 4/3/2021Learn how to split log data into different tables using Serilog in ASP.NET Core
Posted 4/23/2020