Running IIS from a Docker Container in Windows Server 2016
Many of you may already aware that Windows Server 2016 now natively supports Docker containers and it means that the same shared-kernel-isolation-paradigm from the Linux world is now well and truly supported in Windows too. The advantage of this approach is that your containers will load more speedily with minimum amount of resources. Please go through this link to read more about it. In this post, I will show how to host IIS in a docker container in Windows Server 2016 machine.
Step 1 : Get the base image for IIS
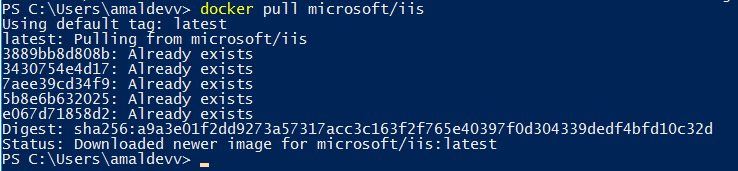
First you need to pull the latest image for IIS from the Docker hub by executing the following statement.
docker pull microsoft/iis
It will pull the image with the tag latest from the docker repository. If you want specify a different tag, then you need to specify that after the image name with a color(:) prepended to it
If you execute the docker images, our newly downloaded image will be shown in the list as shown below.

Step 2 : Create the Container
Now, you need to create a container based on the image which we downloaded in the earlier step. For that you will to need to execute the following command
docker run -it -d -p 80:80 microsoft/iis
With this command, we are telling Docker to create a container based on microsoft/iis image. The -d switch indicates that container should be run in the background and -p switch is used for mapping the port numbers for host and the container. In this example we are redirecting the requests coming into the port #80 in the host machine to port #80 in the container we just created. When it's successfully executed, it will emit the full container id and then returns to the prompt as shown below

You can verify whether the container is running or not by executing the docker ps command. The ps command will show all the active processes running in docker as shown below

Step 3 : Check IIS status
You verify whether the IIS running inside the container is properly serving content or not by typing in the IP address of the host machine in the browser. If everything is good you will see the default web site page of the IIS as shown below.
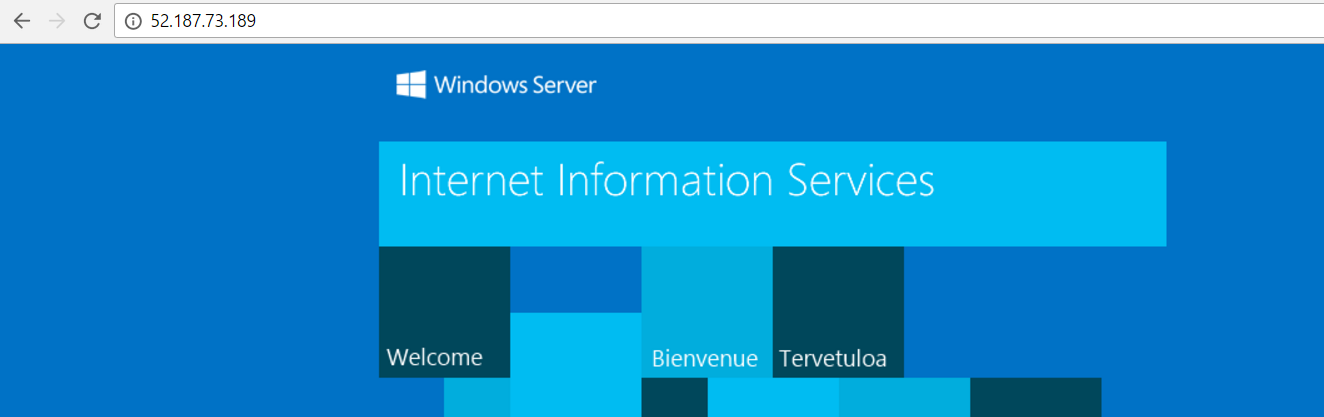
Since port # 80 is used for http by default and we don't need to provide that along with the IP address. The redirection magic is done by the daemon whom will see a request at port 80 is coming in the host machine, intercepts it and redirects it to the port#80 of our container which then spits out the default website page.
No Comments
Connecting Azure Blob Storage account using Managed Identity
Posted 12/9/2022Securing Azure KeyVault connections using Managed Identity
Posted 11/26/2022Manage application settings with Azure KeyVault
Posted 11/9/2022Adding Serilog to Azure Functions created using .NET 5
Posted 4/3/2021Learn how to split log data into different tables using Serilog in ASP.NET Core
Posted 4/23/2020