Manage Runtimes Using DNVM Install and Upgrade Commands
DNVM Install and Upgrade commands can be used to install a new version of the runtime or to upgrade an existing version to a newer version of the runtime.
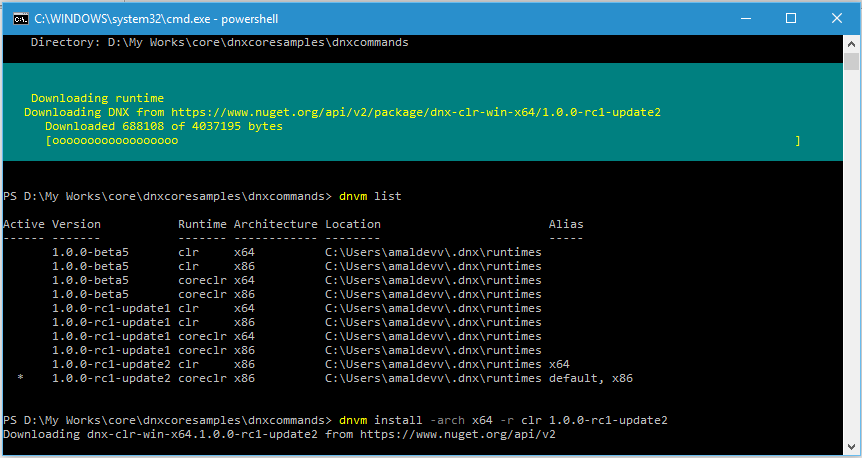
Install command can be used to download a particular version of the runtime.
Syntax
dnvm install –arch <architecture name=""> –r<runtime name="">
Example
dnvm install –arch x64 –r coreclr 1.0.0-rc1-update2
The above command will install the version 1.0.0-rc1-update2 targeting the Core CLR runtime for 64-bit. It installs into runtimes folder located in the user profiles folder and modifies the path variable too.
If we didn’t specify the –arch switch, DNVM will take x86 as the default option.
Also if you doesn’t know the version number and want to install the latest version for x86, then
dnvm install latest
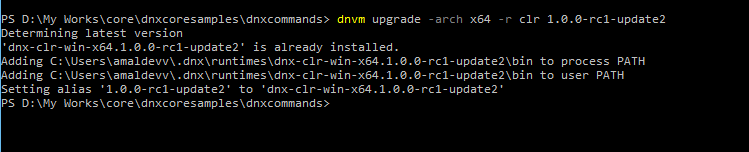
Using dnvm upgrade also we can do the same, but it downloads the latest version of the runtime from the feed.
Syntax
dnvm upgrade -arch<architecture> -r<runtime name>
Example
dnvm upgrade –arch x64 –r 1.0.0-rc1-update2
Executing the upgrade command will check the latest version in our machine with the one available in the feed for the version mentioned and downloades and installs it if a match is found. Otherwise it will just modify the path in environment variables to make it as active
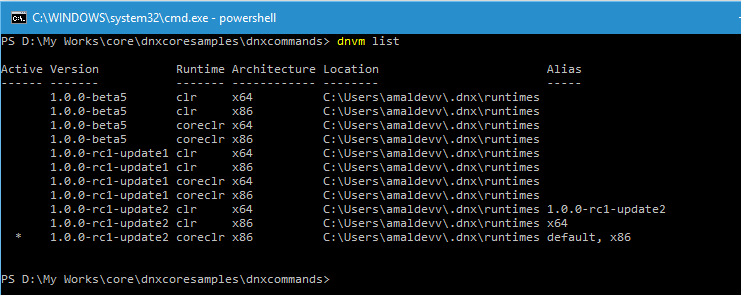
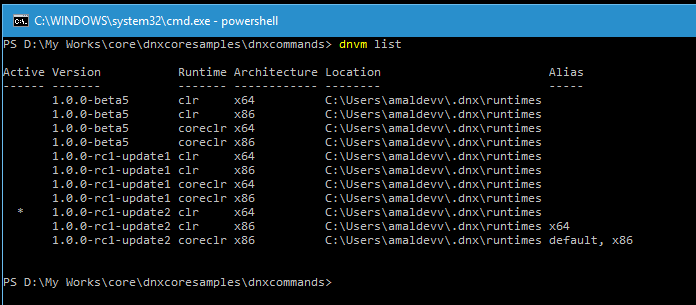
You can view all the installed runtimes under the .dnx/runtimes folder in your user profile folder.
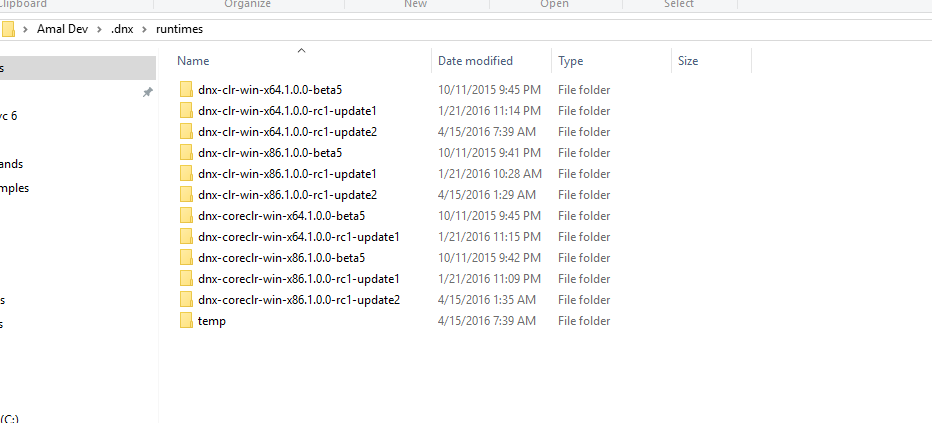
If you want to delete a runtime, just delete it from the folder and it won’t be listed when you run the dnvm list command again.
No Comments
Connecting Azure Blob Storage account using Managed Identity
Posted 12/9/2022Securing Azure KeyVault connections using Managed Identity
Posted 11/26/2022Manage application settings with Azure KeyVault
Posted 11/9/2022Adding Serilog to Azure Functions created using .NET 5
Posted 4/3/2021Learn how to split log data into different tables using Serilog in ASP.NET Core
Posted 4/23/2020