Installing Git Client in Windows 10
Git is a distributed version control system initially developed by Linux Kernel Developers for Linux development in 2005. It's free software and is distributed under GNU GPL Version 2. Every working directory in Git is a repository with full history and version tracking which can run without a central server or even network access. Even though it was developed primarily for Linux, today it's now supported on all the major operating systems such as Windows, Mac, Solaris etc.
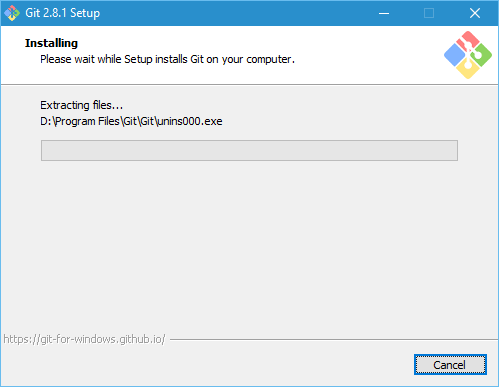
Git for Windows can be downloaded from here and the installation is pretty straightforward. The size of the installer is around 31 MB and will take around 200 MB of disk space.
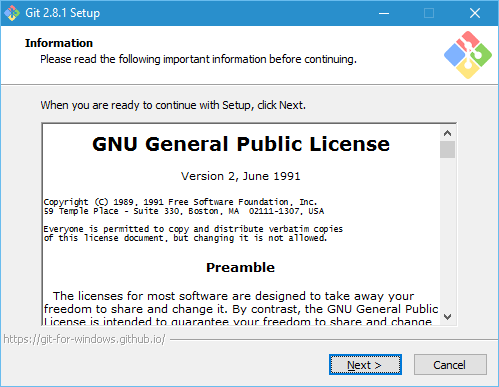
Let's start the installation by double clicking on the downloaded installer. The first page will display the GNU GPL license and click on the next buttont to contiune with the installation.
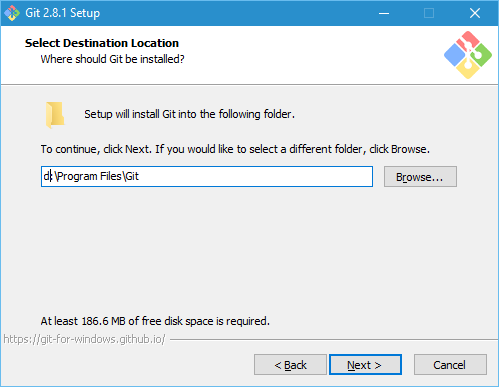
In this screen, we need to give the location for Git. By default, it will show the path in the Windows drive and you can override it by typing in the box or clicking on the browse window and selecting the folder from there. Here I chose to install in a different location and gave the new path in the box
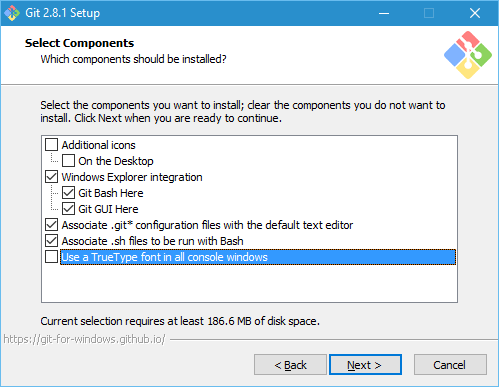
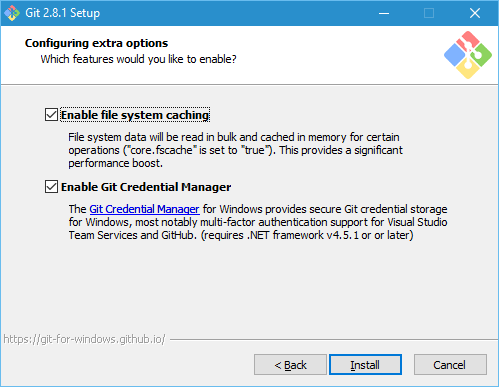
In the screen, we can select which all components and features needs to be installed. The installer will default some items and the user has the choice of overriding it or for selection new ones.
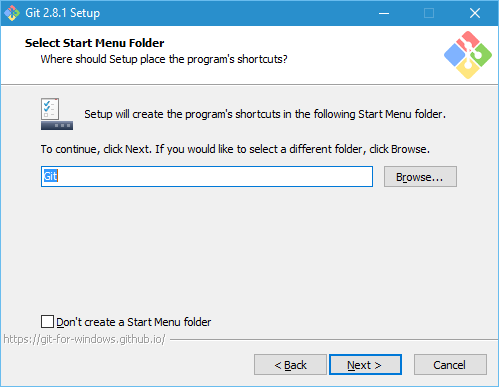
Here in this screen, you can select the name you to show in start menu for git or to restrict it from showing in the menu altogether.
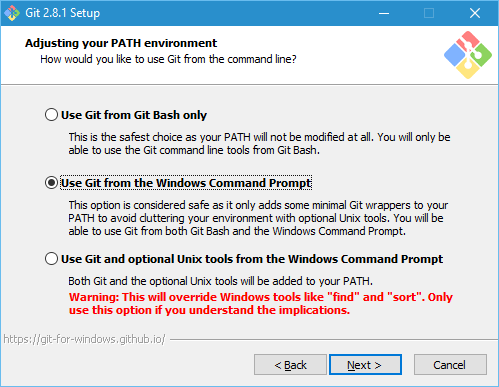
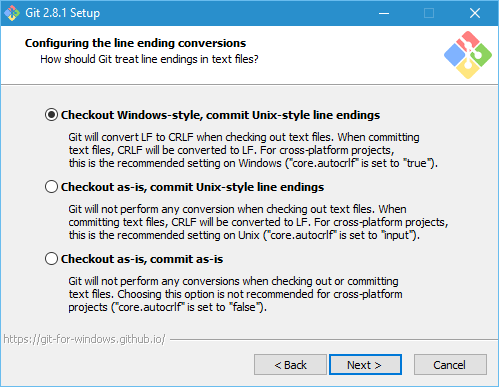
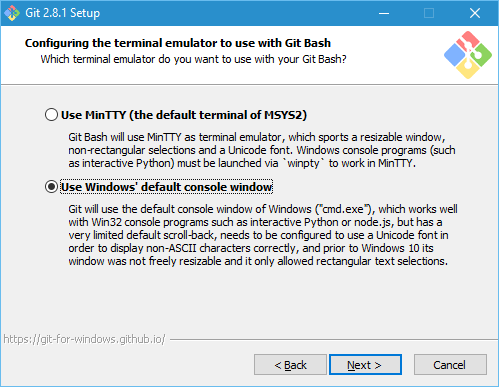
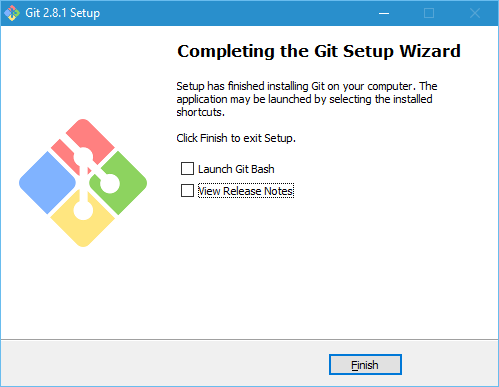
This page shows the options for configuring the PATH system environment variable. If you are novice user then it's better to go with the default option. This applies for the next two screens also.
You can verify that git is properly working or not by running the following command in the prompt. If you have any open terminal session, then make sure that you close and reopen it. Because any changes to the PATH variable won't take effect on already open terminal sessions.
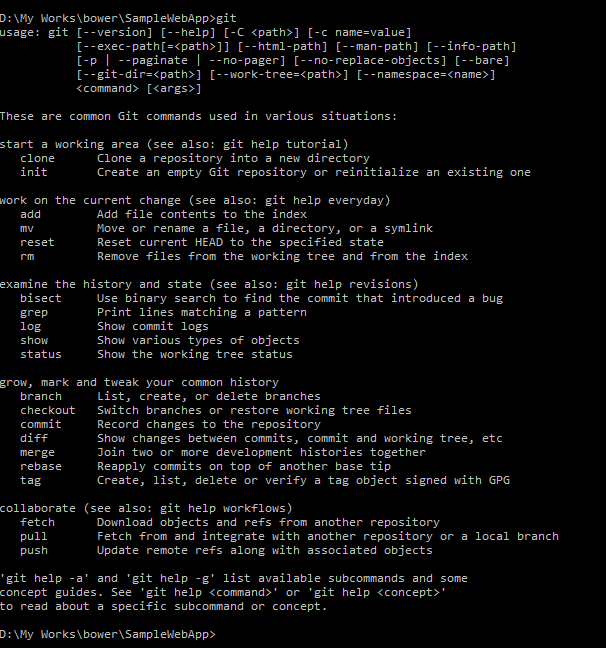
If it's sucesfully installed the executing the git command will show the help menu as shown above
No Comments
Connecting Azure Blob Storage account using Managed Identity
Posted 12/9/2022Securing Azure KeyVault connections using Managed Identity
Posted 11/26/2022Manage application settings with Azure KeyVault
Posted 11/9/2022Adding Serilog to Azure Functions created using .NET 5
Posted 4/3/2021Learn how to split log data into different tables using Serilog in ASP.NET Core
Posted 4/23/2020