Hosting a ASP.NET Core application in a Docker container using microsoft/aspnetcore image
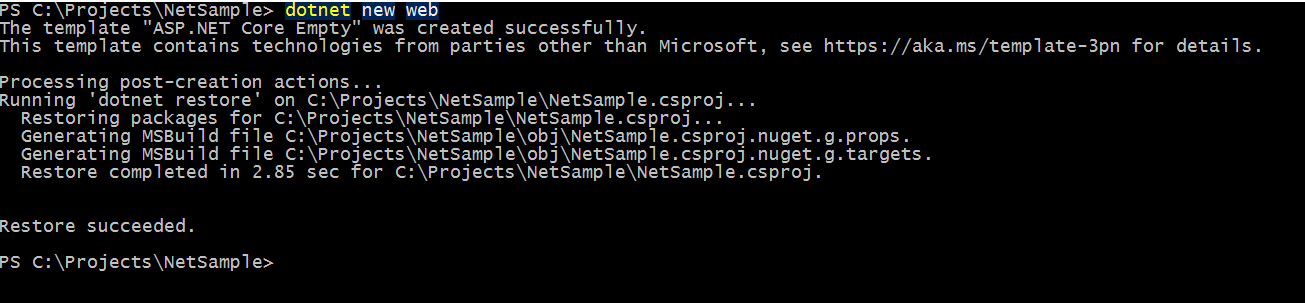
You all will be familiar with Docker by now given its popularity among developers and infra people and some of you may have already created containers using Docker images. One of the most widely used workflows among people using .NET Core will create a new web application by using the dotnet new command as shown below.
The below example uses ASP.NET Core 2.0 framework, in which the dotnet new command will create the project as well as restores the dependencies specified in the csproj file by default. I have already written a post about it and you can refer it for information about it.
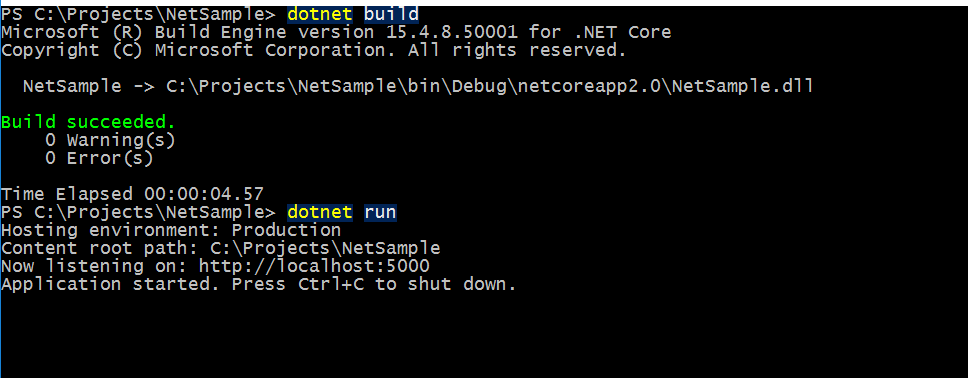
Then you will do a build to see if there are any errors and use dotnet run command which will self-host the web application
After the to containerize our application, many of you have created the Docker image using a Dockerfile like the one given below
FROM microsoft/dotnet

ENV ASPNETCORE_URLS http://+:80
EXPOSE 80

WORKDIR /app
COPY . .

RUN dotnet restore

ENTRYPOINT ["dotnet", "run"]
You will often see these type of samples everywhere on the web to get started with Docker. But this is a wrong approach if you are going to use it in production. Because first of all, you are using the microsoft/dotnet which is around 1 GB in size and has got the SDK built into it. Normally in production, we tend to use only the .net runtime and a deployment package to host the application. In the above we are copying the entire source files to the container, then restores all the dependencies, build and host the application.
This is perfectly OK in a dev environment but is not good for a production environment. So to optimize we will make a couple of changes in the Dockerfile. The first one will be to change the base image from microsoft/dotnet to microsoft/aspnetcore. This image is a stripped down version and contains only the components that are needed for running an ASP.Net core application, basically, it has the .net core runtime in it. And the second change is that we only copy the contents of the deployment package instead of the entire source code into the container, restoring and building it inside the container.
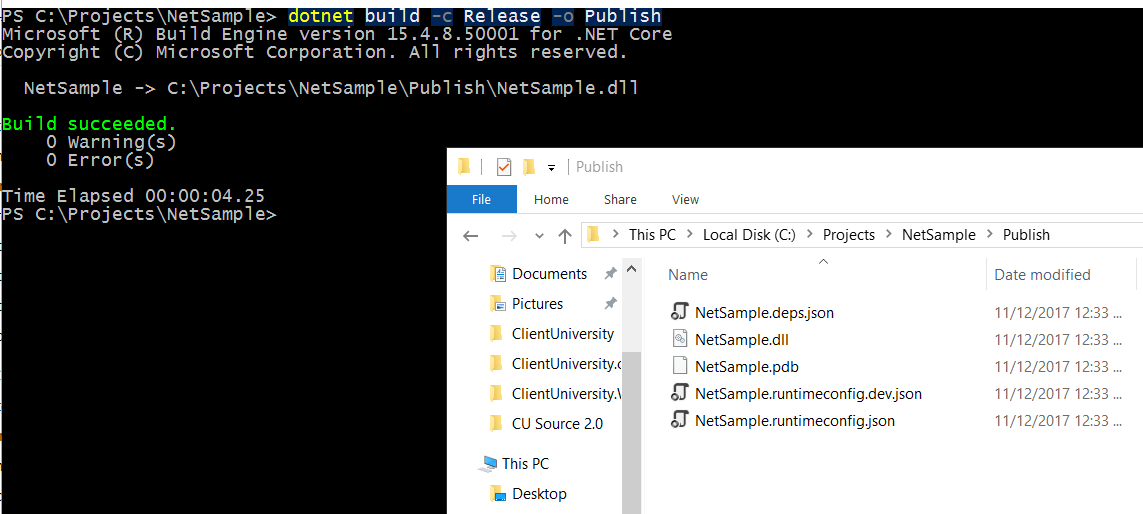
So to create the deployment package, use the dotnet build or publish command as shown below.The -c switch specifies the configuration mode and -o specifies the location in which the deployment files need to be created
And the modified Dockerfile will be
FROM microsoft/aspnetcore:2.0.0

ENV ASPNETCORE_URLS "http://+:9500"

EXPOSE 9500

WORKDIR /app

COPY ./Publish .

ENTRYPOINT ["dotnet","NetSample.dll"]
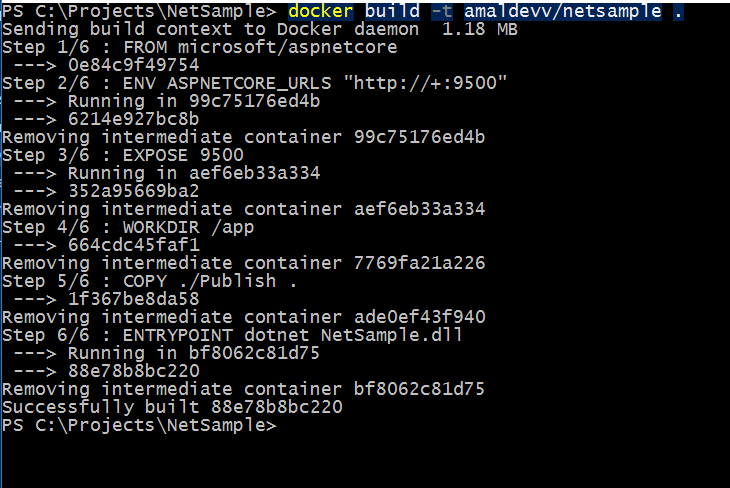
Let's create the image using the following command
docker build -t amaldevv/netsample .
And the following command to create the container using the newly created image
docker run -it -p 9500:9500 amaldevv/netsample
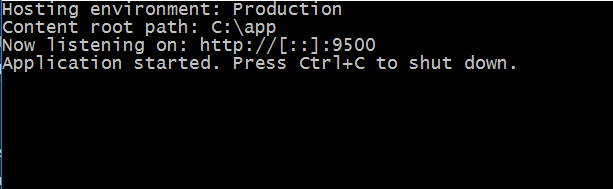
Here's the output and that's running from container based on an optimizied version of .NET Core

No Comments
Connecting Azure Blob Storage account using Managed Identity
Posted 12/9/2022Securing Azure KeyVault connections using Managed Identity
Posted 11/26/2022Manage application settings with Azure KeyVault
Posted 11/9/2022Adding Serilog to Azure Functions created using .NET 5
Posted 4/3/2021Learn how to split log data into different tables using Serilog in ASP.NET Core
Posted 4/23/2020