Hello From DNX
In the earlier post, I have gone through in detail about setting up dnx environment in your machine without installing Visual Studio. Also I have gone though some of the commands which will help you to the bare necessities in DNVM(.NET Version Manager). If you haven't seen that post yet, please read it from here.
So we have set up the dnx environment in our system, now let's see how can we compile and run programs using this.
Let's create a sample C# program using any text editors like Notepad or Sublime or Visual Studio Code.
using System;
namespace DnxCoreSample
{
 public class Program
    {
        public static void Main(string[] args)
        {
		Console.WriteLine("Hello World from DNX!");
        }
    }
}
Our program when executed will print a message on to the console. So before compiling an running the code we need to do one more thing. That's setting up the configurations needed for DNX will use to compile and run this program. In .NET Core we have the project.json file where all the project related settings. So create a file named project.json file in your folder and add the following entries
{
  "frameworks": {
    "dnx451": { },
    "dnxcore50": {
      "dependencies": {
        "System.Console": "4.0.0-beta-23516"

      }
    }
  },

  "commands": {
    "HelloDnx": "dnxcoresamples"
  }
}
We have only one statement in our program which is using the System.Console namespace. So we need download that dependency to run the program correctly. Since we are targeting the core CLR only we only needs to add it under dnxcore50, if you want to run on the full framework then add the reference under dnx451 also.
Other option I added here is the commands which we will use to run the program from the command line. The first part is the name of the command and the second part is the name of the folder where our program resides.
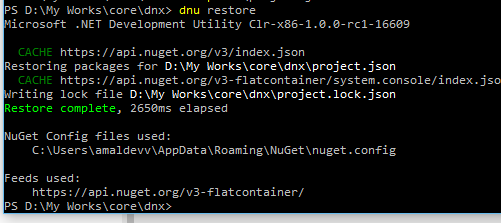
So whenever we make any changes in dependencies, we need to download the required packages using the dnu restore command as shown below
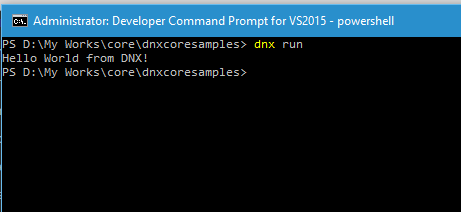
We are now ready to run our application from the command prompt. For that we just need to give the command dnx run
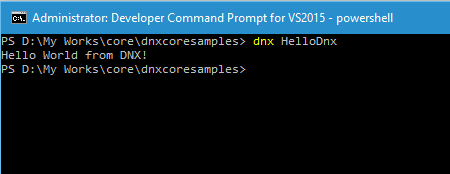
Also we can run our program using the command specified in the configuration file, use the name given for command along with dnx to run the program
The dnx run command will look for the entry point in the current directory, ie the main function in our progam and executes the code in it. If it's residing in another folder we can use the -project switch to specify the folder. In another post coming up in this series, I will be detailing about the various options in the dnx run command.
No Comments
Connecting Azure Blob Storage account using Managed Identity
Posted 12/9/2022Securing Azure KeyVault connections using Managed Identity
Posted 11/26/2022Manage application settings with Azure KeyVault
Posted 11/9/2022Adding Serilog to Azure Functions created using .NET 5
Posted 4/3/2021Learn how to split log data into different tables using Serilog in ASP.NET Core
Posted 4/23/2020