Getting Started with Angular Development Using Cloud9 Online IDE
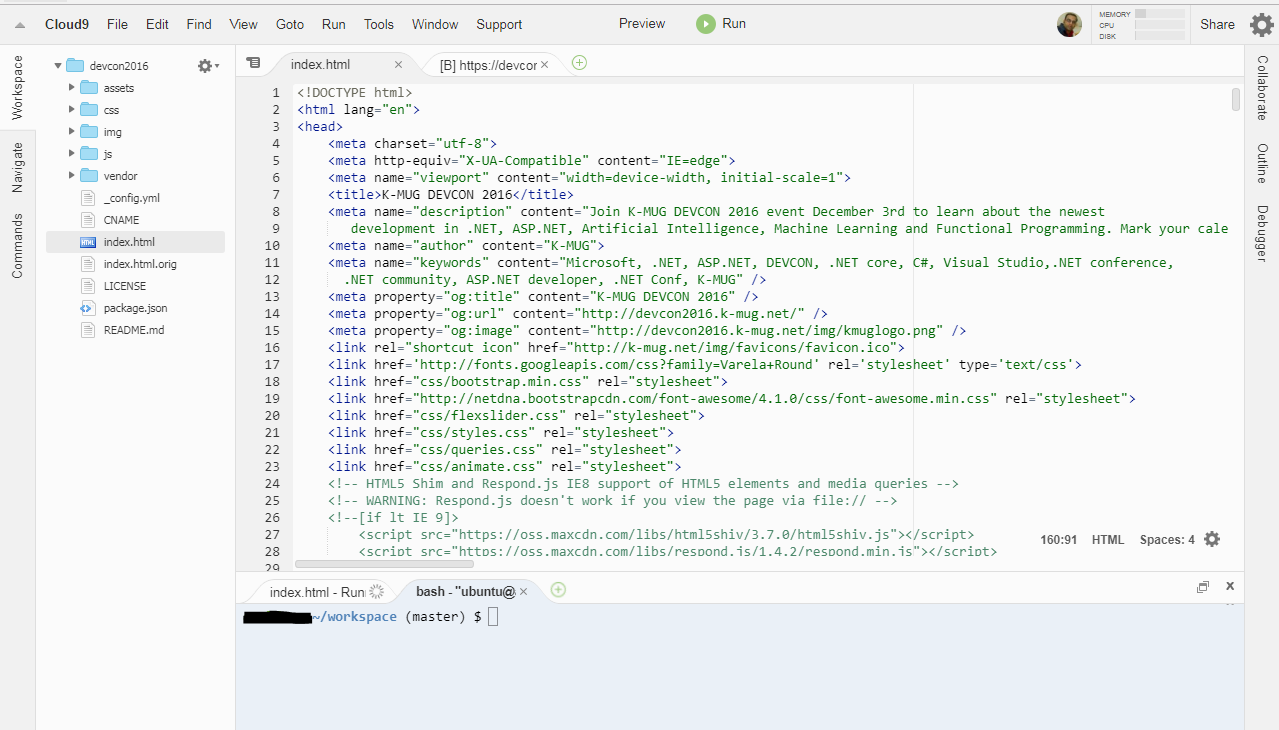
Cloud 9 is an online IDE hosted in the cloud and runs inside the browser. It's built on top of a Linux container and offers most of the features found in a standalone IDE. To start using it, one needs to create an account at Cloud 9 website. Once you created the account, you will be able to create workspaces as per your development needs. Given below is the screenshot of the IDE which I created for web development.
For using Cloud9 or c9 in short for all your development needs, you will need to create a workspace based on the Blank template as shown below
![]()
So we have now an empty Linux box and the next step is to install NodeJS into it. You can do it by executing the following command in the Terminal window
nvm install node
This command will install the latest version of the node in the box and you can check the version by executing the following command
node --version
Similarly, you will need Node Package Manager(
npm --version
The next step is to install the Angular CLI package which contains a set of tools which will help you to get started easily with Angular. The command is
npm install -g @angular/cli
Again the installed version can be found out using
ng --version
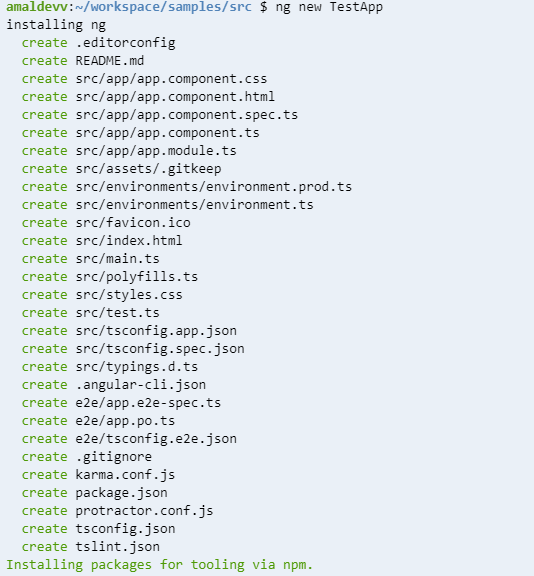
So we now have all the pre-requisites needed for creating an Angular App in our box. Let use the ng new command to create a new Angular App as shown below
ng new <app name>
To run the application, use the following command
ng serve --host 0.0.0.0 --port 10090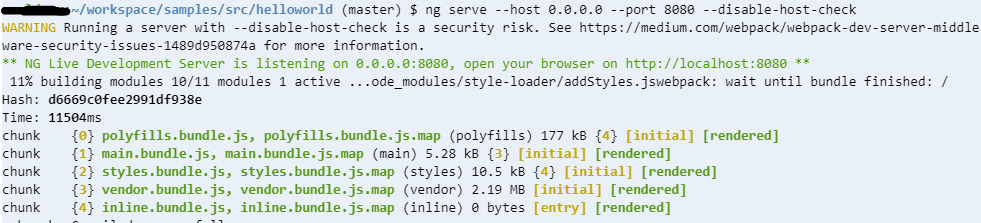
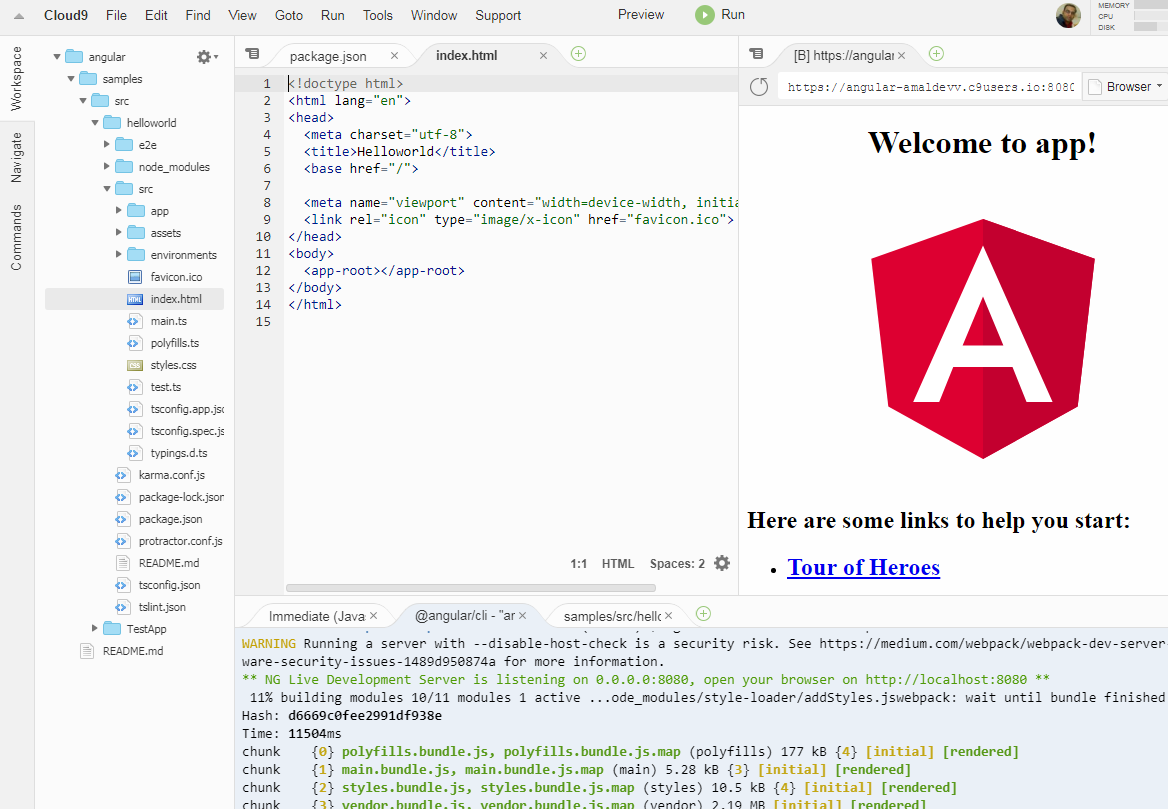
Now to view the application in the browser, click on the Preview link at the top. It will open a new tab as shown below
No Comments
Connecting Azure Blob Storage account using Managed Identity
Posted 12/9/2022Securing Azure KeyVault connections using Managed Identity
Posted 11/26/2022Manage application settings with Azure KeyVault
Posted 11/9/2022Adding Serilog to Azure Functions created using .NET 5
Posted 4/3/2021Learn how to split log data into different tables using Serilog in ASP.NET Core
Posted 4/23/2020