D-17 : Login Options in Windows 10
Apart from the normal login screen that’s been there Windows 7, Microsoft has include lot of other alternatives in Windows 10. It will include support for facial, iris and finger print recognition provided your desktop/laptop/tablet/phone has necessary sensors. They have built in another feature codename “Passport” which will hep the users to setup a pin for their account which can be used for logging in to the system instead of the password in the login screen.
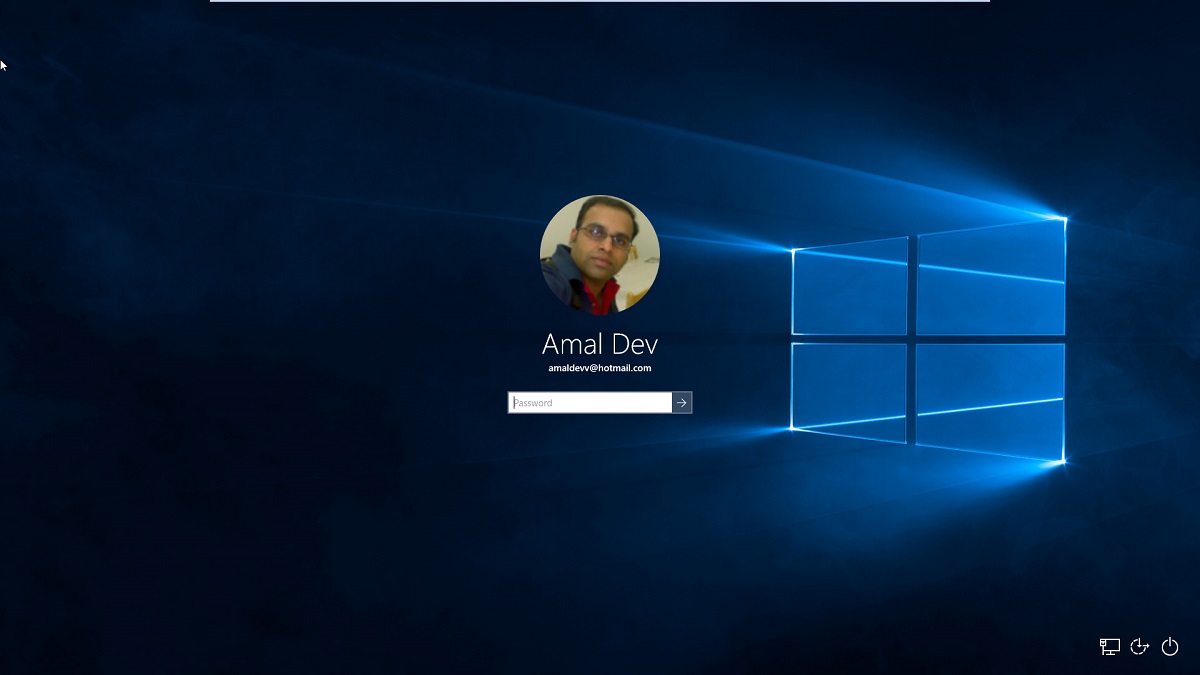
The classic login screen will have all new icons for network, accessibility and power and the password field will have an arrow icon which acts as the submit button.
1. Windows Hello
The new biometric framework is called Windows Hello which is built in to the operation systems and that means user will get a consistent user experience regardless of the vendor who has developed the hardware. It can also be used to authenticate not only Windows but also applications, business applications as well websites bypassing the login. Also all the biometric data is stored locally only and not on Microsoft’s servers there by avoiding the privacy concerns. Microsoft uses a combination special hardware and software which will prevent fake log in attempts like using a photo to verify a user. Also it’s an opt-in feature meaning it’s turned off by default and can be enabled from the Settings page.
2. Passport
According to Microsoft, Passport is a code name for the programming system that IT Manager, software developers and website authors can use to provide a more secure way of letting you sign in to their sites or apps. The primary purpose of these two technologies is to unseat Passwords as the primary method for protecting personal information which is becoming vulnerable these days and also its very difficult to remember all those passwords which we will be having for different sites. In Windows 10, technologies such as Passport will help you to authenticate websites and applications without sending the password there by reducing risk of compromising it during an exploit by a hacker in the server.
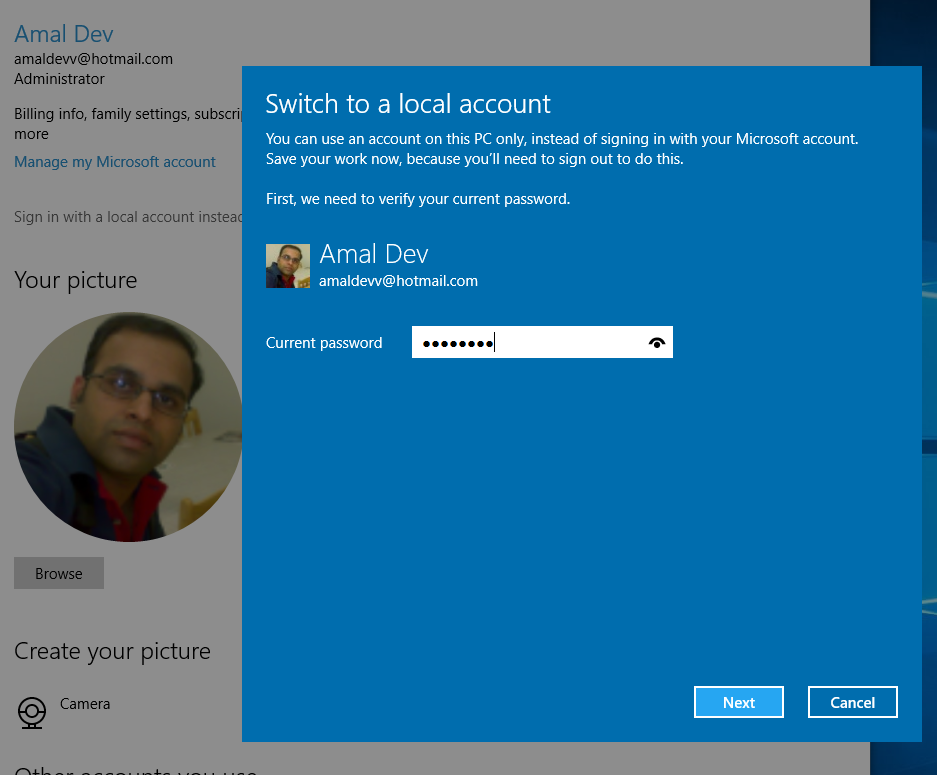
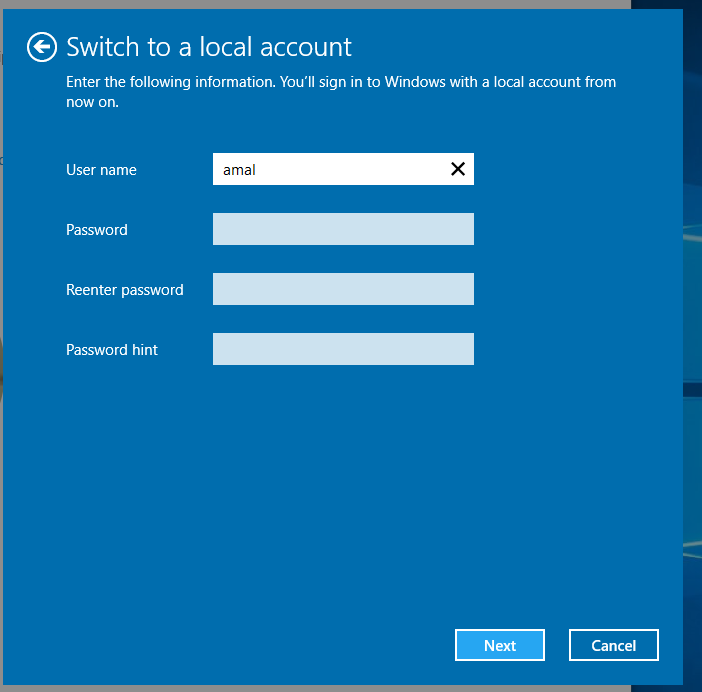
3. Switching to Local Account
I have selected the Microsoft Account as my login during the installation and now for switching to local account can be done from Settings -> Accounts -> Your Account

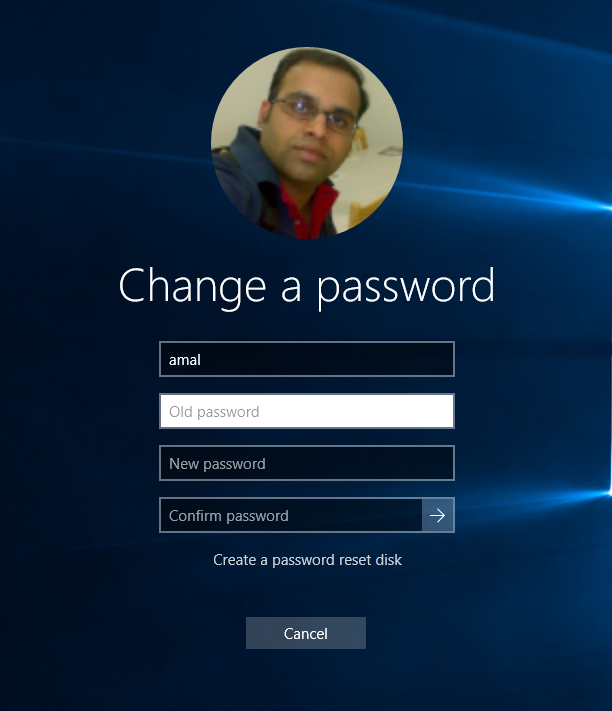
4. Changing Password
You can change password from Settings -> Accounts - Sign in Options
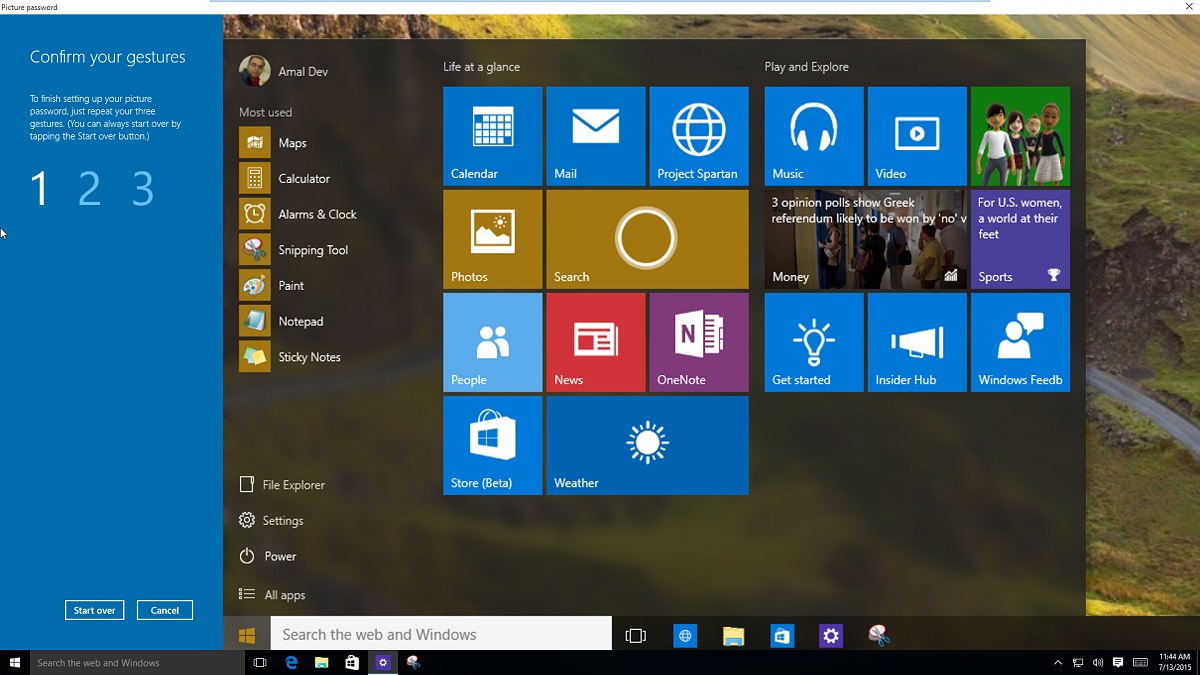
5. Setting up Picture Password
You can set picture password from Settings -> Accounts - Sign in Options


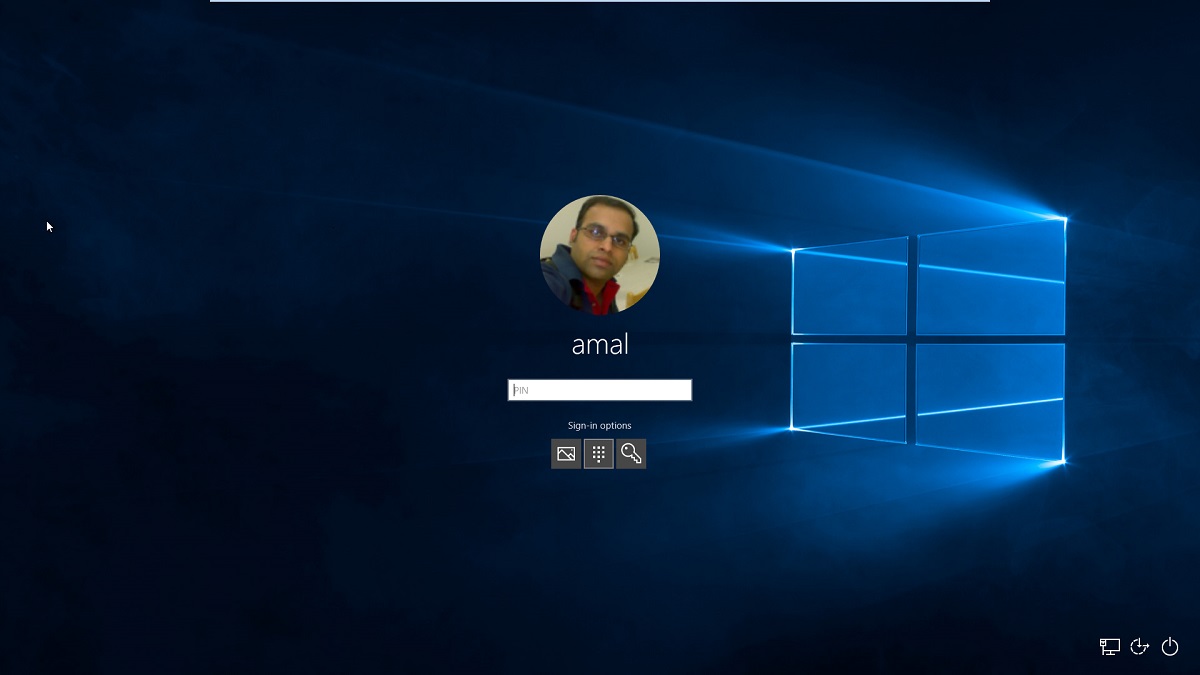
6. Setting up PIN
You can set pin from Settings -> Accounts - Sign in Options

Once you are finished with setting up pin and picture password, your login screen will list out all three and you can select any one of them to login to the system.
No Comments
Connecting Azure Blob Storage account using Managed Identity
Posted 12/9/2022Securing Azure KeyVault connections using Managed Identity
Posted 11/26/2022Manage application settings with Azure KeyVault
Posted 11/9/2022Adding Serilog to Azure Functions created using .NET 5
Posted 4/3/2021Learn how to split log data into different tables using Serilog in ASP.NET Core
Posted 4/23/2020