Creating NuGet Package using .NET Core CLI
NuGet is a great tool in managing your third-party dependencies as well as in distributing your own libraries. The dotnet pack command available in .NET Core CLI toolset will help you to build the project and creates a NuGet package. The output of this command will be a .nupkg file which can be used to push to a public registry like nuget.org or to any other private registries.
Let's start with a .NET Core class library project and see how we can pack that using the CLI toolchain
dotnet new class --name SampleLib
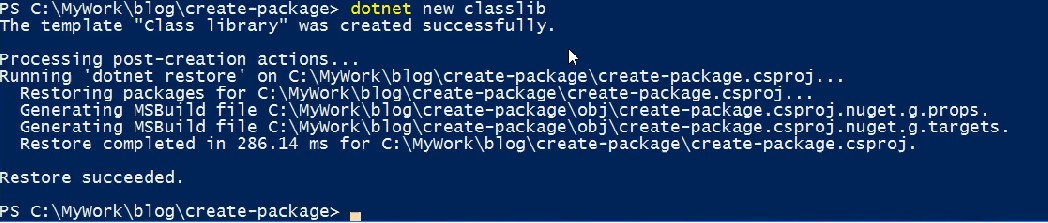
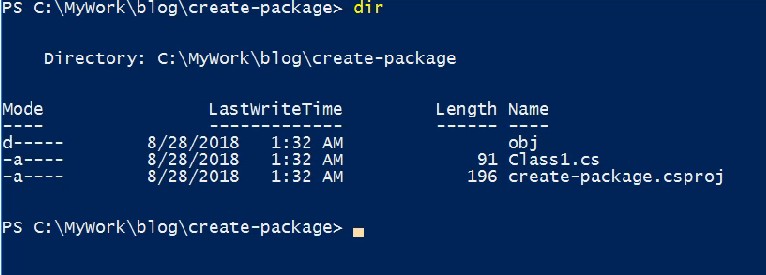
It will create a new project with one file in C# inside it. Let's create a package using the below command
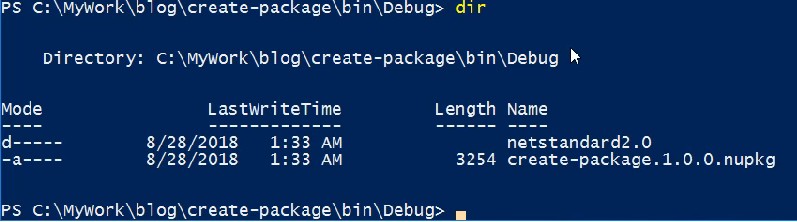
dotnet pack

When it's executed it will search for the project file in the current directory, then restores the dependencies, builds the project if it's found and packages it. If your project is in a different location then you need to specify the path along with the project name.
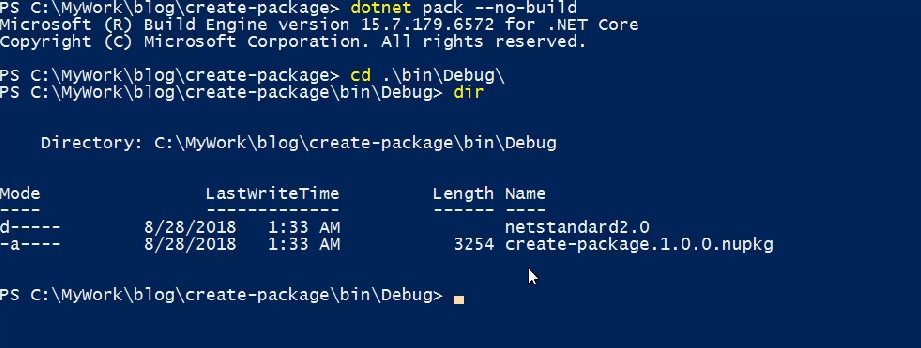
You can avoid the building of the project while creating the package by specifying the --no-build parameter along with the pack command
dotnet pack --no-build
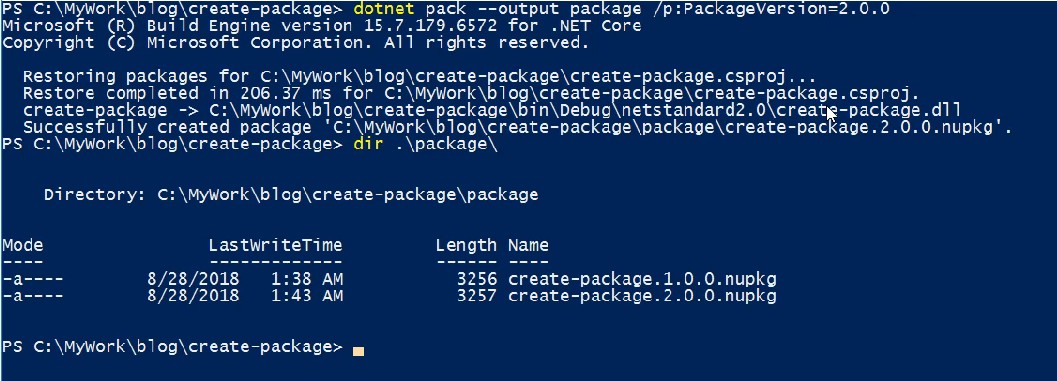
From the above images, you will see that the version of the package is always 1.0.0, to change that use the PackageVersion parameter. Also, to create the package in a custom location, you can see make use of the --output parameter as shown below.
dotnet pack --output package /p:PackageVersion=2.0.0
Note: Please note that the dotnet pack command won't work for web projects by default in .NET Core 2.X. In some scenarios say while building a DevOps pipeline for your web application you may need to package your web project too. To enable this you will need to add the following snippet in your .csproj file
<PropertyGroup>
  <IsPackable>true</IsPackable>
</PropertyGroup>
No Comments
Connecting Azure Blob Storage account using Managed Identity
Posted 12/9/2022Securing Azure KeyVault connections using Managed Identity
Posted 11/26/2022Manage application settings with Azure KeyVault
Posted 11/9/2022Adding Serilog to Azure Functions created using .NET 5
Posted 4/3/2021Learn how to split log data into different tables using Serilog in ASP.NET Core
Posted 4/23/2020