Scaffolding Using Yeoman
Today, I am going to explain the scaffolding process using Yeoman. If you are hearing the word Yeoman for the first time, please refer my earlier post on Introuduction to Yeoman to get a better idea.
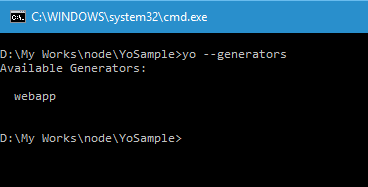
So let's see what all generators are installed in the system using the command
yo --generators
![]()
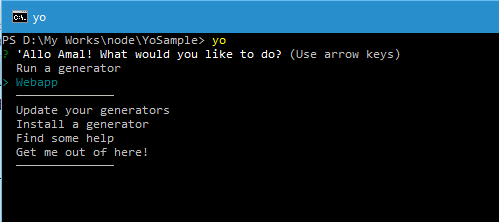
There are no generators available in my system right now. So let me install one using the Install command or use the option from the menu
yo
So let's install the webapp generator using the following command.
npm install --global generator-webapp

This will install the webapp generator globally and if you run the yo --generators command, it will list the newly added generator. Now let's create a folder for our project and run the following command from the root folder of your project to scaffold items.
Before doing that you need to make sure that you have bower and gulp already installed in your system. Otherwise you won't be able to proceed with the scaffolding operation. I have already blogged about the installation procedure for bower and gulp and use the below links for accessing it
Installing Bower on your Windows machine
Run the statement below to start the scaffolding.
yo webapp
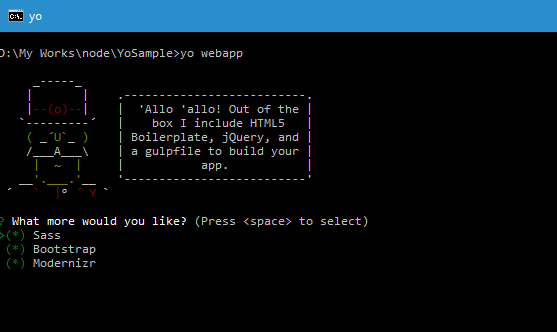
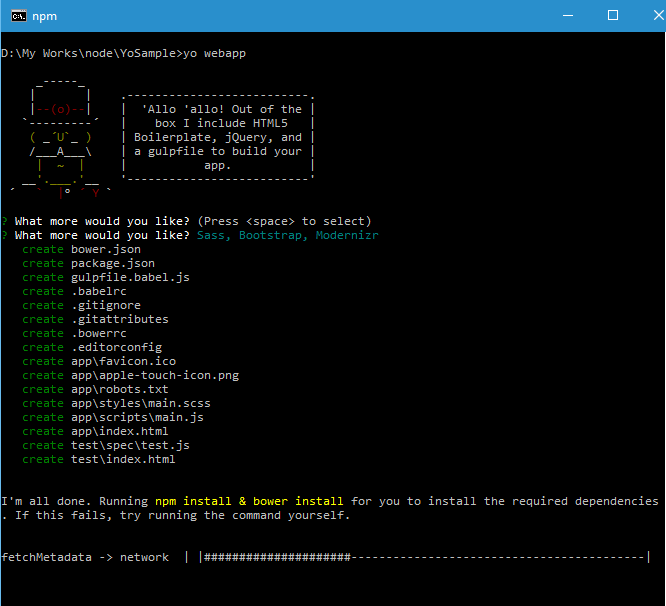
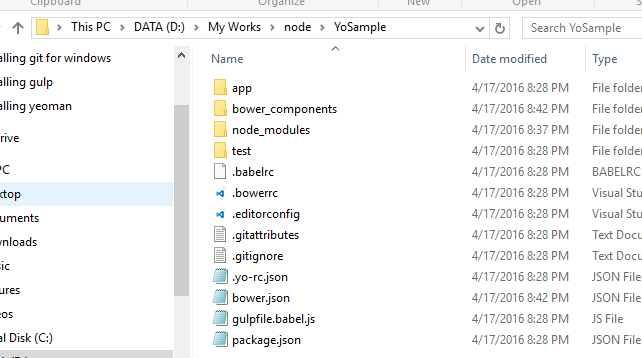
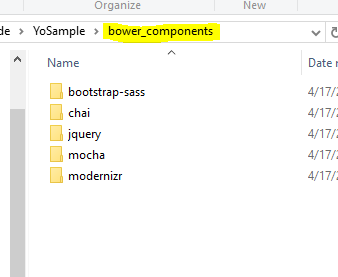
Once the execution is completed, you can see the folders and files being created inside our root folder. And if you inside the bower_components folder, you can see all the packages used by the project there.
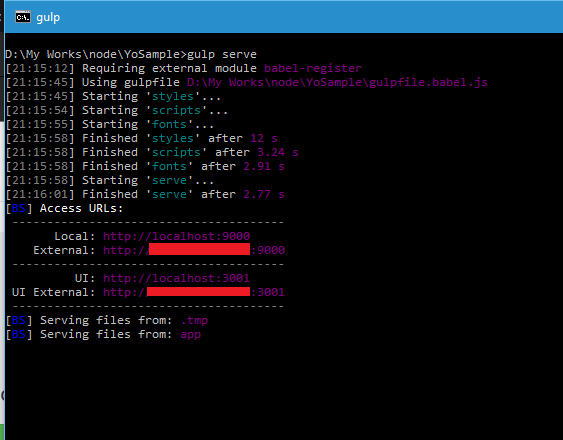
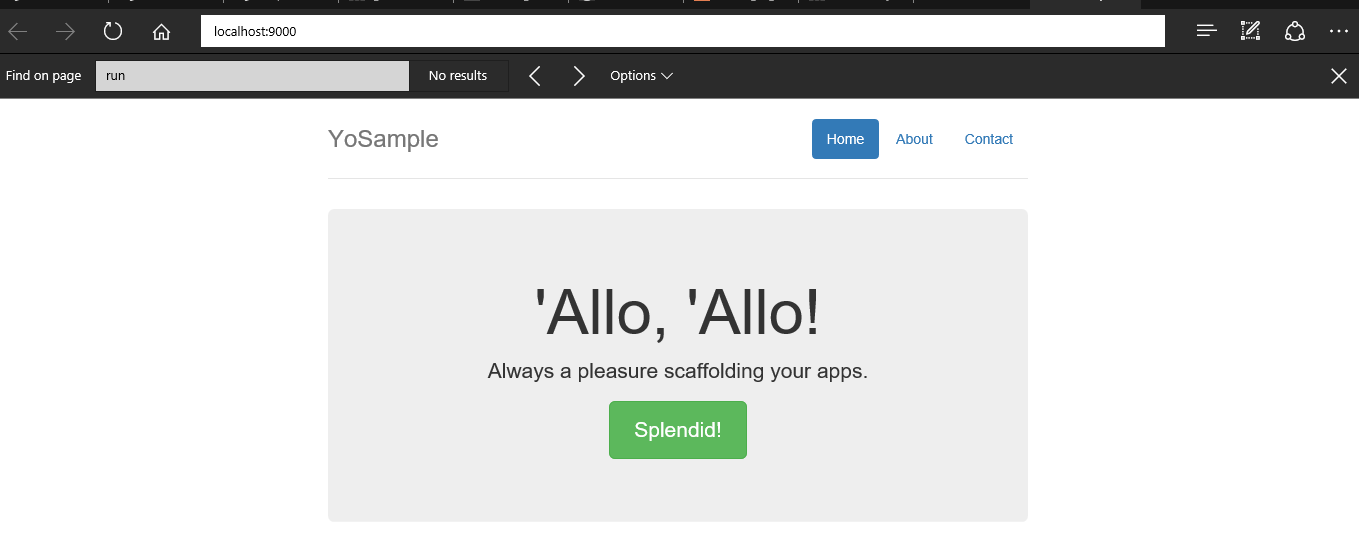
Once the scaffolding is completed, you use the gulp serve command to preview the changes in the browser.
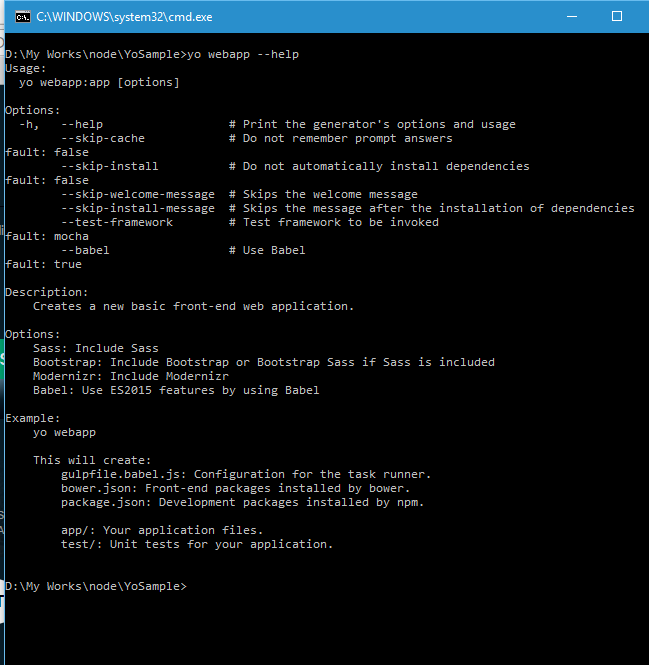
You can get the help for webapp command by executing the following statement
yo webapp --help
No Comments
Connecting Azure Blob Storage account using Managed Identity
Posted 12/9/2022Securing Azure KeyVault connections using Managed Identity
Posted 11/26/2022Manage application settings with Azure KeyVault
Posted 11/9/2022Adding Serilog to Azure Functions created using .NET 5
Posted 4/3/2021Learn how to split log data into different tables using Serilog in ASP.NET Core
Posted 4/23/2020