Part 1 : Installing Windows 8
Microsoft will be releasing the latest version of their operating system named Windows 8 very soon and infact it's already available for download for MSDN and Technet subscribers.
For the unlucky ones like me has the option to download a 90 day evaluation of the same from here.
Before you go for downloading, you have to take a note of couple of points
- This evaluation version will expire after 90 days and wont be able to upgrade.
- It's better to go for the installation in a virtual environment so that it will be easier for you to upgrade from your existing version. Otherwise you will have to uninstall the evaluation first and then do an upgrade.
- Inorder to the get the link for the download, you have to should have a Microsoft Account and should also activate the product within 10 days of installation.
You have options for 32-bit and 64-bit versions which is available in ISO format. You can get more details from here.
So I have chosen the 64-bit version which is around 3.5 GB of size and I will be using Oracle Virtual Box for virtualization. It's a well documented fact that MS is not supporting either Virtual PC or
VMware as virtual environment tools.
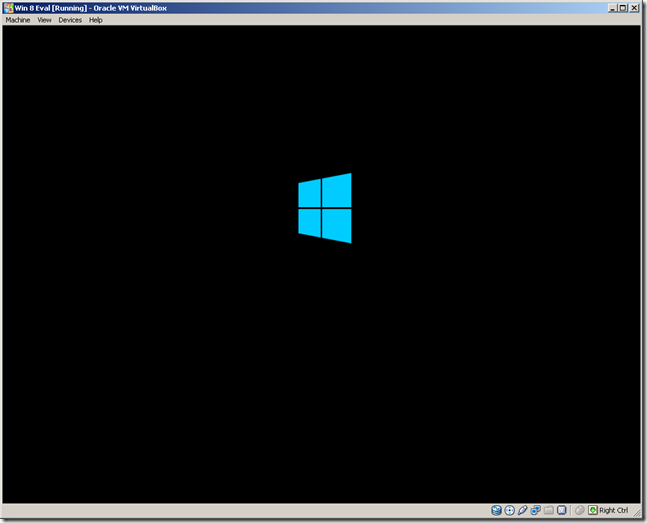
First you have to either mount the ISO image as a drive or you can burn the image on to a disc and use that as an bootable disk to start the setup process. Upon booting you will be presented
with a splash screen featuring the much talked about new windows logo as shown below.
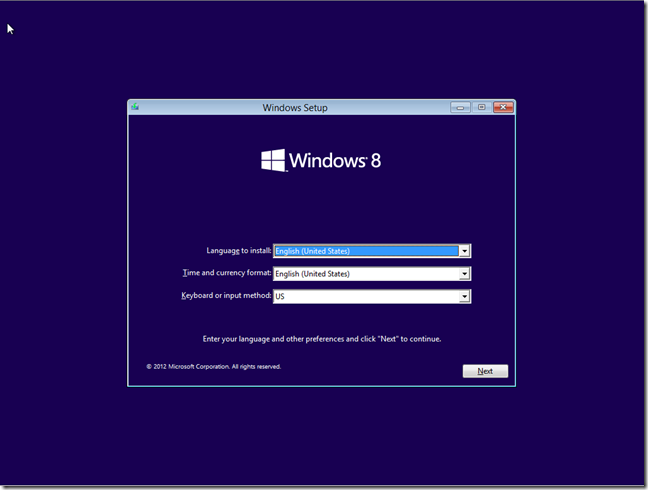
In the next screen you will be asked to selected the regional preferences and language settings
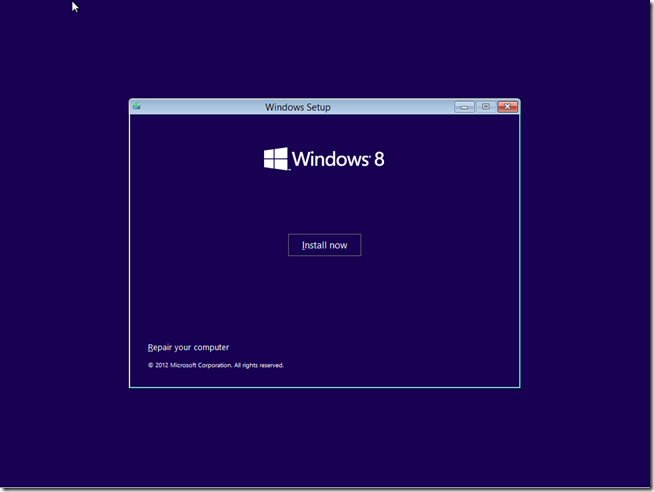
In the next screen, you will be provided with two options, Install and Repair. Since we are going for a fresh installation,
will have to click on the Install Now button.
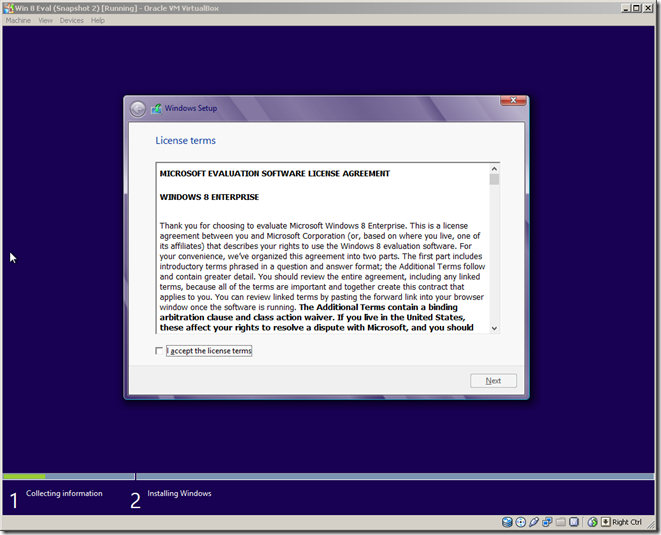
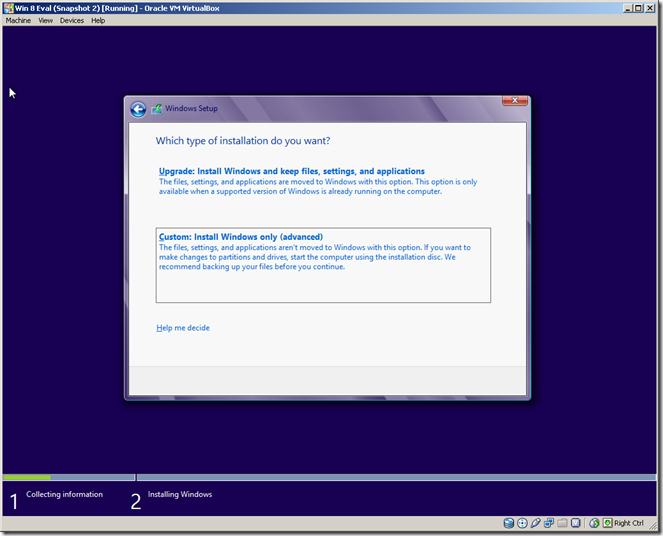
After you agree the terms and conditions, you will be provided with options to whether to go for an upgrade or to a custom
windows installation, in our case we will be choosing the latter option
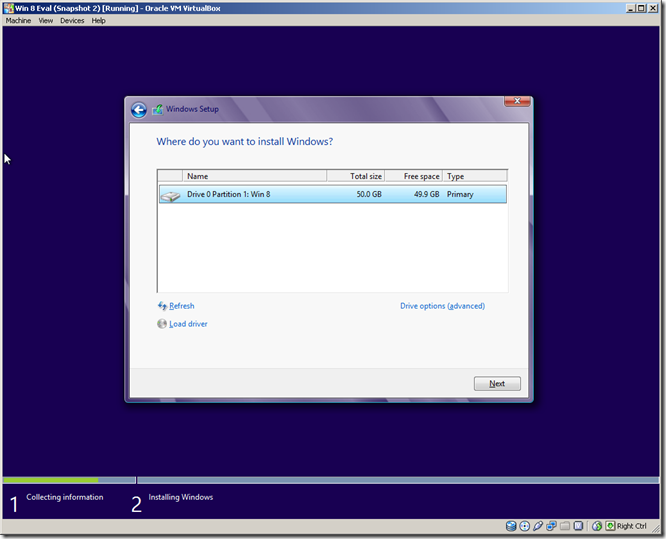
Next up is to choose the drive to install the OS, In this case since we are setting it up in a virtual environment, I had created
only a single virtual disk which will be highlighted by default. So we will just select the default option in this screen
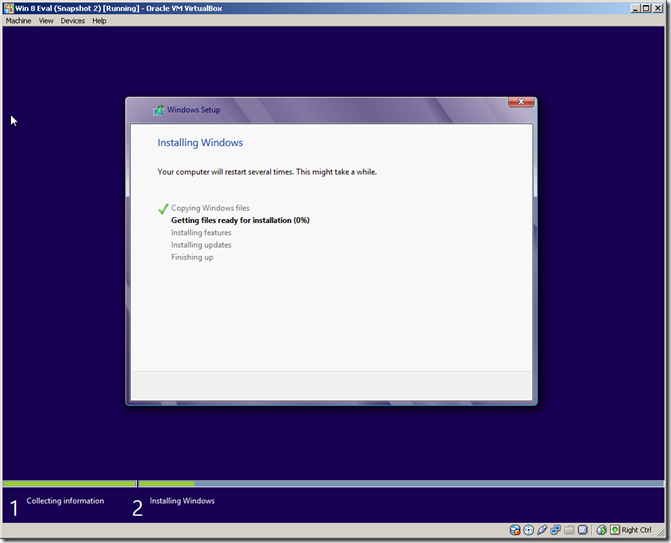
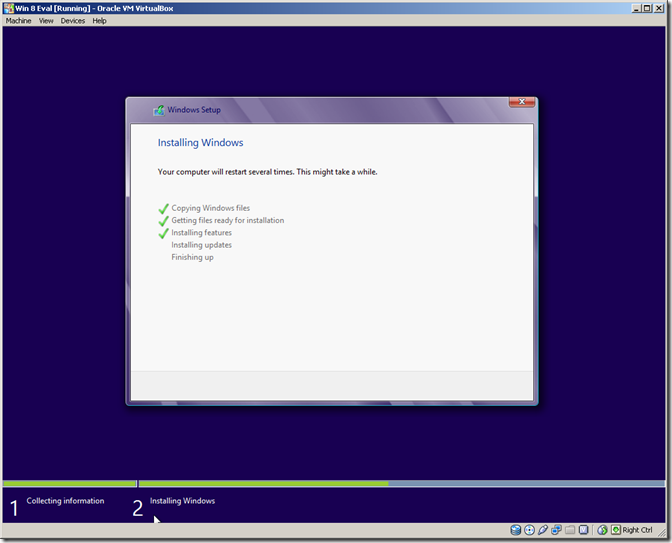
By now the installer has collected all the information needed for the installation and will start the process and next couple
of screens will give show the progress of the installation.
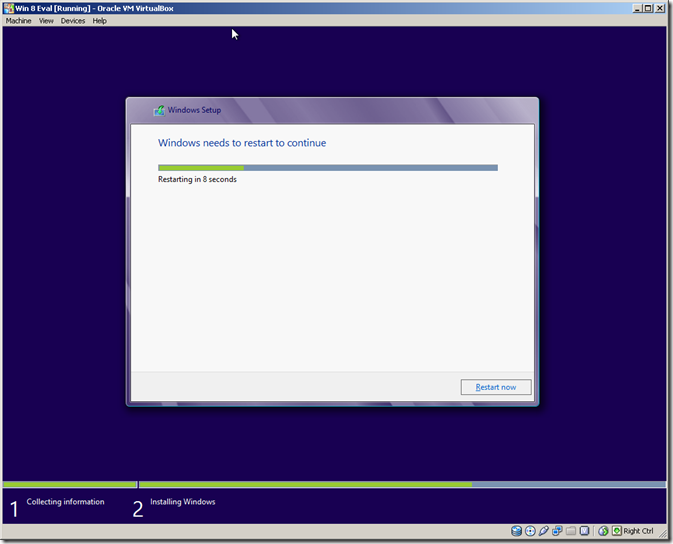
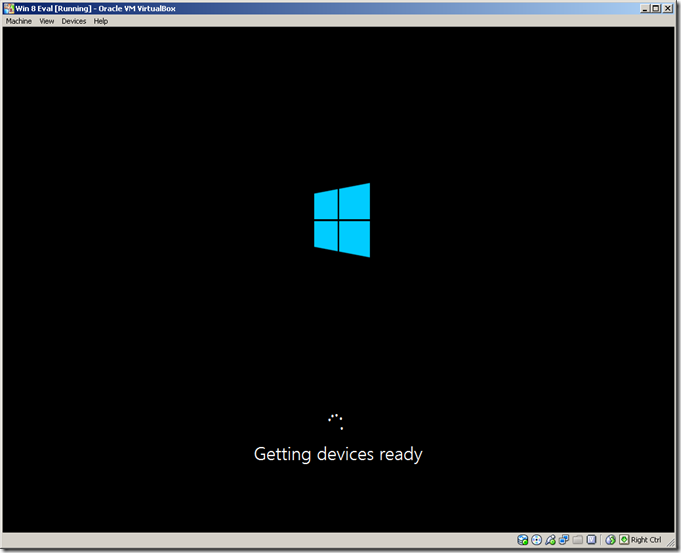
Once this process is finished, the installer will reboot the system and you have to wait for some minutes until it finishes the
installation as shown below
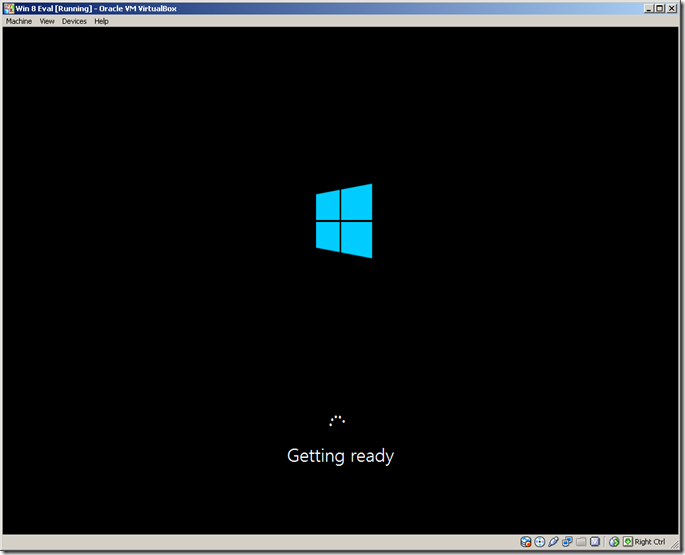
Once again after this step, system will go for a restart. When you boot again you will be presented with a screen to setup some
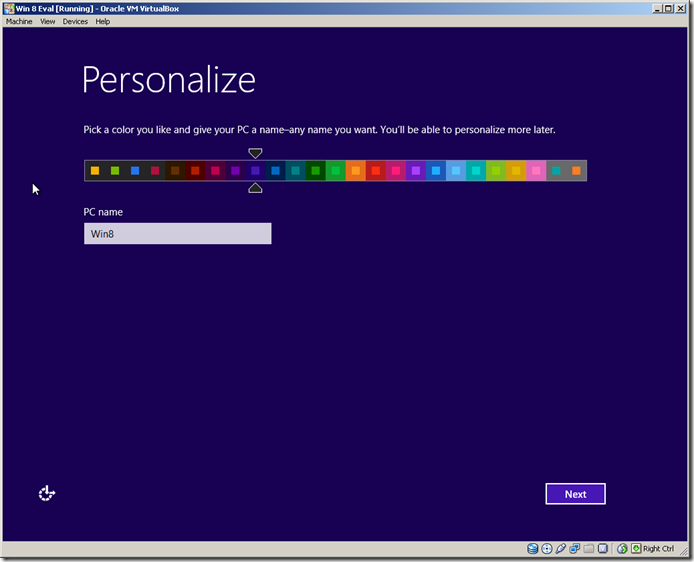
basic information to get started with Windows 8 as shown below.
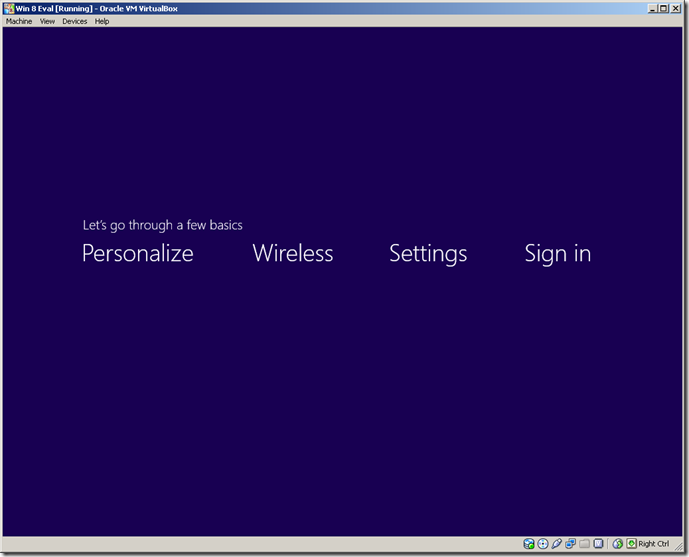
The first one is to give a name for the PC and to select a color which is to be used as main background color. Unlike the other
version which were available earlier, the default color is dark blue. If you doesn’t want to change the color at this moment, you
can go ahead with the default color and then change it from the Settings app at some time later.
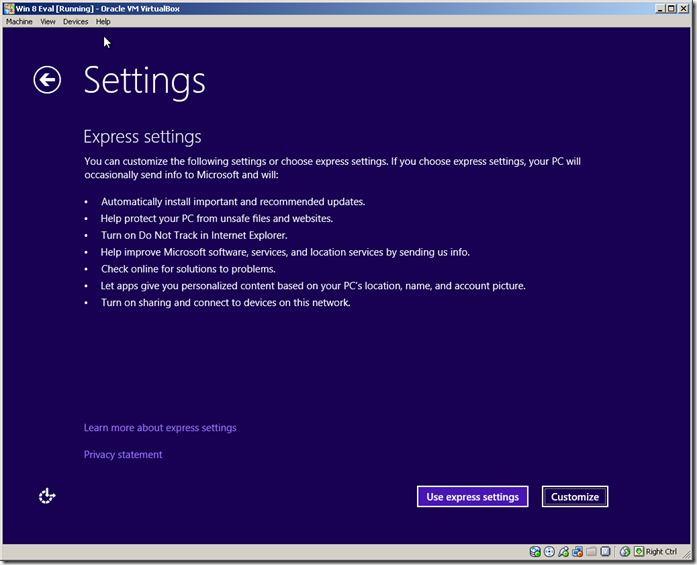
In the next screen you will be provided with two options to select the settings.
1.Express Settings – will setup the system as per the default actions shown in the image
2.Customize – If you select this one, then you will have to set options for each of the applications one by one
For the time being I will select the express option and will move on to next screen
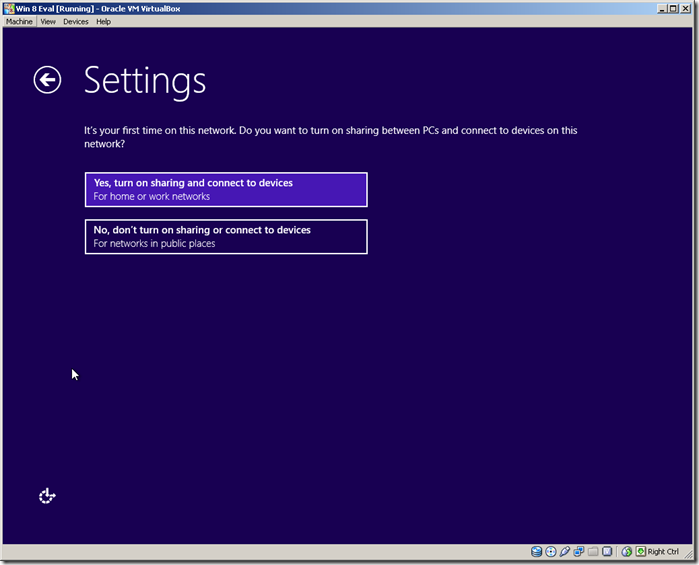
Next up is select the network sharing options. I chose to turn on the network sharing coz I need to transfer files between my
operating systems.
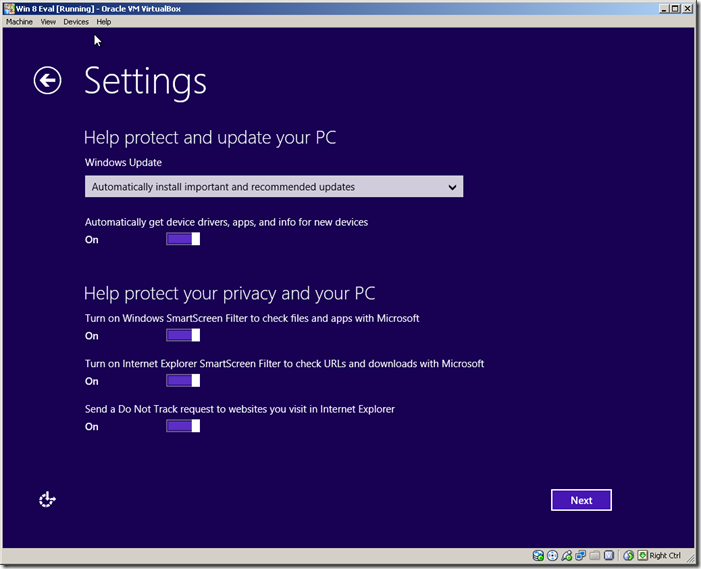
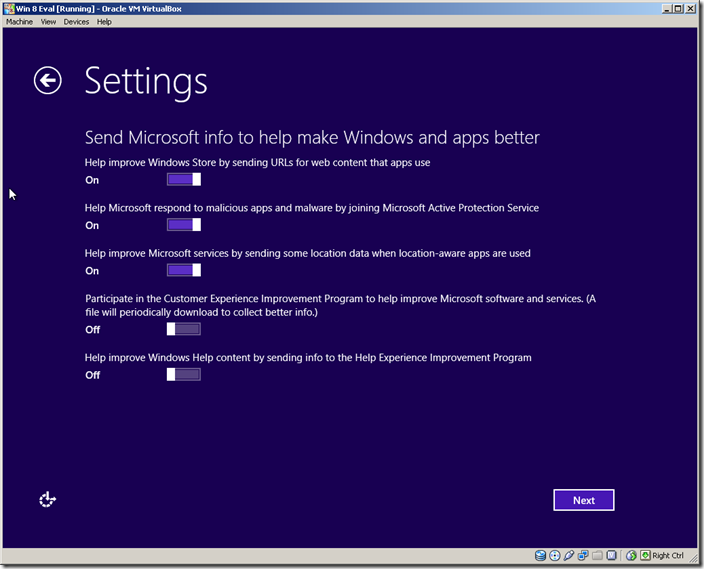
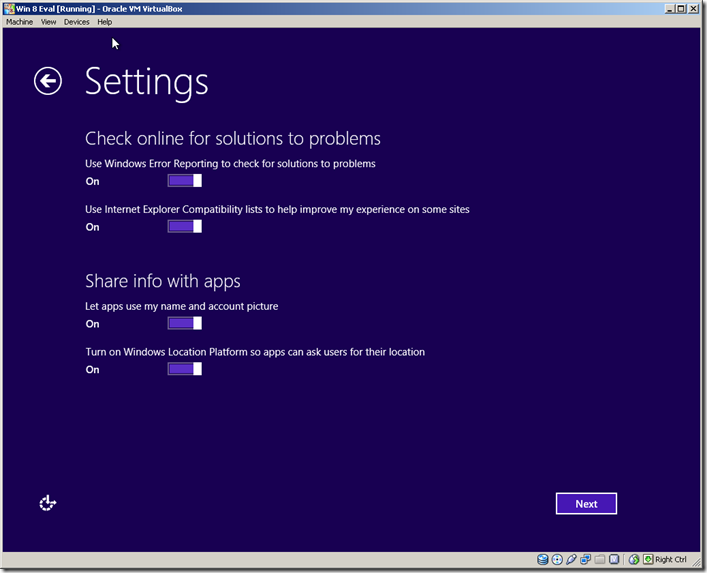
In the next couple of screens , will be choosing all the default options for setting Privacy, Feedback, Troubleshooting options.
Next up is an important feature for using Windows 8. You can use your Microsoft account for logging into your PC. The main
advantage of this is that all your preferences are stored in the cloud which means that you will be presented with the same
look and feel whenever, wherever you logs in. From the options in the below screenshot you can see that they won’t force us to
use the above said method for authentication.
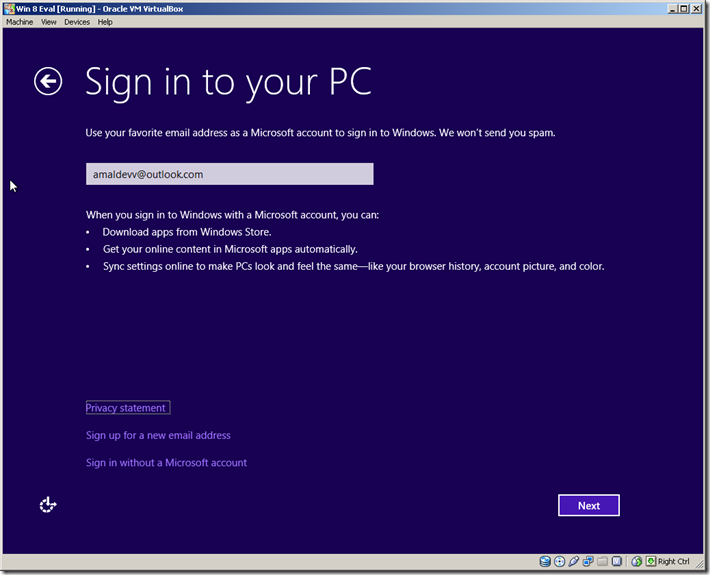
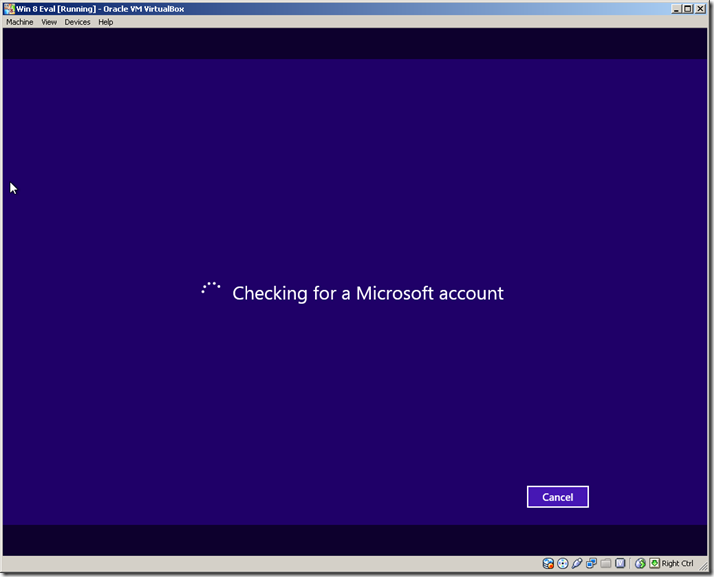
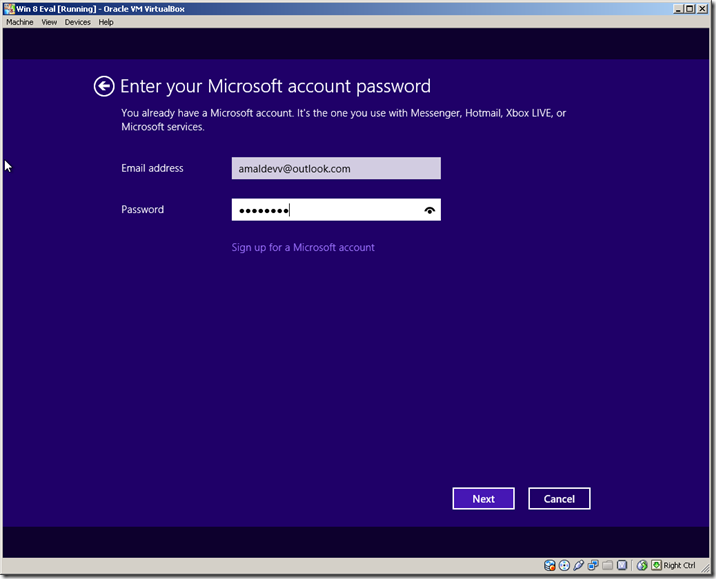
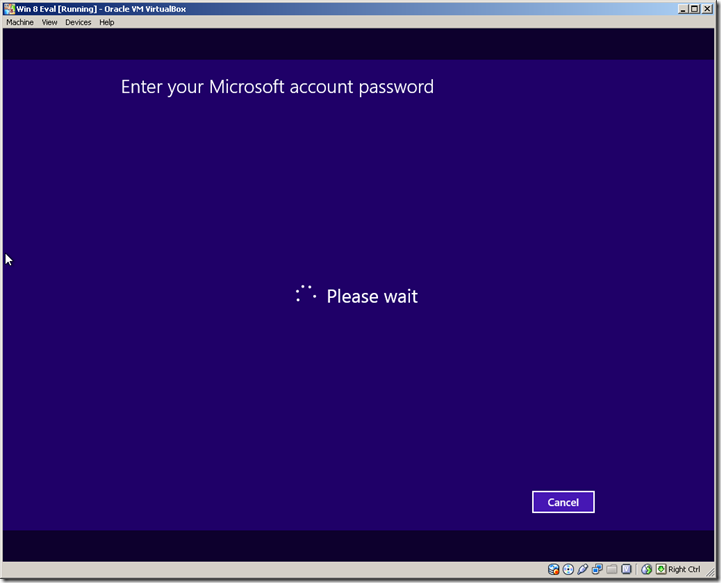
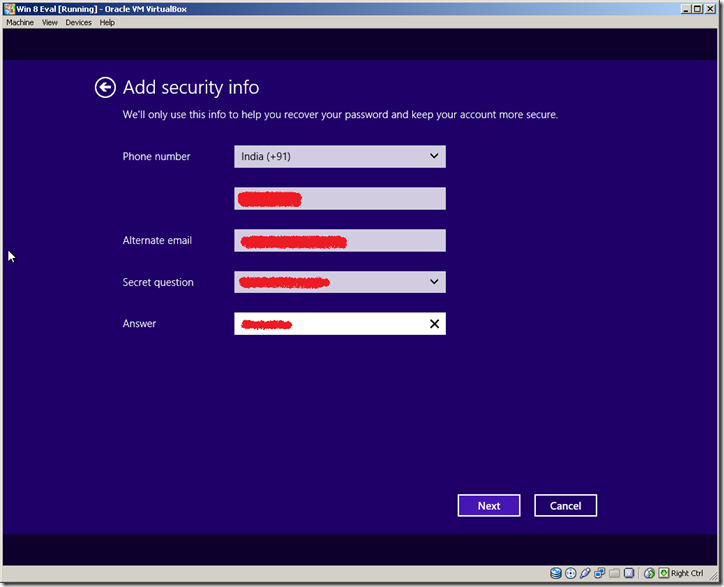
For now, I selected the first option for logging into the OS and after that it will verify the account and then checks the credentials.
So needless to say that if you select the first option, then your PC should have to be connected to the internet.
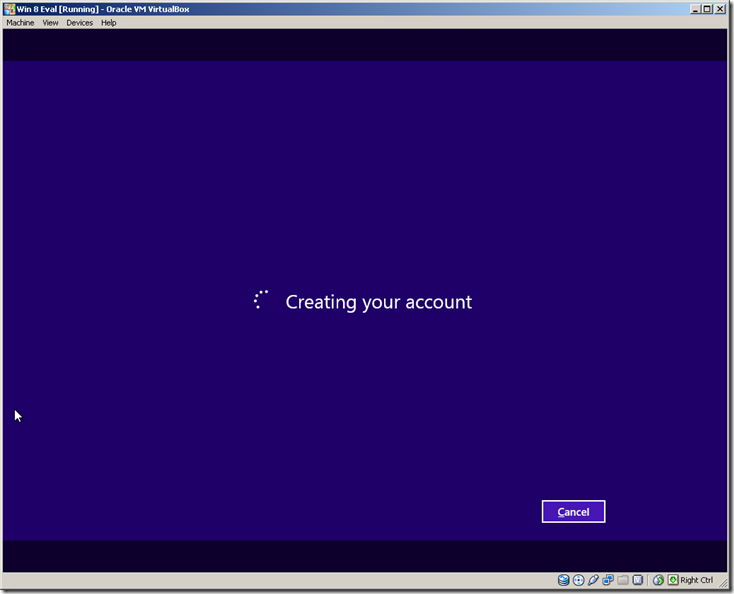
Once all the information is collected the system will create a local account
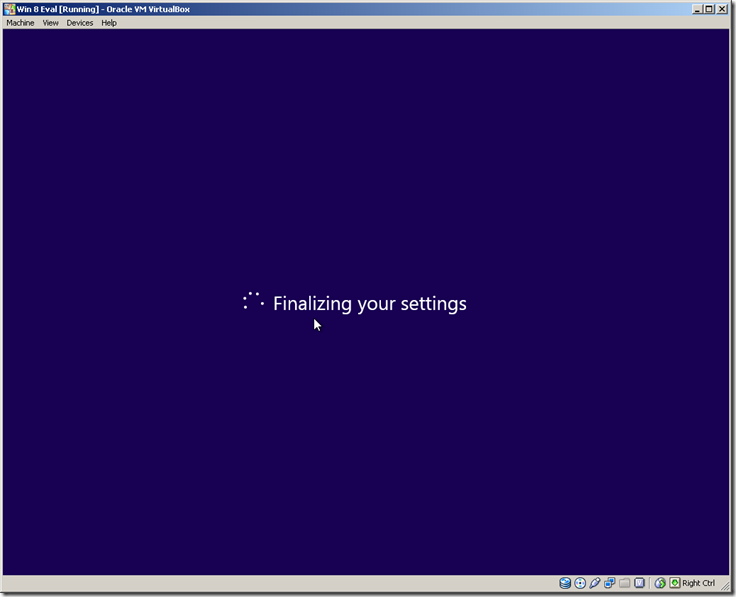
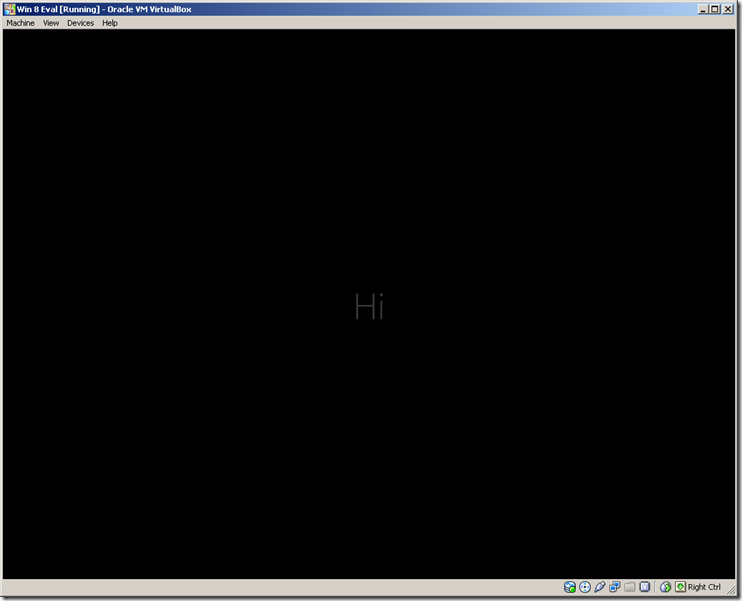
In the next couple of screenshots you will notice some new things for an OS installation, after all the finalization is done, you will be
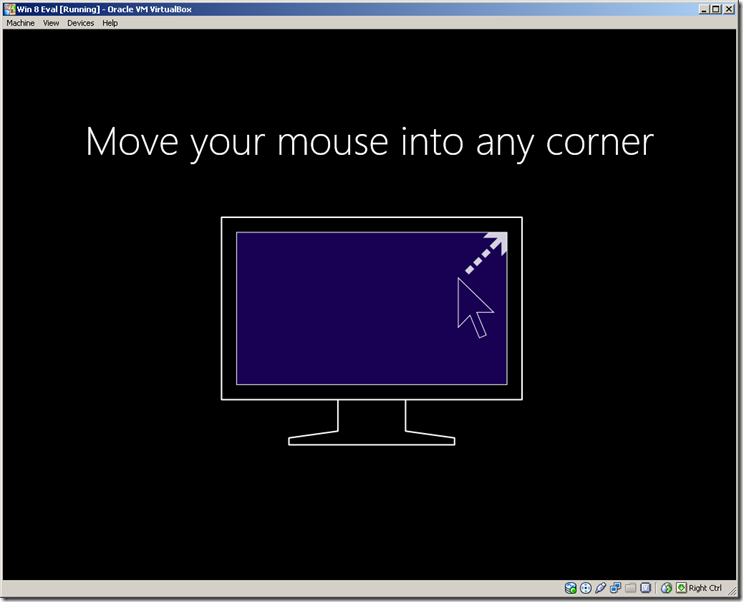
welcomed by an “Hi” message. And after that you will be shown a small tutorial on how to use Windows 8. If you are new to
Windows 8 or haven’t heard anything about Windows 8, I advise you to go through the animation carefully, otherwise you may find it
difficult to use it for the first week or so.
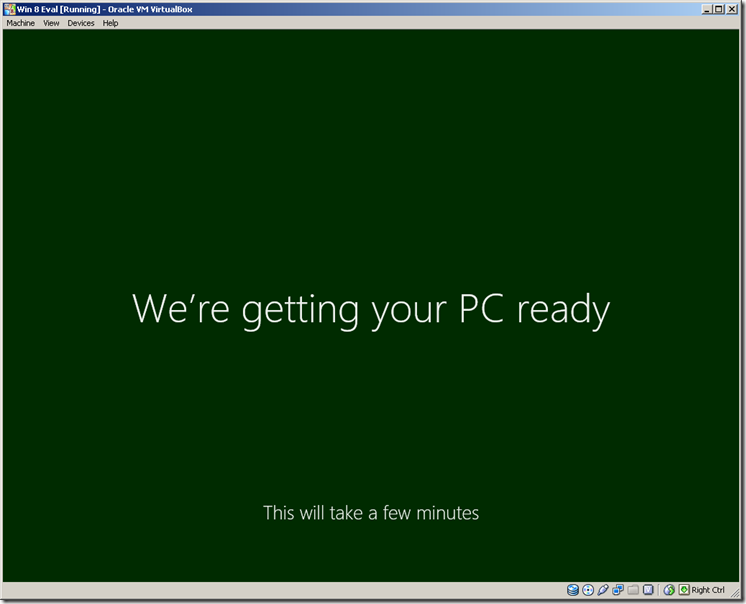
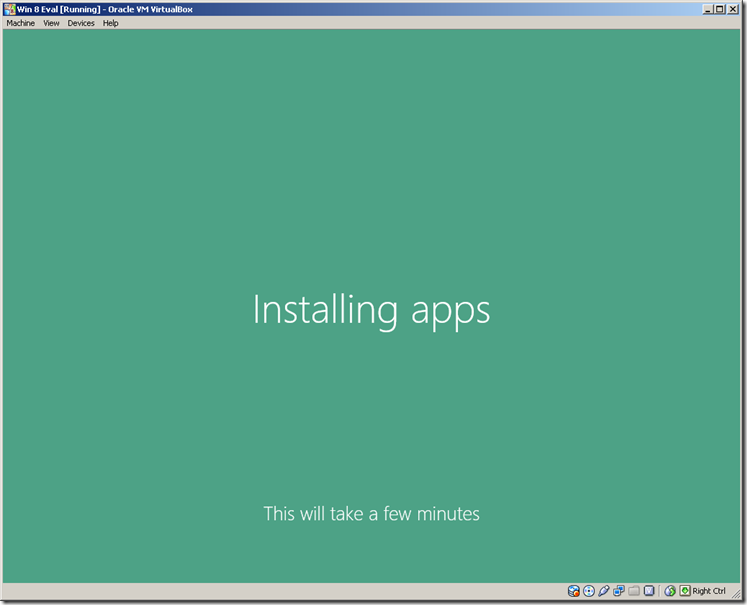
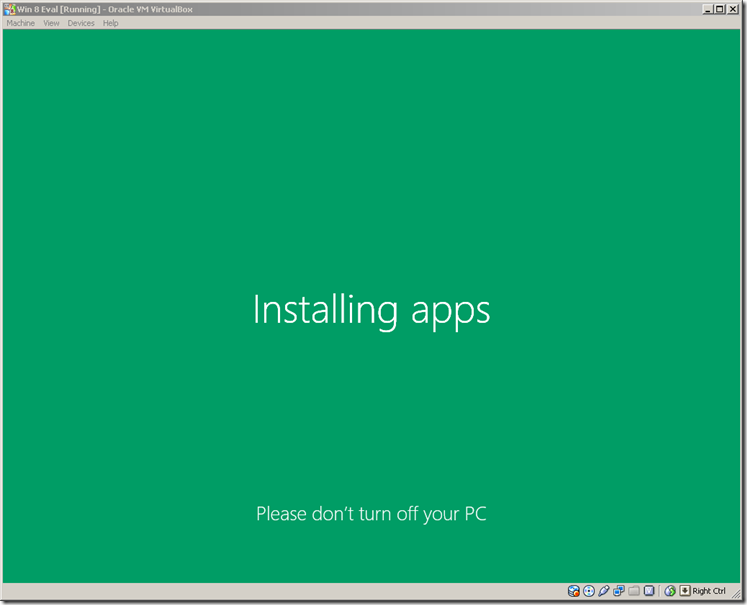
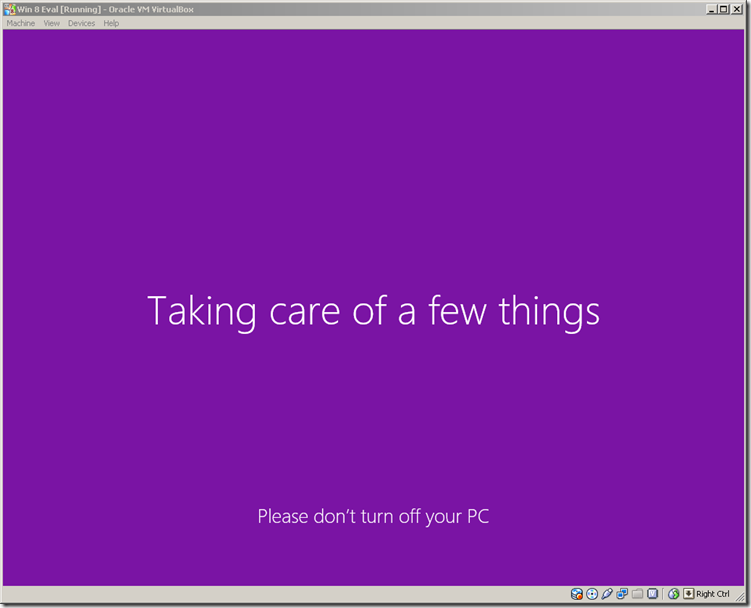
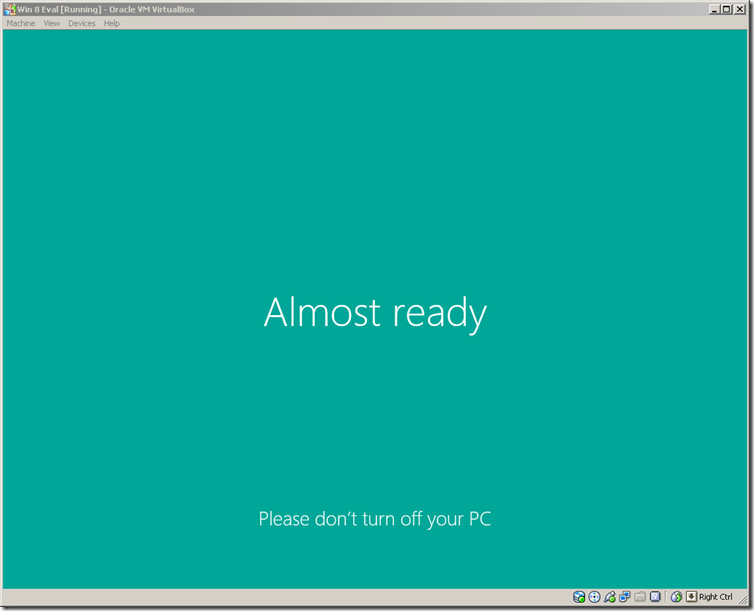
Now the system will be installing all the default apps which may take some time depending upon the connectivity and configuration
of your VM. You may notice that the progress of the installation is shown by changing the background color as shown in the following
screenshots
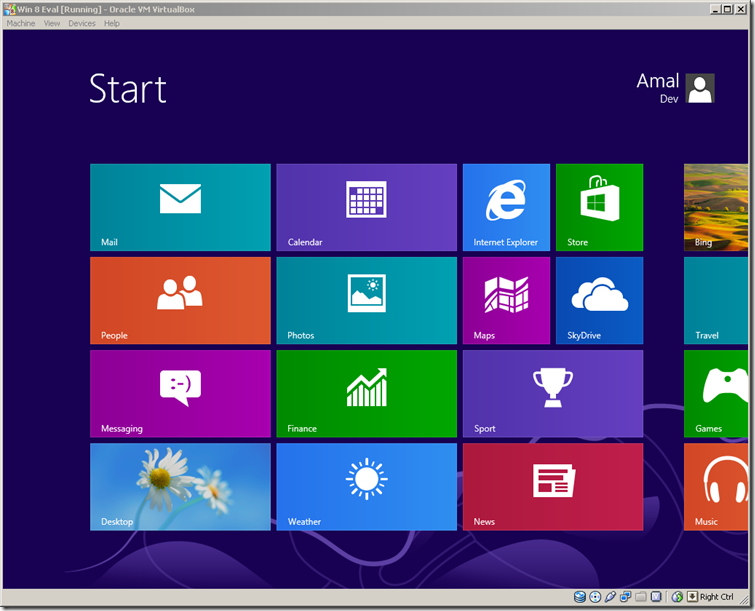
And voila…. presenting the new home of Windows…
No Comments
Connecting Azure Blob Storage account using Managed Identity
Posted 12/9/2022Securing Azure KeyVault connections using Managed Identity
Posted 11/26/2022Manage application settings with Azure KeyVault
Posted 11/9/2022Adding Serilog to Azure Functions created using .NET 5
Posted 4/3/2021Learn how to split log data into different tables using Serilog in ASP.NET Core
Posted 4/23/2020
