Getting Started With Yeoman
Yeoman is another great code generator which can create any type of app. It's a language agnostic scaffolding system which helps us to get started with projects very easily and rapidly.
The main component is the generators which are like plugins for Yeoman. It's the role of these generators to create the project for different types of languages such as C#, Python, Java etc. There are tons of generators available in the public domain which helps you to get started with most of the languages under the sun.
In couple of earlier posts, I had gone through the process of installing and setting up Node.js in your local machine. If you have missed that part, you can refer them in the links given below.
Installing node.js in Windows 10
Creating Your First Application With Node.js
Along with Node.js some other utilities will also get installed during the installation of node and one of them is Node Package Manager or npm. For installing Yeoman, npm is needed because Yeoman is being delivered as node package.
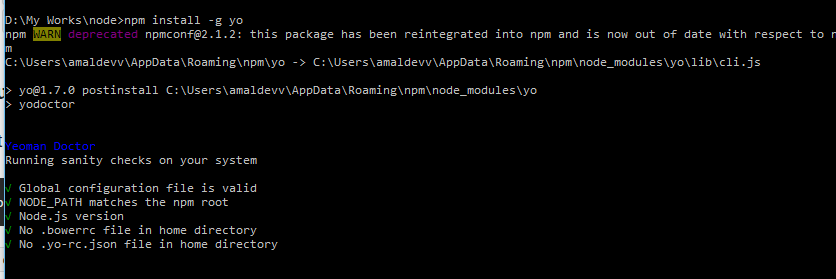
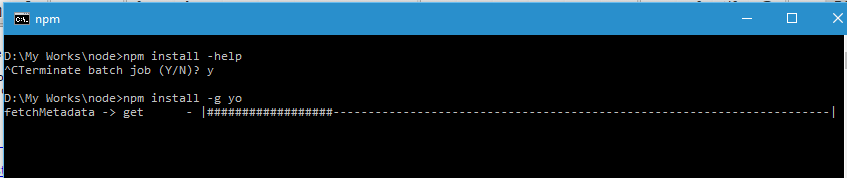
Yeoman has a command line utility called yo which is used for creating projects using generators. So we will go ahead and install yo using npm using the command below.
npm install -g yo
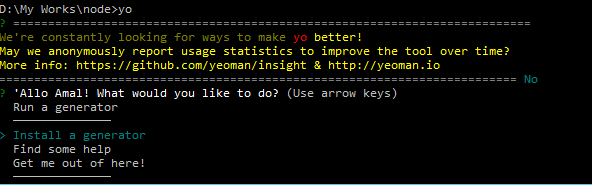
Once the install is completed, you can verify whether it's installed correctly or not by running the yo command in the CLI. When you run it for the first time, it will ask your permission to send usage statistics to yeoman. You can respond with a yes or no and after that a welcome message is shown followed by the menu options like run, update, install, help etc
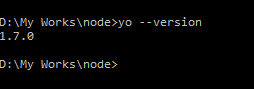
The yo --version command helps to retrieve the current version of Yeoman installed in your system
yo --version
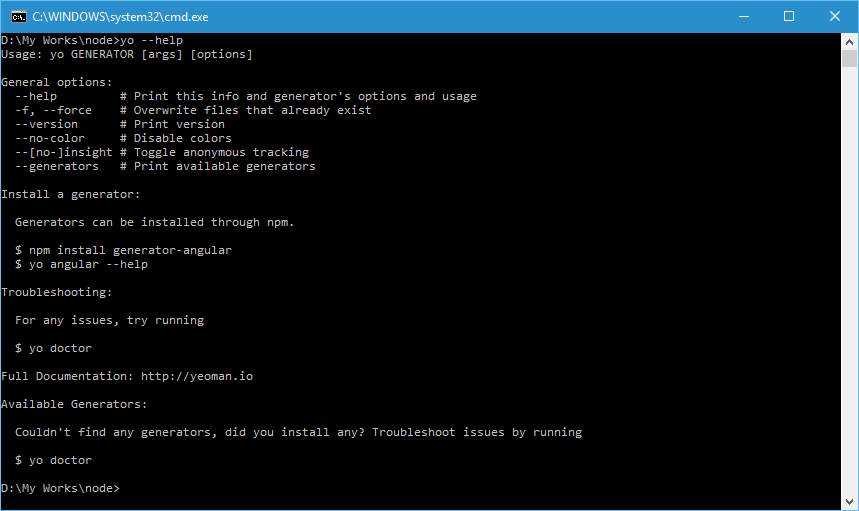
Help is available is yeoman and you can bring it up by typing the below command in the CLI
yo --help
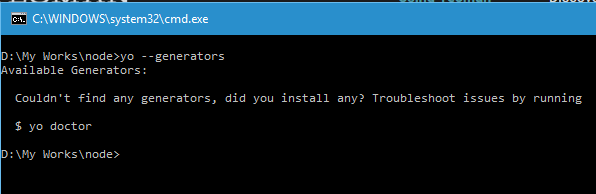
To view the list of generators installed in your machine, use
yo --generators
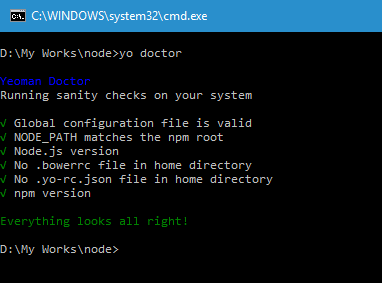
Finally you can make use of the yo doctor command to identify issues and for doing troubleshooting
yo doctor
No Comments
Connecting Azure Blob Storage account using Managed Identity
Posted 12/9/2022Securing Azure KeyVault connections using Managed Identity
Posted 11/26/2022Manage application settings with Azure KeyVault
Posted 11/9/2022Adding Serilog to Azure Functions created using .NET 5
Posted 4/3/2021Learn how to split log data into different tables using Serilog in ASP.NET Core
Posted 4/23/2020