D-09 : The Calendar App
Calendar App in Windows 10 is another major app that got the upgrade from Windows 8. With a new look and feel in line with the modern design guidelines followed in Windows and the most noticeable feature will be the ability to sync and view the Google Calendar. As of now the calendar app works with online accounts only and that means you won't be able to create events and meeting request that are local to the machine. To get started with you can use the Microsoft account you used to connect with Windows 10 to import the calendars from there or any supported accounts like Google Calendar, Outlook, Live, Hotmail etc.
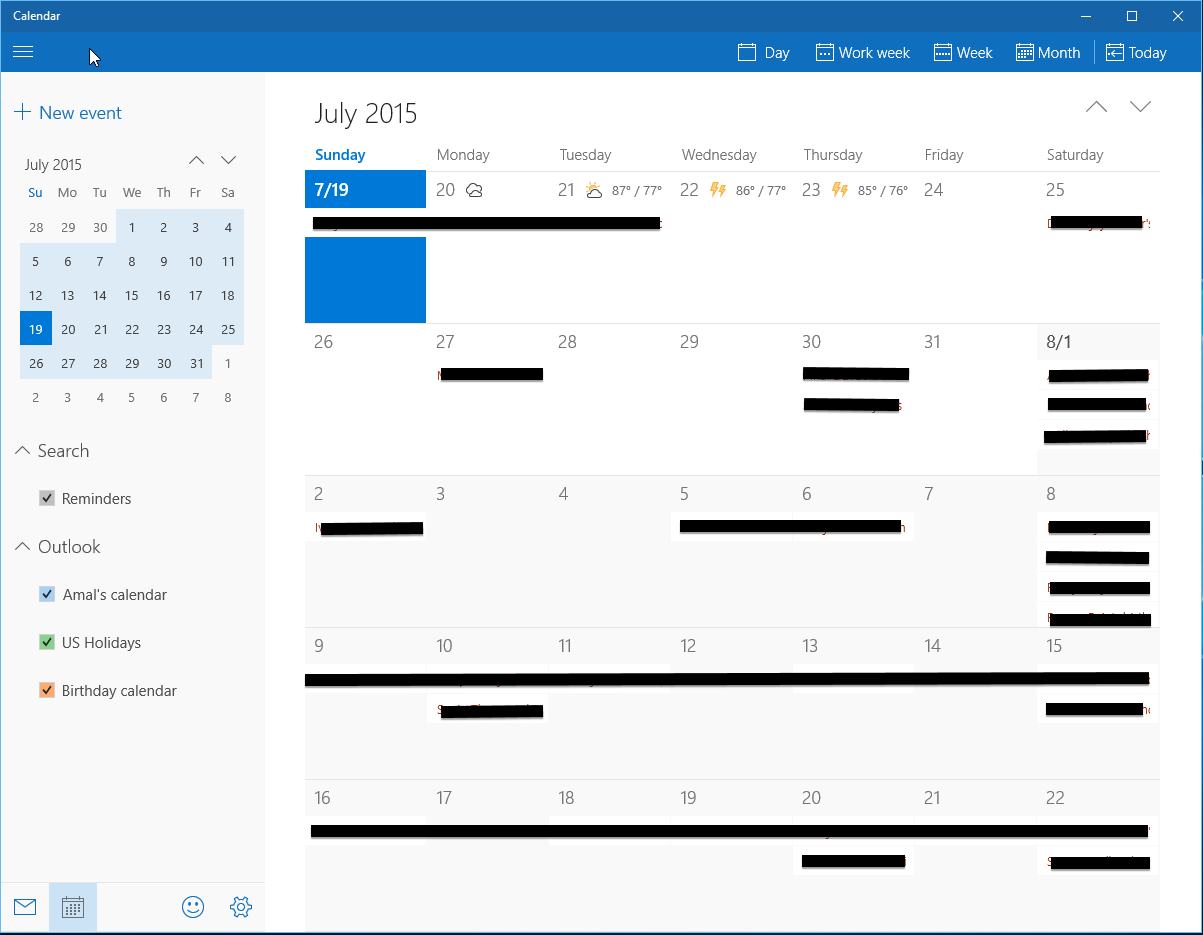
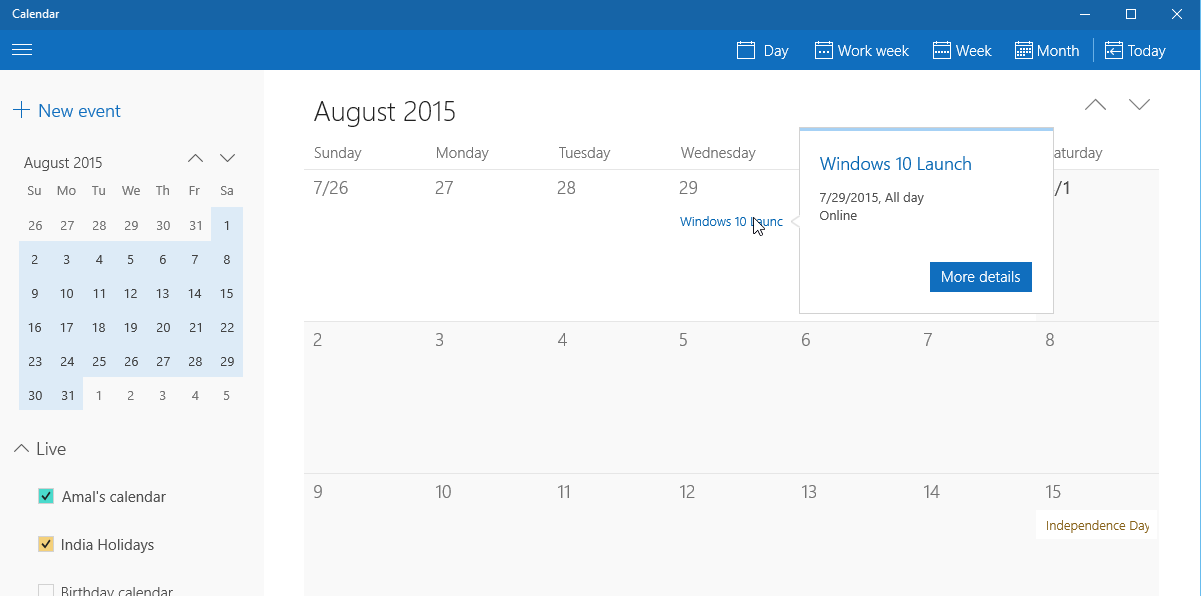
Like the mail app, Calendar app is also a universal app based on the modern design guidelines in Windows 10 and it is very similar to the mail app. Unlike the mail it has got only two sections, the left section will show the current calendar in the month view along with a taskbar at the bottom and the right section will show the details of events and appointments. The hamburger icon can be used to expand and collapse the left section, when collapsed the text links in the section will be shown as icons in the left bar.
The left section also has a link for creating new events as well as options for opening the mail and feedback app and the options pane. The mail and feedback apps will open in separate window where as the a separate pane will open in the calendar to display the options when clicking on the gear icon.
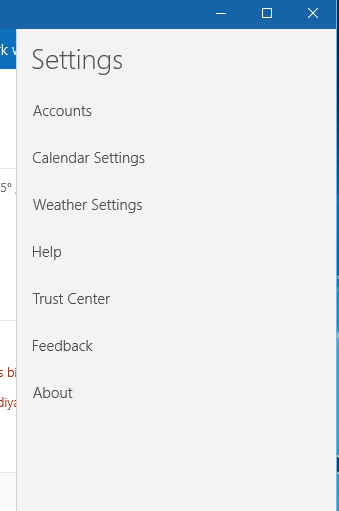
The Settings pane will have the options for configuring and managing existing accounts as well as various options related to calendar.
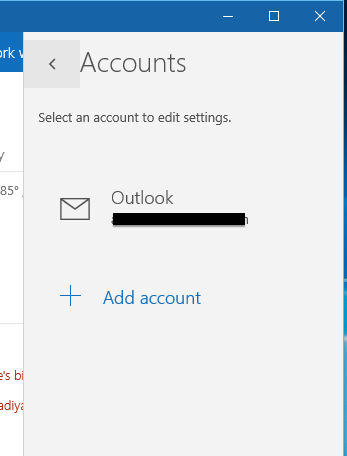
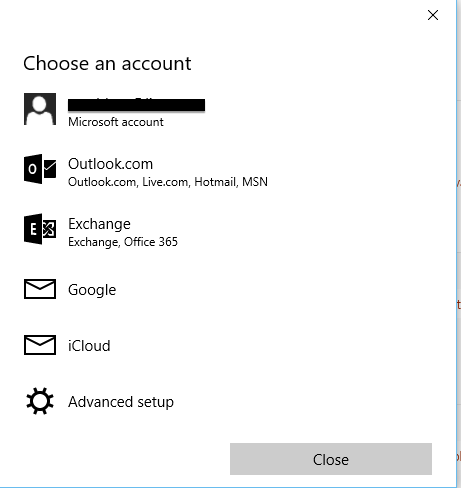
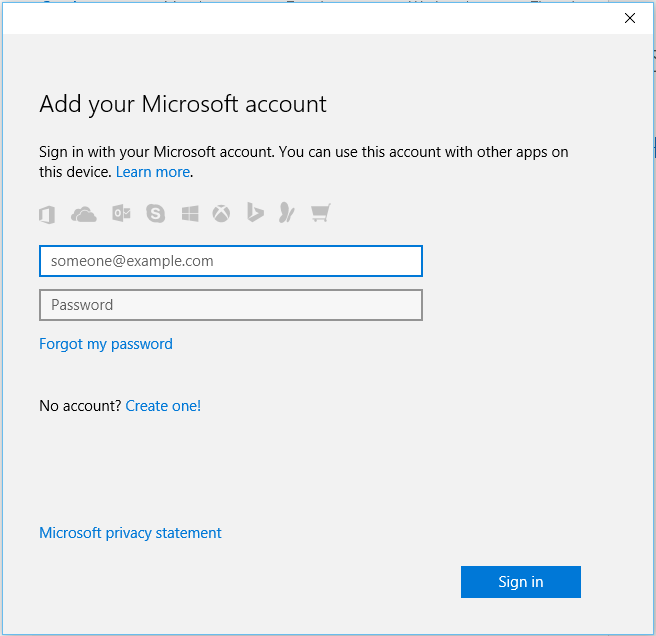
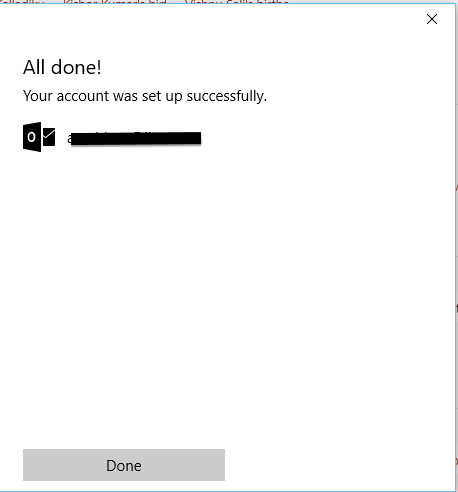
Clicking on the accounts link will open a new pane in the same place with a list of already configured accounts as well as a link for creating a new one. To configure a new account click on the Add Account link which will open a new window with a list of support protocols and services. The list of supported services include Outlook, Exchange, Office 365, Google and iCloud. In this case I chose to a configure a Microsoft account and after validating the credentials it will show a successfully created message. When you close the message dialog, you will see all the entries from the newly configured account in the calendar.
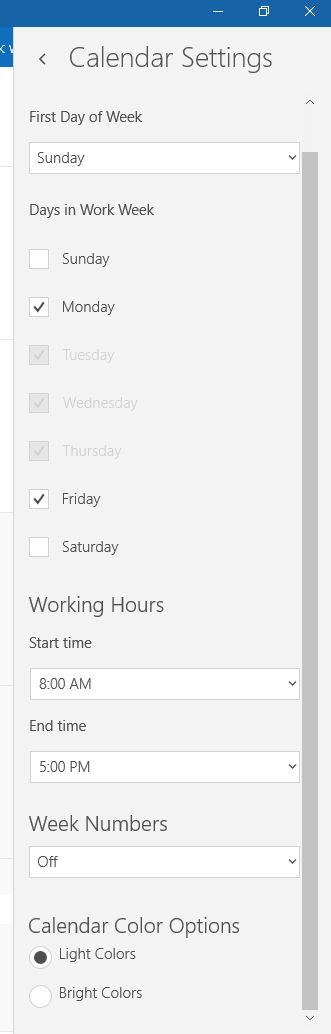
The Calendar settings pane has the options for setting First Day of the Week, Working Hours, whether to show Week numbers or not and also option to use lighter/brighter colours when displaying the details in the calendar
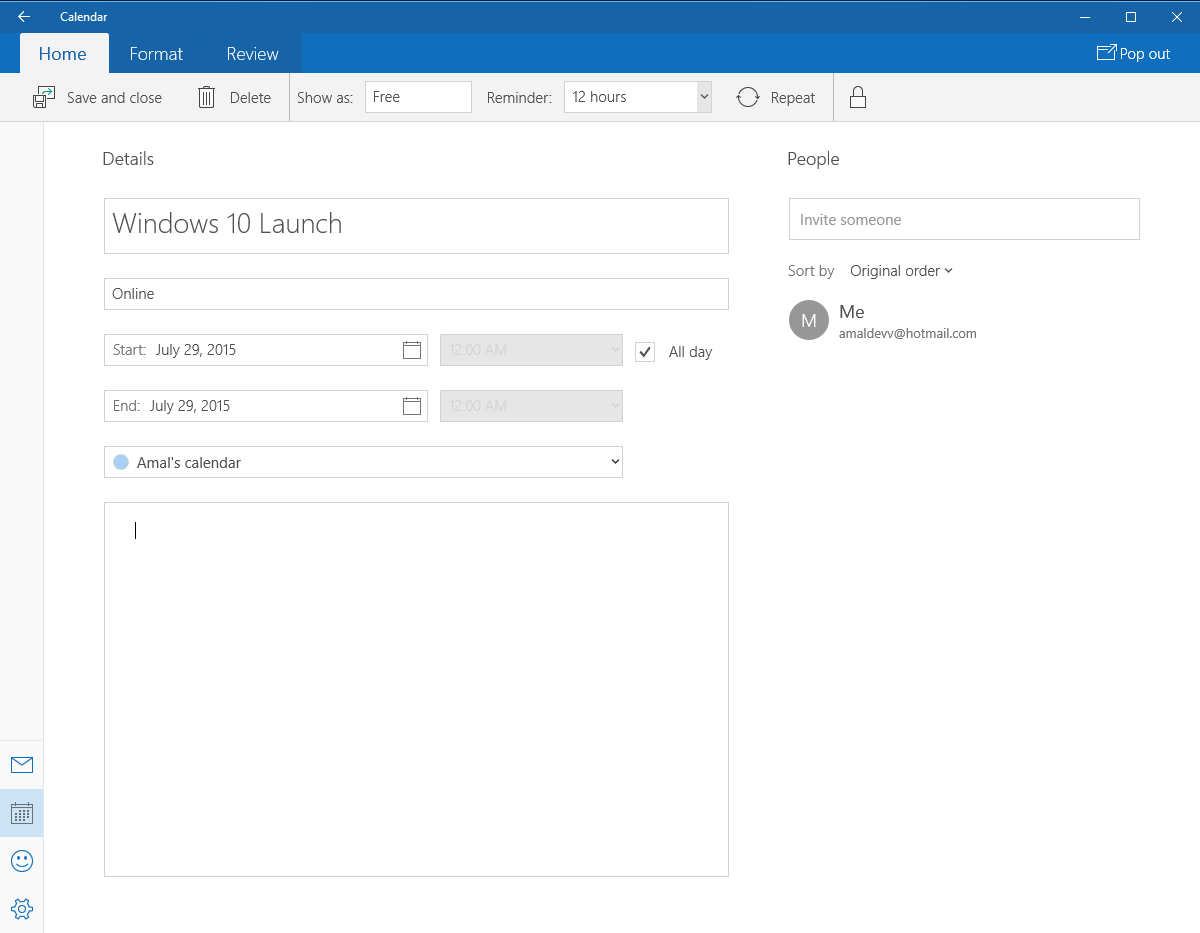
To add a new event into the calendar, just click on the New Event link from the left section to open up the window shown below. There you will be able to add details such title description, timings and also option to choose which calendar to add into. Also there are options for formatting the text, setting up remainders and also to invite other persons too. To save the event, click on the Save & Close link in the top which will close the window after saving and updated details will be reflected in the calendar. When you hover the mouse over the link in the calendar, the app will show a pop over menu with minimal info along with a button which will show the complete details in a seperate window
In addition to the month view the app offers additional ones such as Day, Work Week and Week. Also we can configure the lock screen to show detail status notification, live tile in start menu will auto update and will show notifications in action center if we have remainders set up for an event. The app is much more attractive with a consistent look and feel and will be one of most used app in Windows 10
No Comments
Connecting Azure Blob Storage account using Managed Identity
Posted 12/9/2022Securing Azure KeyVault connections using Managed Identity
Posted 11/26/2022Manage application settings with Azure KeyVault
Posted 11/9/2022Adding Serilog to Azure Functions created using .NET 5
Posted 4/3/2021Learn how to split log data into different tables using Serilog in ASP.NET Core
Posted 4/23/2020