Creating WP Apps Using App Studio
App Studio is a great offering from Microsoft which let you to create a Windows Phone app in quick time and that too without writing a single line of code. It lets you to create create apps using the available templates in the site and also enables you to download the auto generated source code, if you want to take it up further.
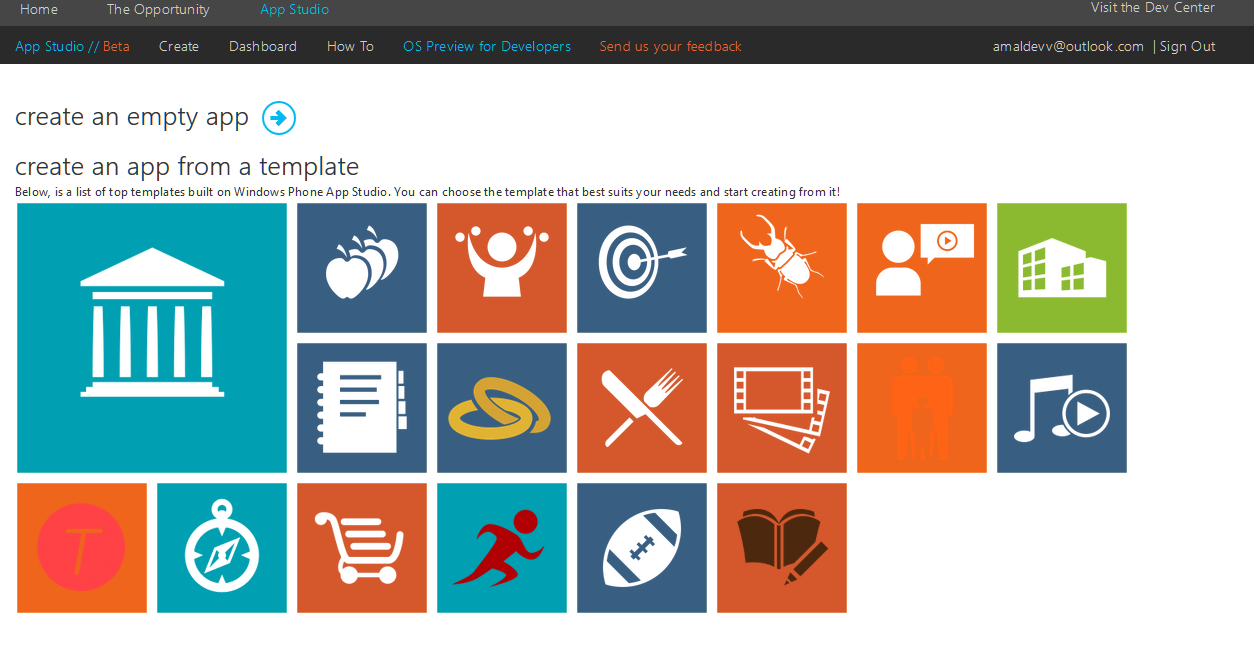
As with any other Microsoft sites, Microsoft account is needed for logging into the site and there are no fees for creating apps using App Studio, it’s an absolute free offering. Upon signing in, you will be redirected to the Dashboard when all the pre-defined templates will be available or you can select an empty app for creating one on your own.
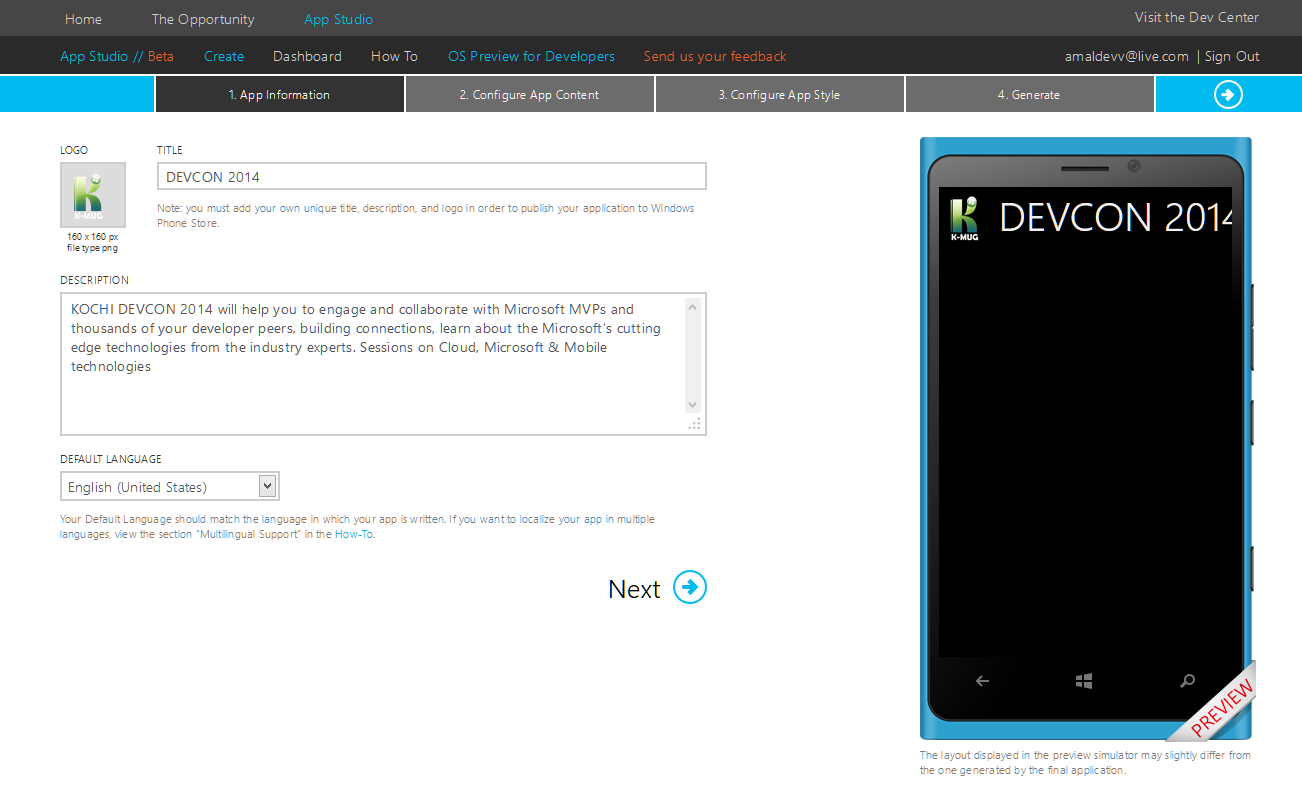
In this post I will guide you to create app by creating an app for the Kochi DEVCON 2014 event and I will using the second option in this post, so just click on the link titled “Create an empty app”
That will lead you the App information page where you will give the Title, logo (which should a png file with dimensions 160 x 160 ), description and the default language as shown below.
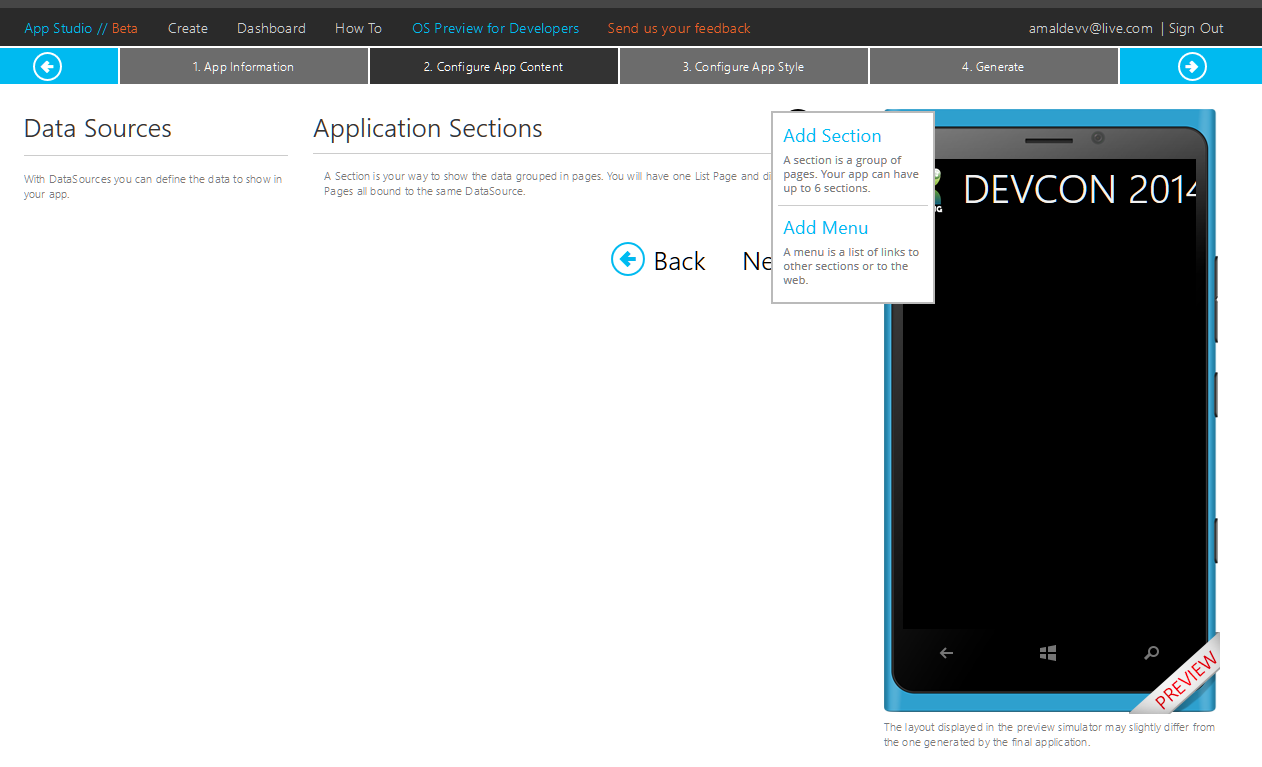
Clicking on the next button will lead you to the App Content page where you will specify the sections and their data sources for your app. Here you will have the option to specify two types of designs
- Sections : are a group of pages, lets you to create up to six sections in your app.
- Menu : is a list of links which link to other sections in you app or to the web.
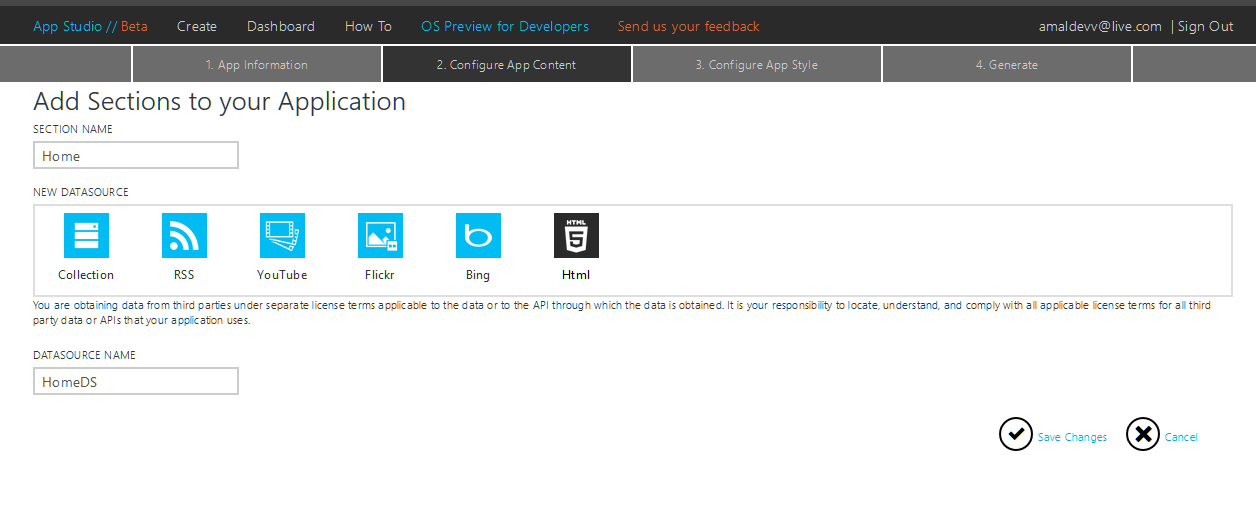
I will be using the sections for creating the app which will have sections like a Home, Agenda, Speakers, App Challenge and Sponsors
The Home section will be showing a static content, so I will select HTML as datasource for this section and will give appropriate names for both the section and data source as given below
When you click on the save button, you will be redirected back to configuration page, where all the newly created entries will be listed. You will also have the option to edit/delete the section in this page.
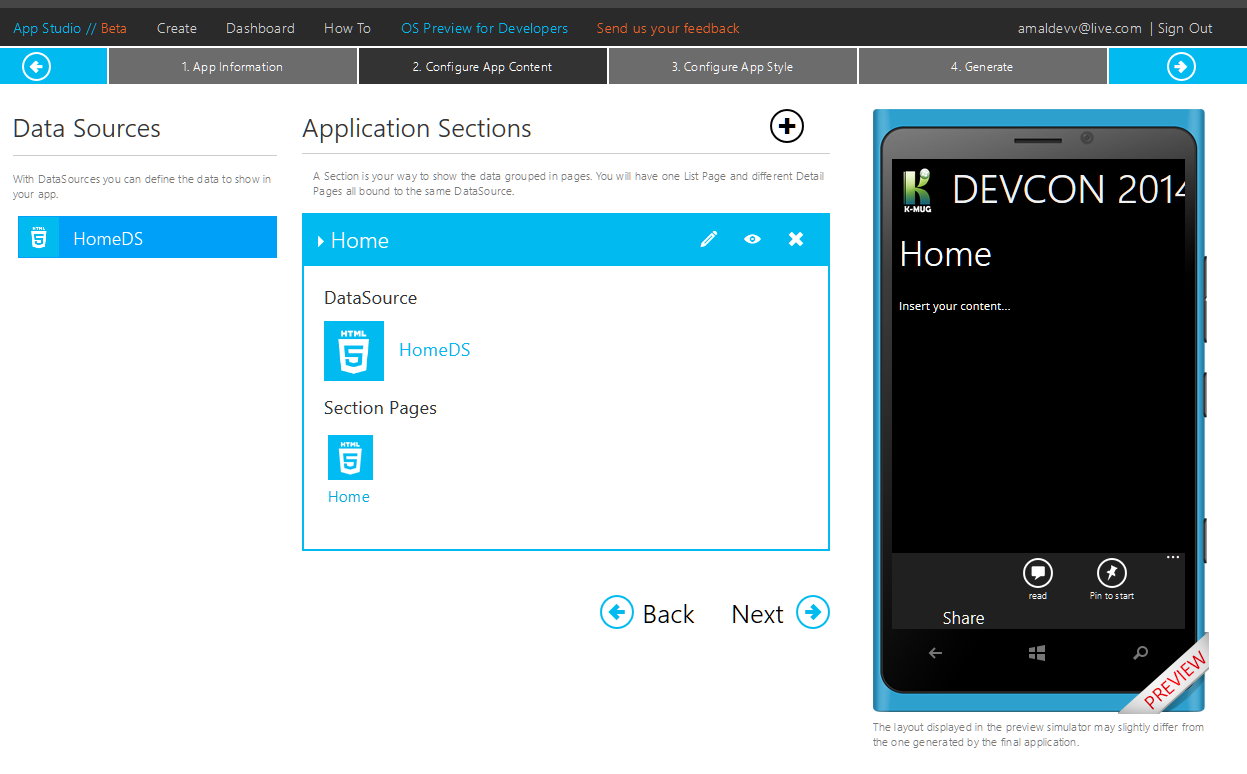
Now let’s move forward and specify content for home section. For that just click on the “HomeDS” link and you can add the content as shown below.
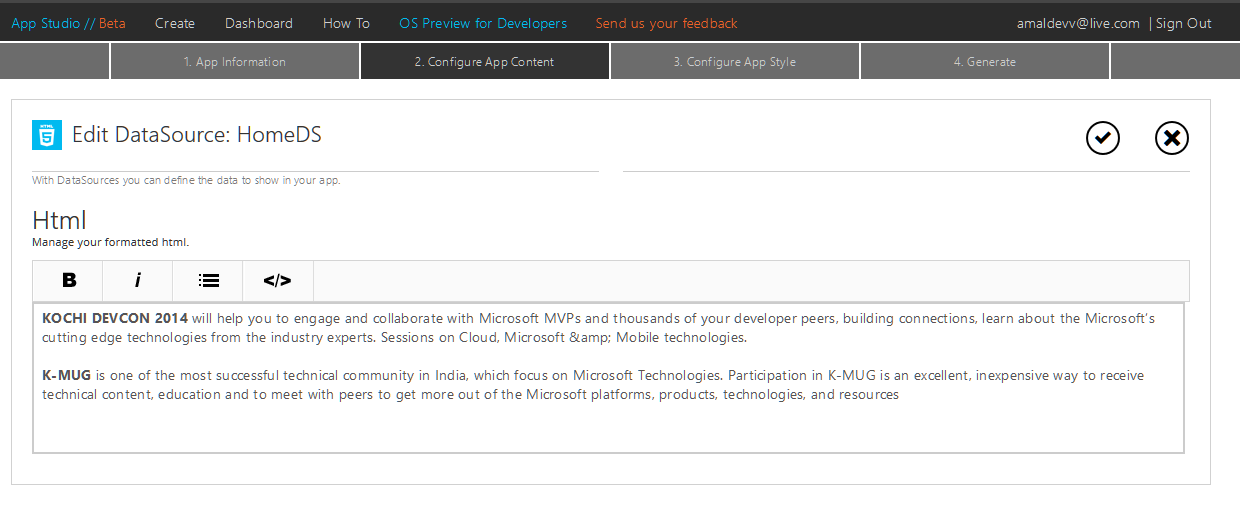
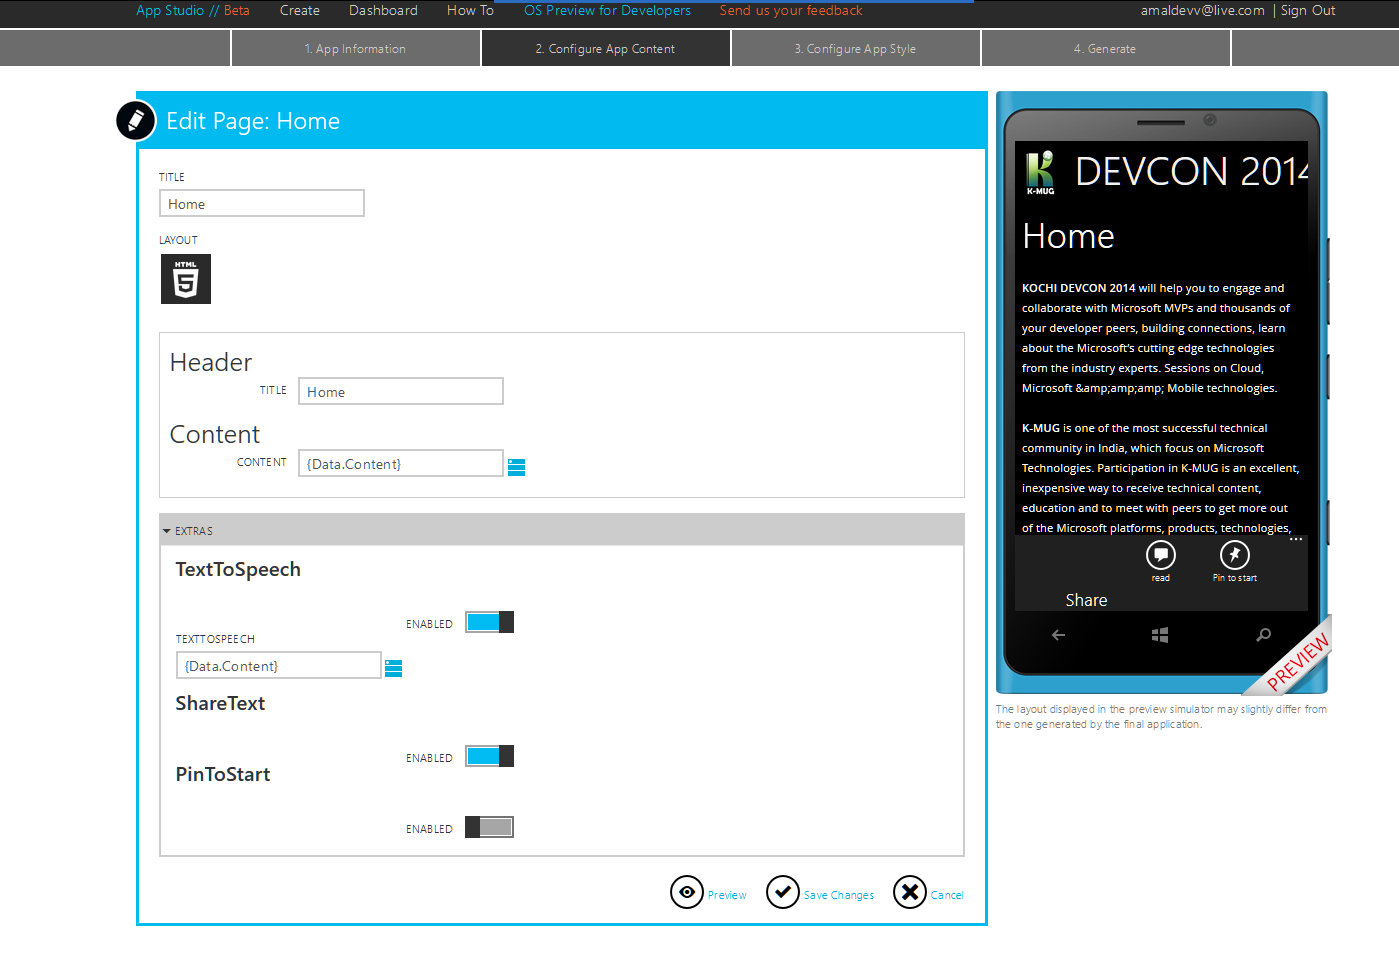
You will get an HTML5 editor where you can enter the text which will be shown in the Home section. Once you are done with the content we can edit the section, where you specify what all fields needs to displayed, specify the title for the section, and also what all options needs to be oncluded like Text to Speech, Pin To Start, Share etc.
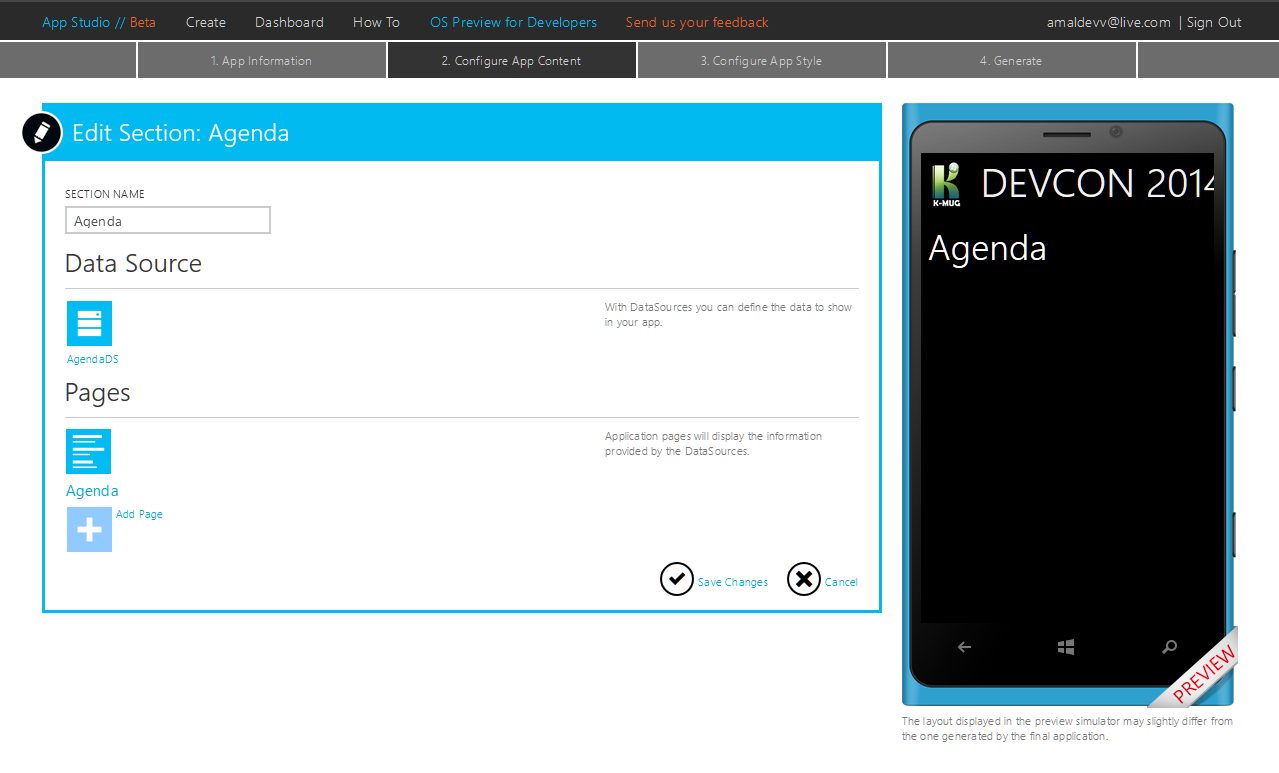
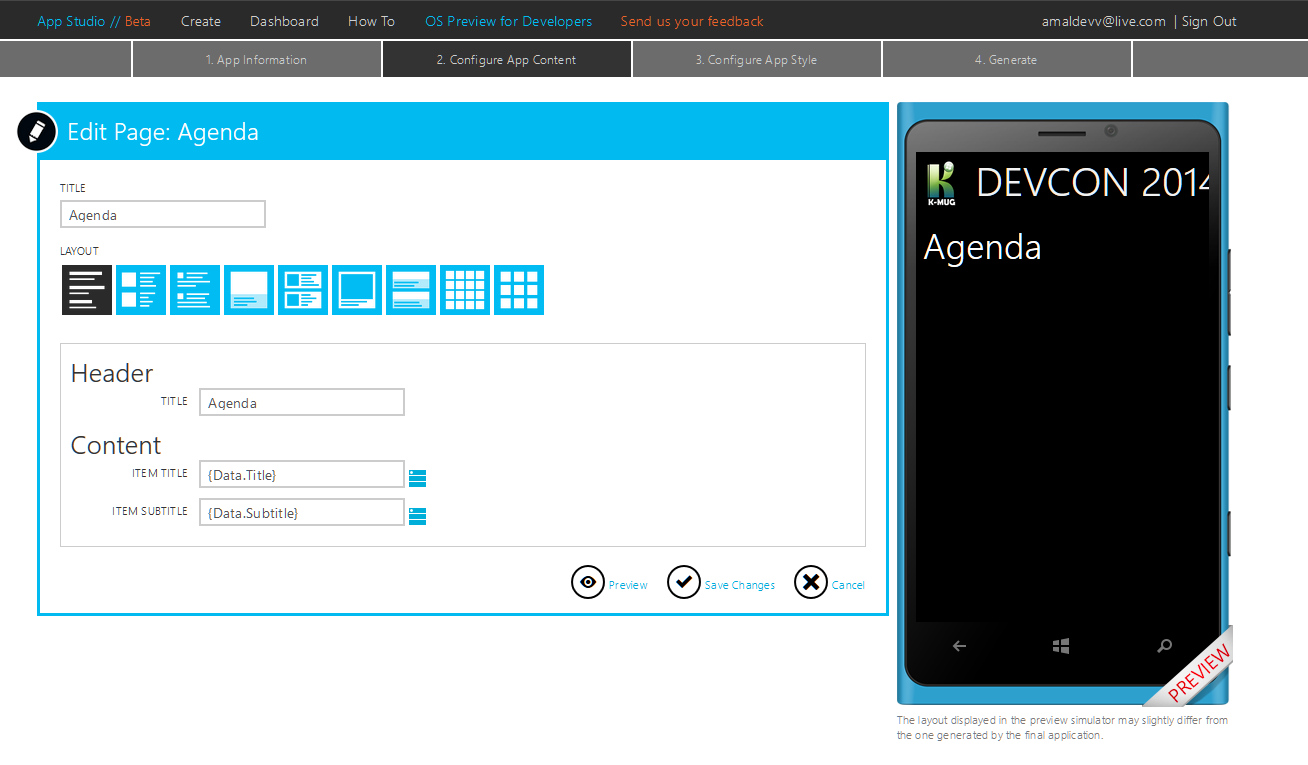
Next up is Agenda section where we will list all the topics, its timings and who is taking that. For that I am going to use Collection as data source.
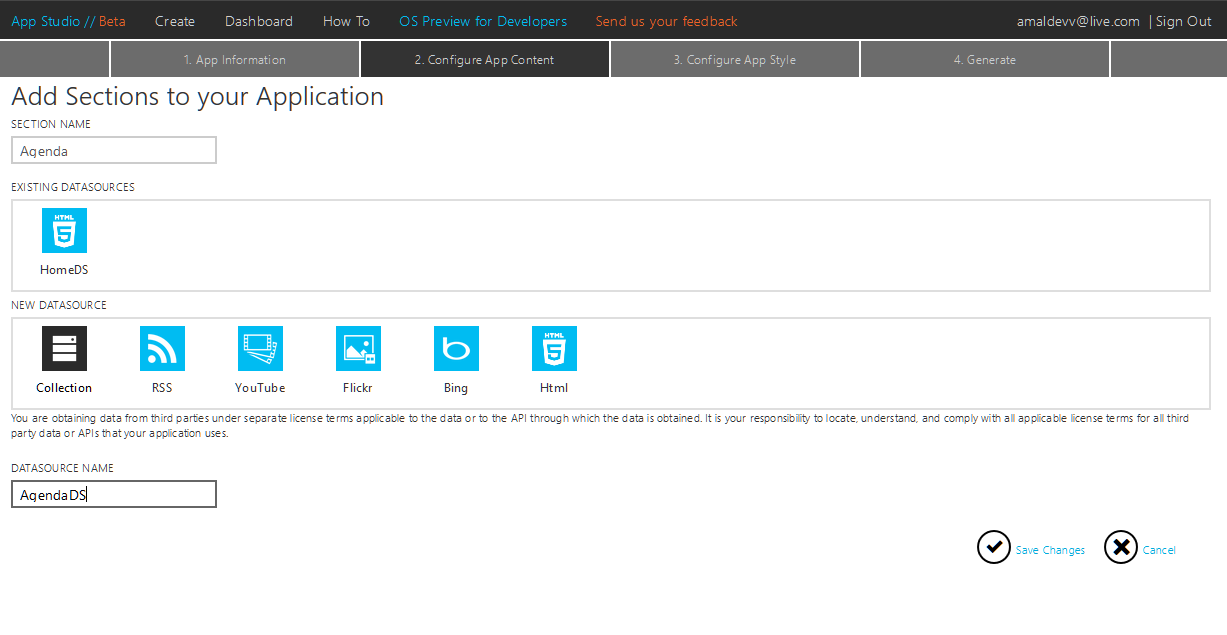
When you select collection as your datasource, you will have two options to specify the data,
- Static Resource – will be static one, data is stored locally, any changes made to this after publishing the app will cause you to resubmit the app again for certification
- App Studio Data Services – all the data is made available remotely, so you don’t need to submit it again.
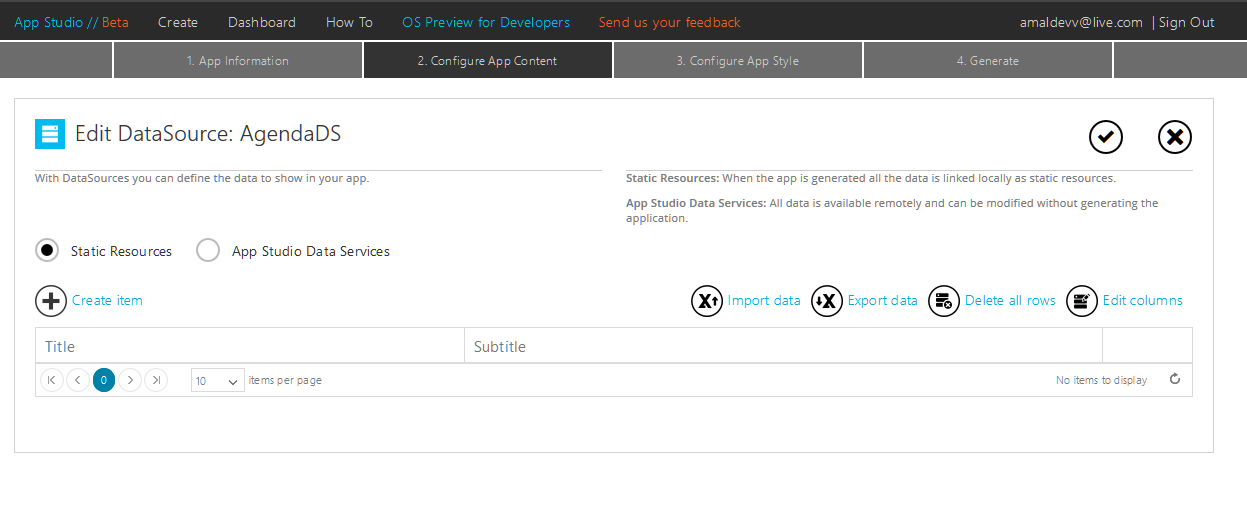
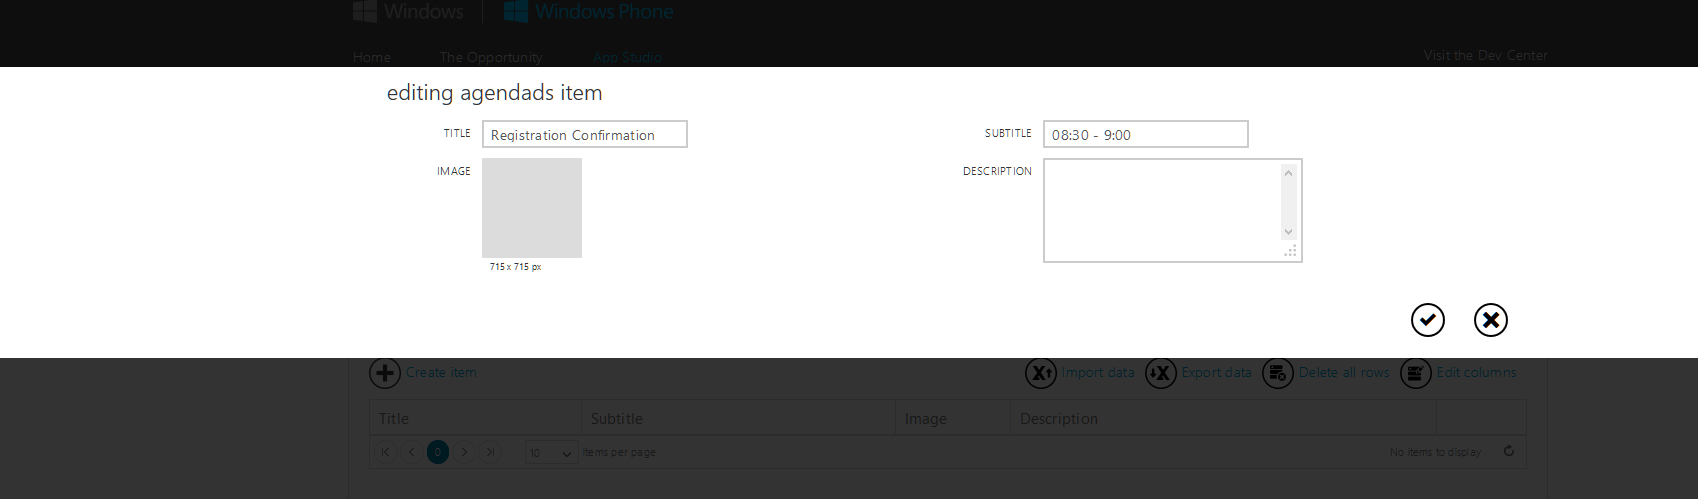
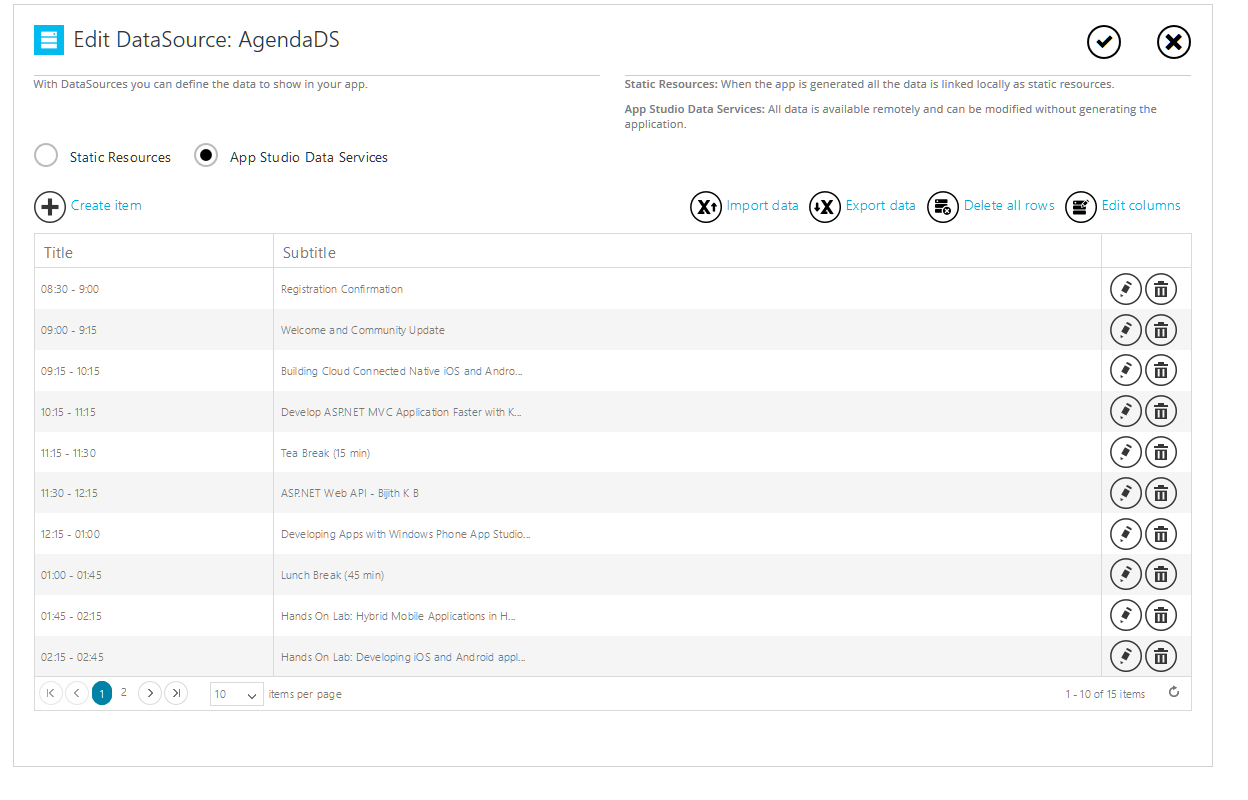
I chose the second option and added the details as shown below
If you go to edit page for this section, you can see that there are lot of templates to choose from to display your data, since I have no images I chose a template that displays only the text.
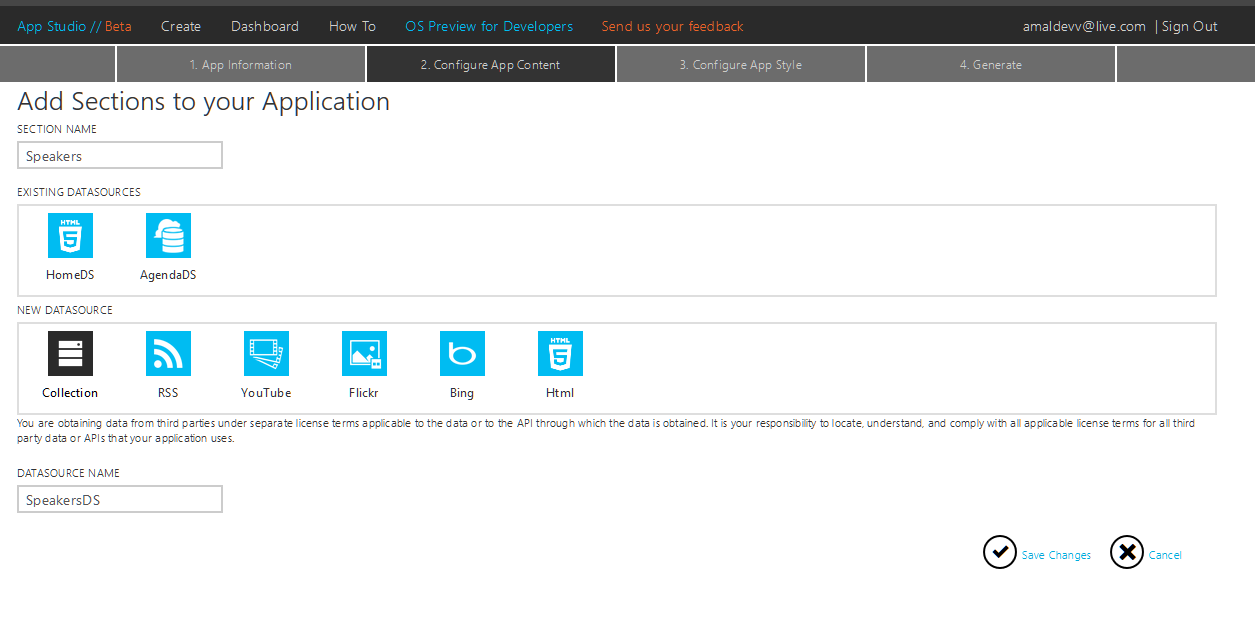
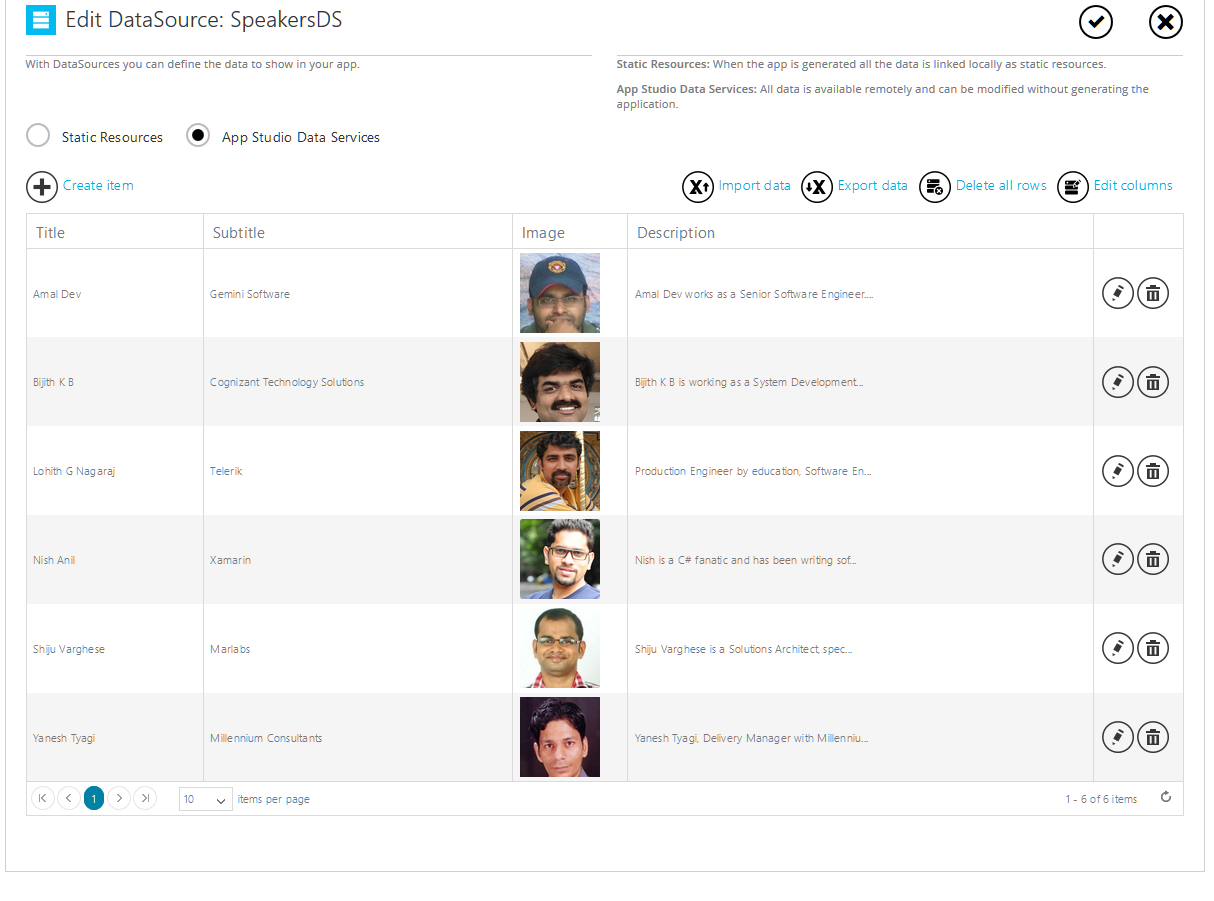
Similary for speakers also I am using the collection data source with data services option, but for displaying the information, selected a template that displays images also. Also I had included a detail page which will show more information about the selected speaker.
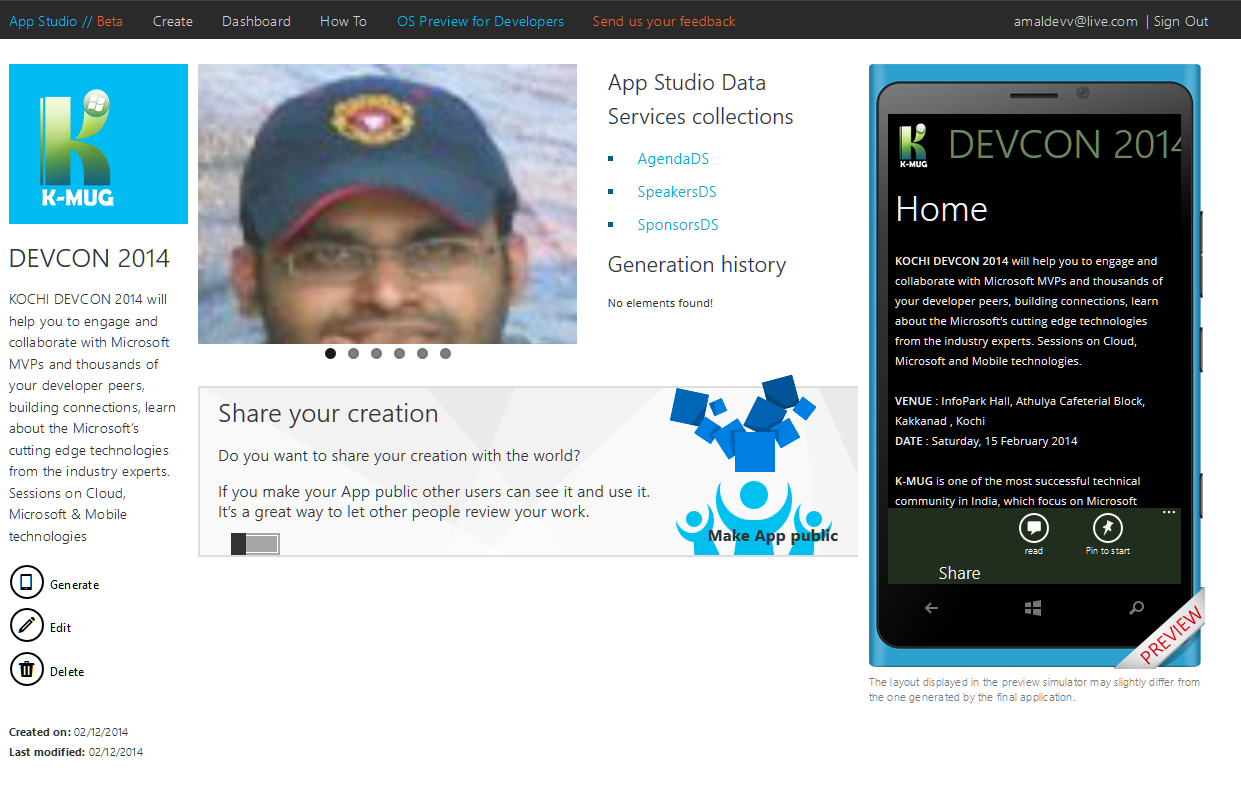
The app challenge section is also displaying static data, so I followed the same technique which I used for creating the home section and for the Sponsor section, I chose the one which I used for creating Speakers. Now my app content configuration page will look like as give below.
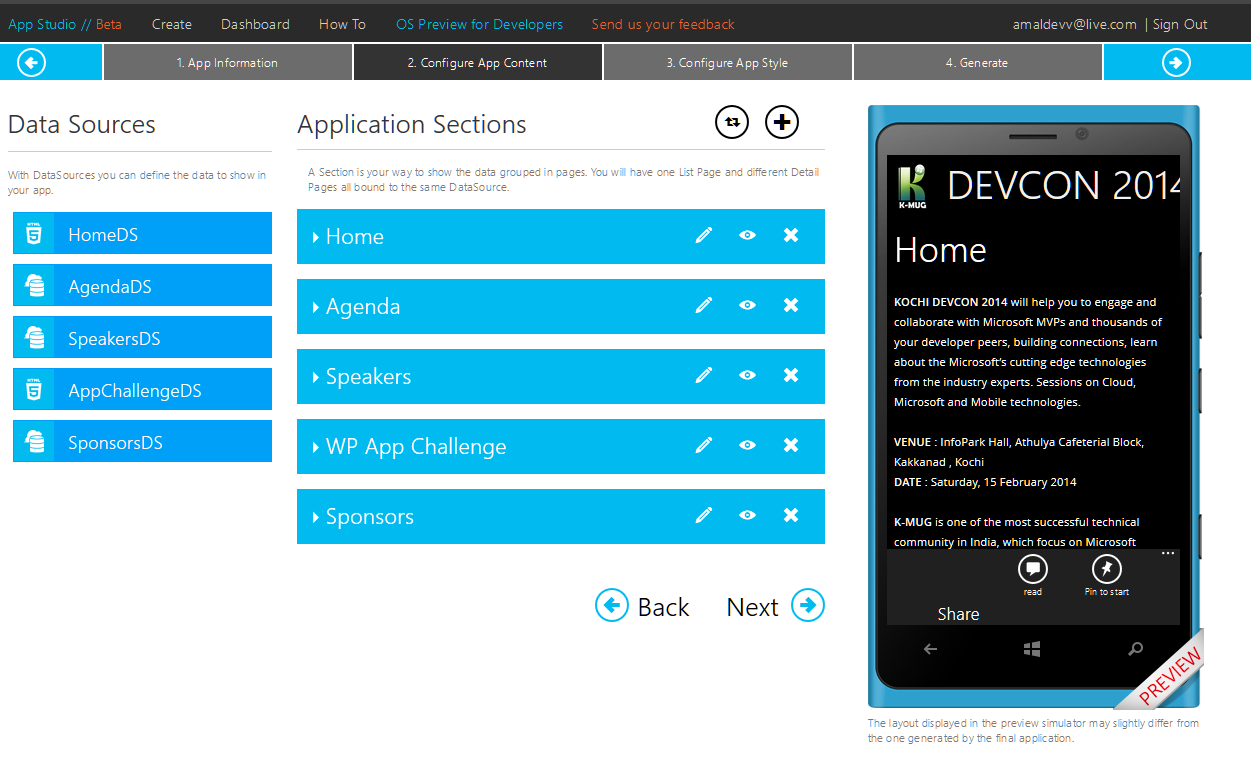
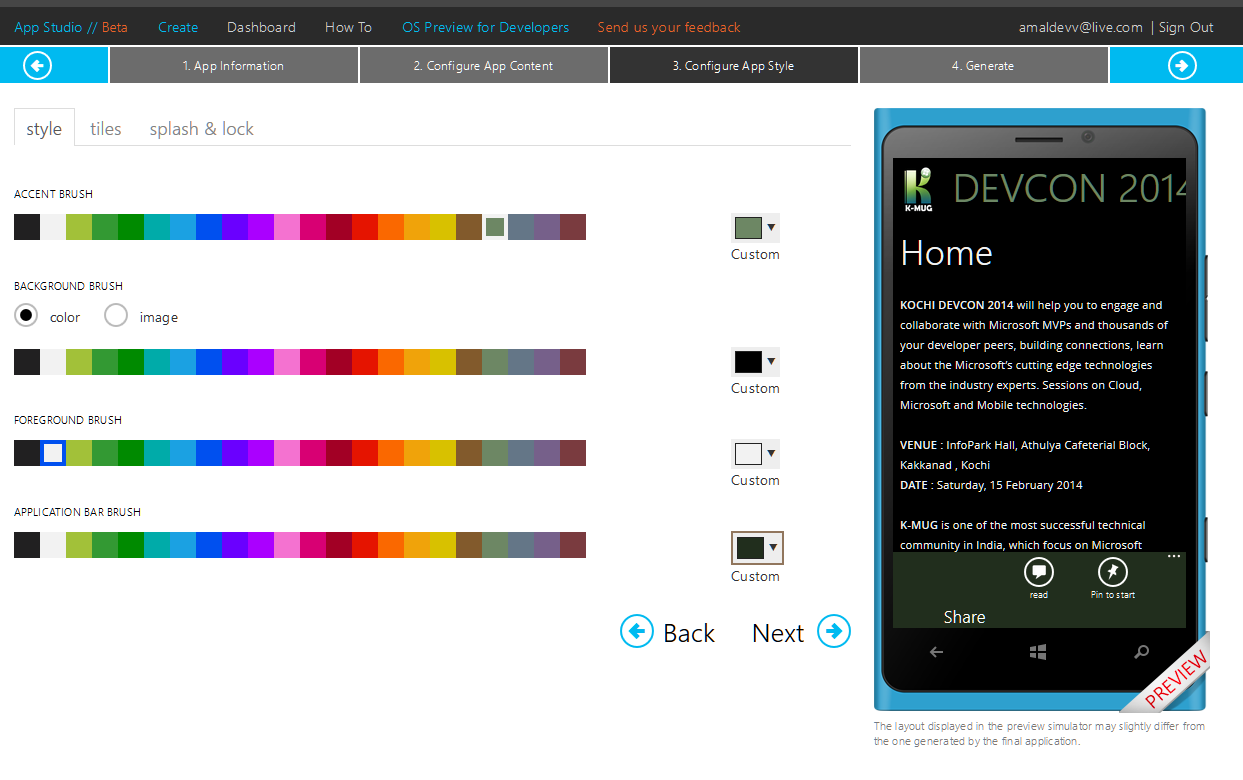
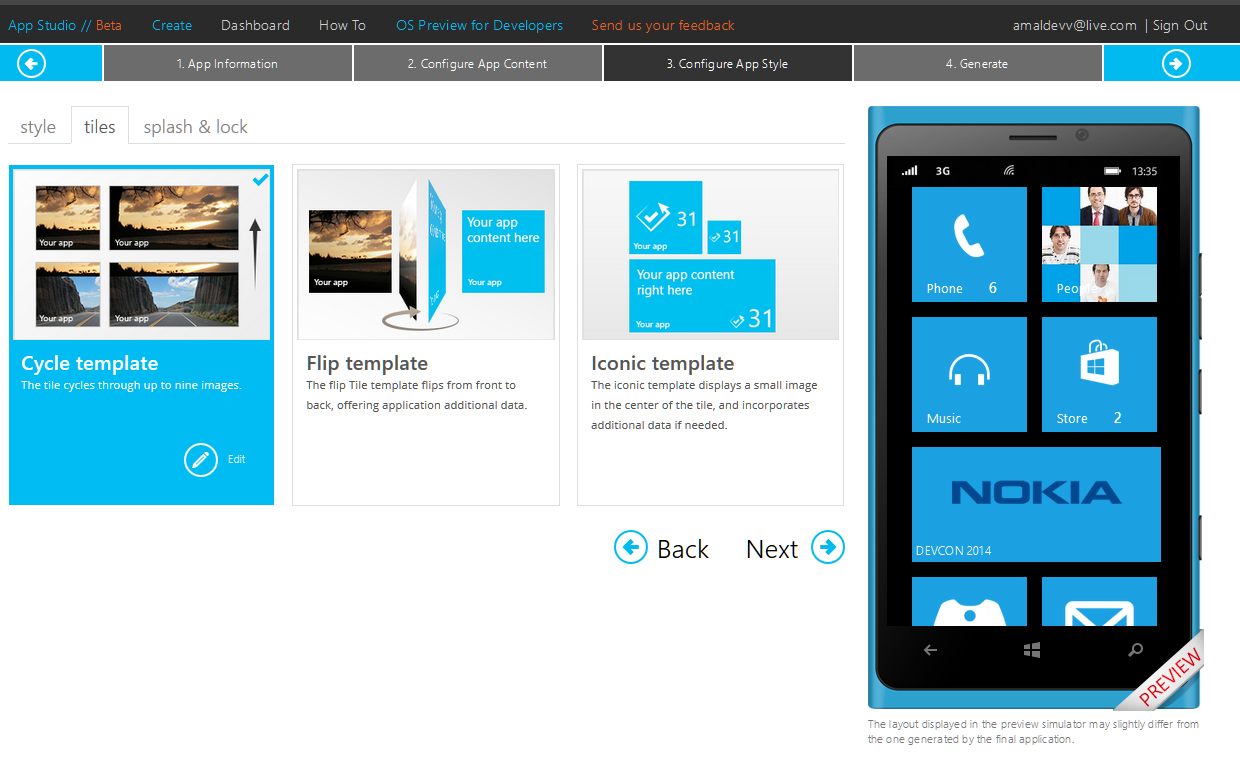
From here you also has the option to reorder the sections to your liking, Once you are finalized on everything you app is going to show, you can now move on to the styling section, where you can specify colors for the background and foreground brushes, select what type of tiles you need and also has option to upload images for background and splash screen.

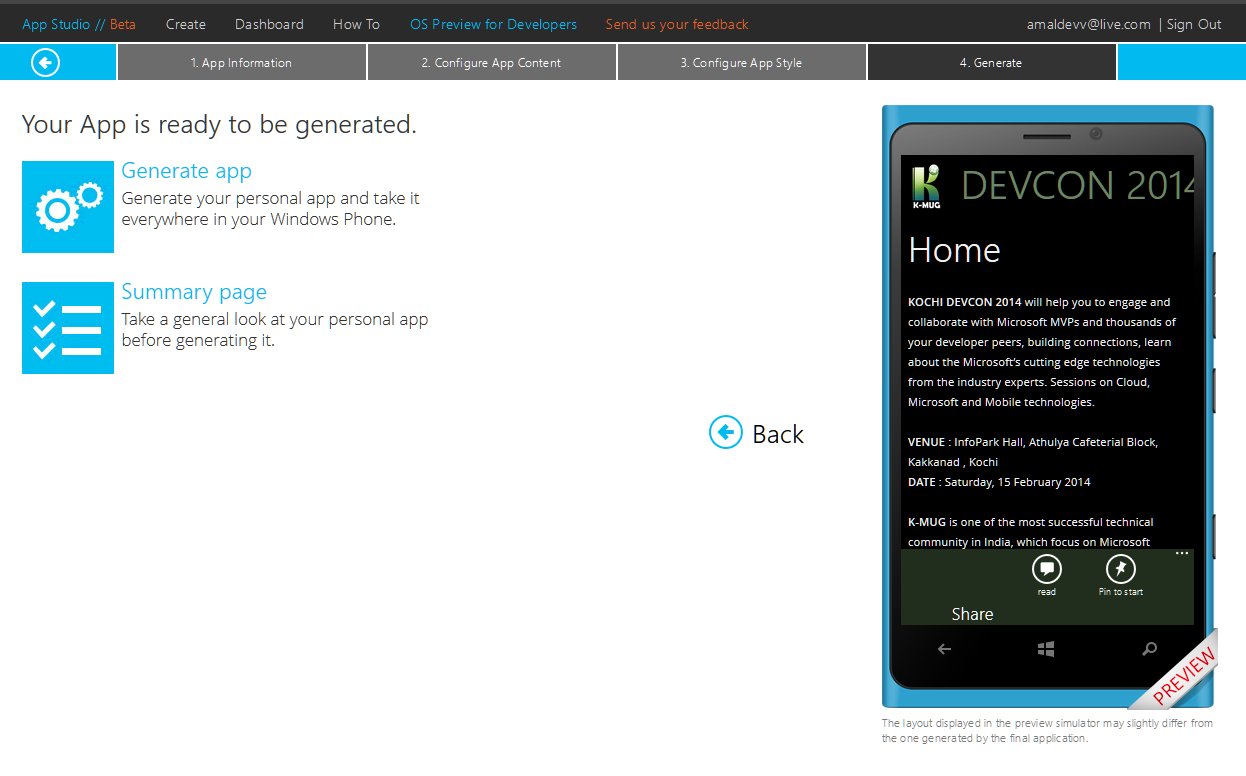
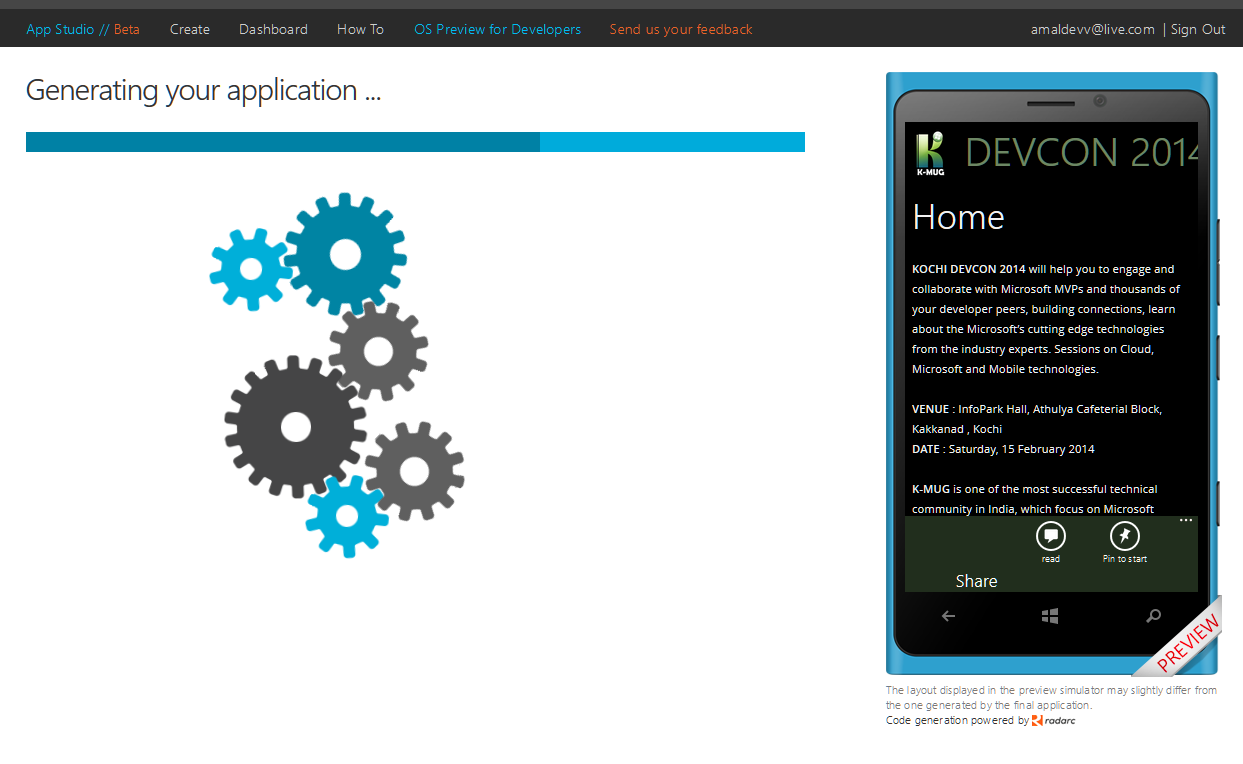
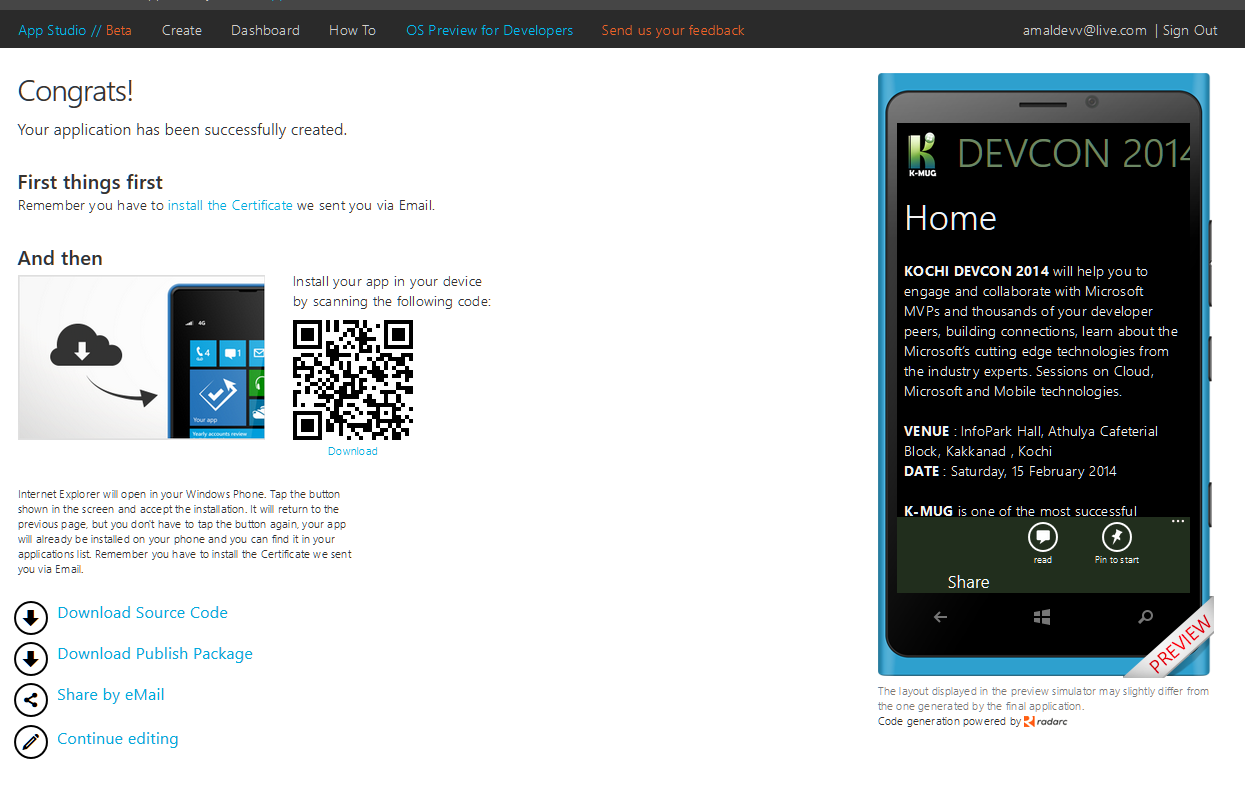
The next step is the generation of the app, where you have the option to do a review of your work or to generate the app. Normally it should complete in minutes and once the generation is completed you will redirected to a page where you have the option to download the source, download the xap package or the edit the app.
No Comments
Connecting Azure Blob Storage account using Managed Identity
Posted 12/9/2022Securing Azure KeyVault connections using Managed Identity
Posted 11/26/2022Manage application settings with Azure KeyVault
Posted 11/9/2022Adding Serilog to Azure Functions created using .NET 5
Posted 4/3/2021Learn how to split log data into different tables using Serilog in ASP.NET Core
Posted 4/23/2020