Creating ASP.NET Core Web App Using VS Code
VS Code is a brand new cross-platform open source editor from Microsoft which supports a variety of languages. You can read more about it in following posts I have blogged earlier
Installing Visual Studio Code in Windows 10
In this post, I am going to show you to create ASP.NET app targeting ASP.NET Core framework. ASP.NET Core which was earlier known as ASP.NET 5 is built from the scratch, is very lightweight, more modular and cross platform.
Before we get started with this, there are some pre-requisites which needs to be setup properly for our sample to work.
- VS Code Editor
- Node.js
- Gulp
- Git for Windows
You can refer the following links for installing Node, Gulp and Git
Installing node.js in Windows 10
Installing Git Client in Windows 10.
Once you are done with the setup, we can now see how to scaffold a simple web app using Yeoman and edit it using VS Code.
Installing the generator
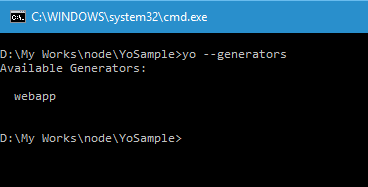
First of all, let's see what all are generators are available in our machine by running the following command
yo --generators
Output
![]()
So there are no generators, let's install the webapp generator using the following commnd.
npm install --global generator-webapp
Output

This will install the webapp generator globally and will be available for all the projects in your machine. And if you run the yo --genrators command again, it will list the newly installed webapp generator as shown below.
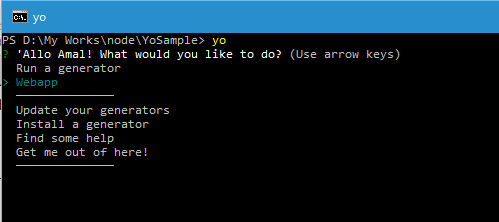
Now, to run the generator for scaffolding the webapp, you have two options. One is to generate it from the menu and other is by running the command from CLI.
To run from the menu, execute the yo to bring up the menu and select the Webapp option under the Run a generator option.
The command for exeuting the scaffolding is
Syntax
yo <name of the generator>
Usage
yo webapp
Output
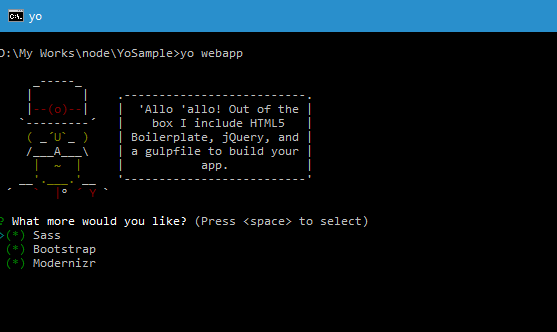
When you execute the command, it will show the features needs to included in the project as shown below. If want you can select it, otherwise continue to start the scaffolding. In this case I chose all three while executing the command to start the scaffolding
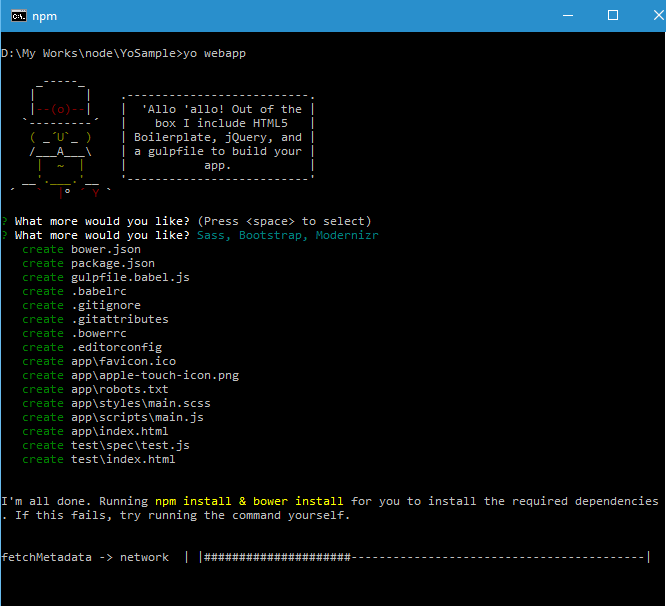
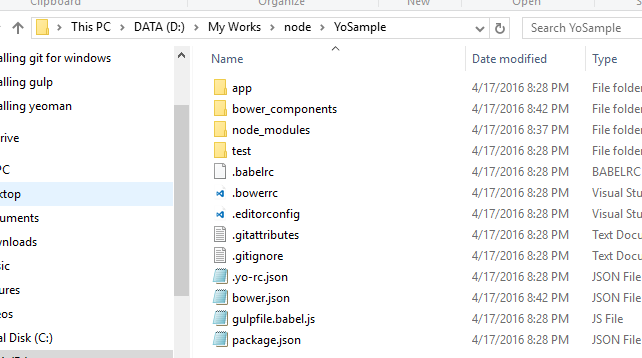
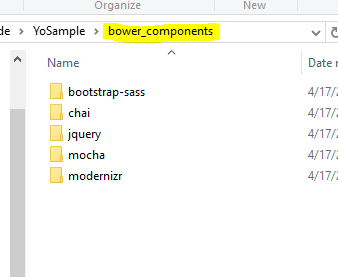
Once the generation is completed, you can verify it by going to your folder. There you will see a new folder name bower_components which will all the packages as shown below.
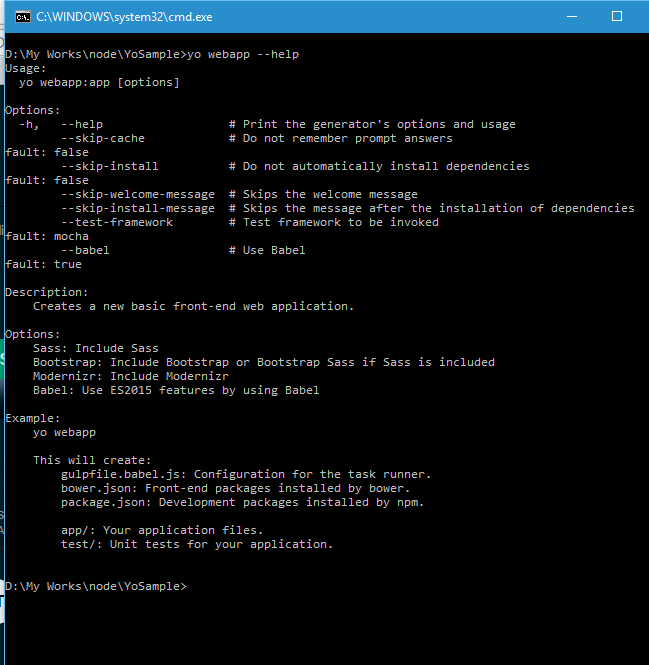
To know more about the yo webapp command, you can use the help switch to get all the options and information about the command.
Usage
yo webapp --help
Output
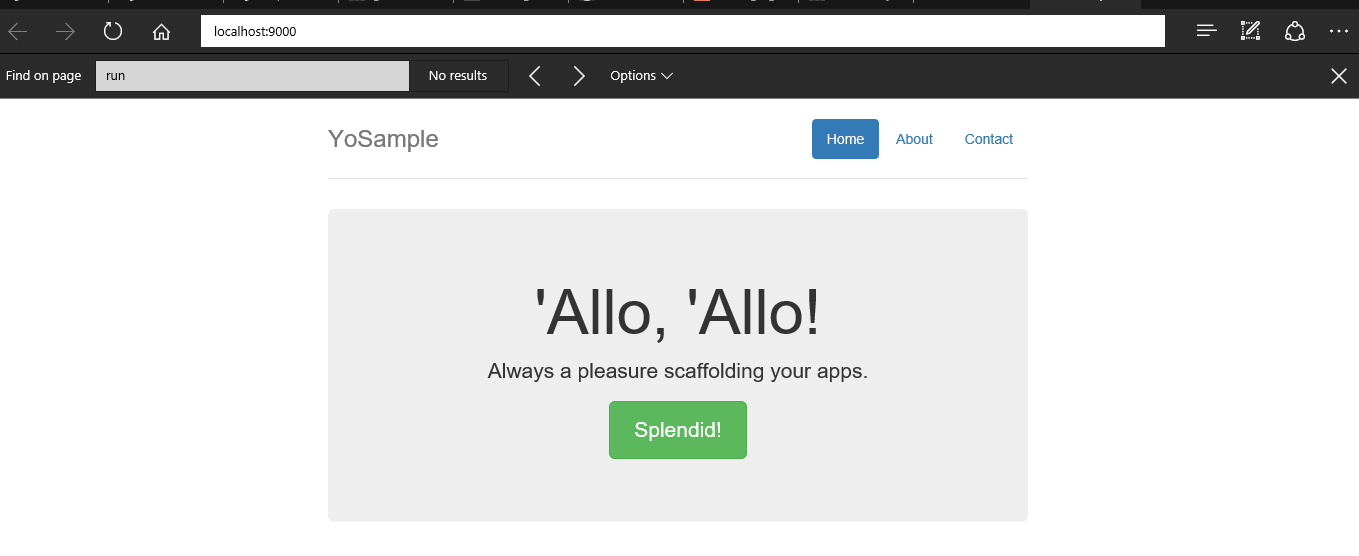
Now, let's start our site using gulp to watch our changes. Execute the following command to fire up a web server, which will use the port 9000 in our machine for hosting.
Usage
gulp serve
Output
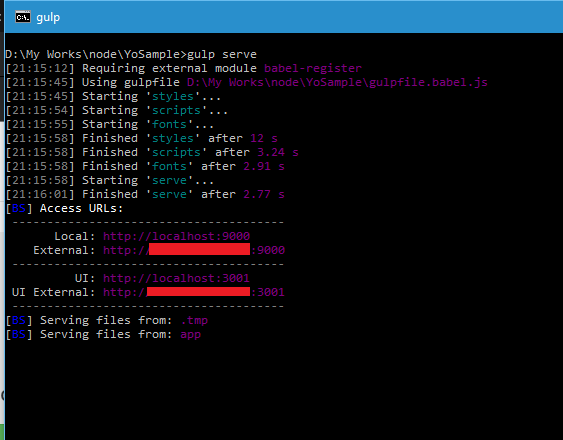
When the command is executed, it will open the page in the default browser as shown below. So whenever we make changes to the source, gulp will get notified and will refresh the browser using liveReload.
You can now use the VS Code editor make the modification and when you saves them it will automatically reflected in the browser page.
No Comments
Connecting Azure Blob Storage account using Managed Identity
Posted 12/9/2022Securing Azure KeyVault connections using Managed Identity
Posted 11/26/2022Manage application settings with Azure KeyVault
Posted 11/9/2022Adding Serilog to Azure Functions created using .NET 5
Posted 4/3/2021Learn how to split log data into different tables using Serilog in ASP.NET Core
Posted 4/23/2020