Adding files to Visual Studio Online using VS 2013 Community edition
In this post I will show you how to add the newly created files to the repository, in this case Visual Studio online account we had created in the earlier post which you can refer here.
In the blank solution we had created earlier and I have added one project and some files to it. The newly added files can be identified by the + plus appearing next to the filename in the solution explorer.
You may wonder that, why are you getting the red lines appearing under the solution/project/file name in your solution explorer. That’s because I have installed an extention know as the productivity tools for Visual Studio , which will show these lines if it contains any sort of build errors during the editing phase itself. One of the main reason that I shifted to the community edition from the express edition is that it supports most the features like these found in the paid versions. If you are interested in these type of tools, you can to the site here and download it.
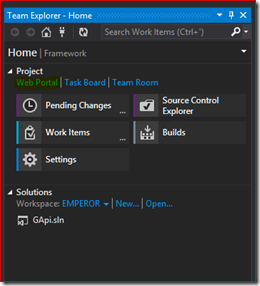
If you recall from the previous post, we chose to use Team Foundation Server(TFS) as the source control system for our project. So if you go the Team Explorer window which is under the View menu, you will find the various options related to source control.
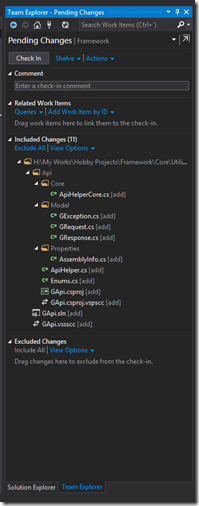
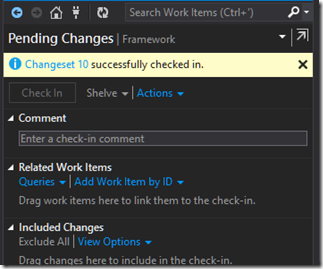
The Pending Changes tab will list all the files that needs to be checked in to the source control and in our case, it will list all the files in our project since we are going to check in the files for the first time after the project is created in Visual Studio. So our pending changes tab will look like as shown below.
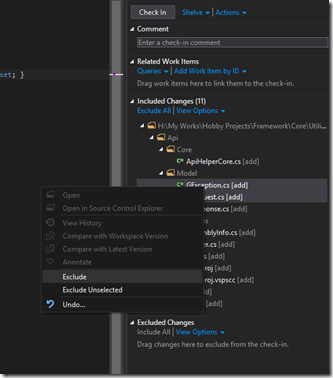
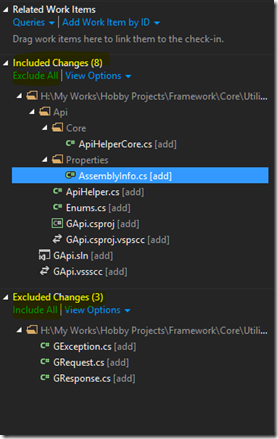
By default Visual Studio will include all the checked out files that are modified under Included Changes section. Options are available for excluding files selectively as well as to exclude all the files at once. You can Exclude all files by clicking on the Exclude All link, which will then remove all the files under Include Changes section and will add it to Excluded Changes section. For excluding selectively, select the files which needs to be excluded and then right click on it to bring up the context menu which will have the options to exclude the files as shown below.
To include the files back, again you have the options to do all at once using the Include All option or by selectively add the files from the context menu as we have done for excluding the files.
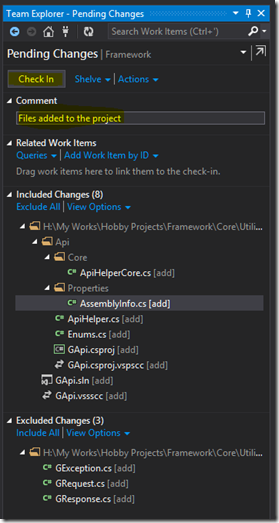
So now we can proceed with our first check in, we have excluded some files that were there by default. Also we have the option to provide comment for the check-in in the provided text box. To add the files to the TFS, you only need to click on the Check In button, which will then subsequently add the files to the source control.
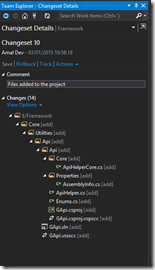
Once it’s completed successfully, the changeset number will be displayed along the success message otherwise the error message will be shown there if the operation was unsuccessful. You will be able to view the details of the changeset by clicking on the changeset number there itself,
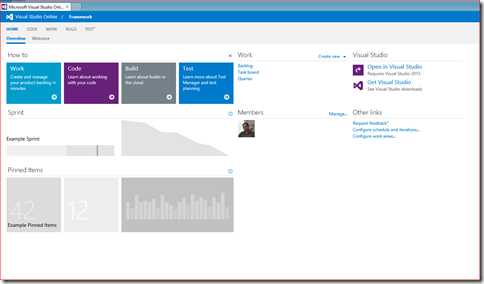
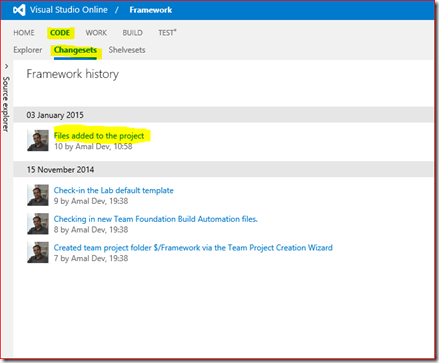
You can also go to the portal by clicking on the Web Portal link in the team explorer window and will be able to see all the details as shown below
That’s all for the time being and in the next part I will be going through the check out and check n process, till then happy coding.
No Comments
Connecting Azure Blob Storage account using Managed Identity
Posted 12/9/2022Securing Azure KeyVault connections using Managed Identity
Posted 11/26/2022Manage application settings with Azure KeyVault
Posted 11/9/2022Adding Serilog to Azure Functions created using .NET 5
Posted 4/3/2021Learn how to split log data into different tables using Serilog in ASP.NET Core
Posted 4/23/2020


